It’s Niddy Noddy Time!!!
So this is a change of pace for me, a post that is not about something edible.
Well it’s time to make a Niddy Noddy today!! A wha?? Yep you read it right the first time. I’m making a Niddy Noddy (my apologies to those of you that are already in the know).
After visiting a number of wool shops, nooks, cooperatives and assorted stashes over the past few years so Sailor Girl could pad her yarn stash. Not to mention watching her turn out increasingly beautiful and more complicated knitted items I decided she was ready to move up to the big game.
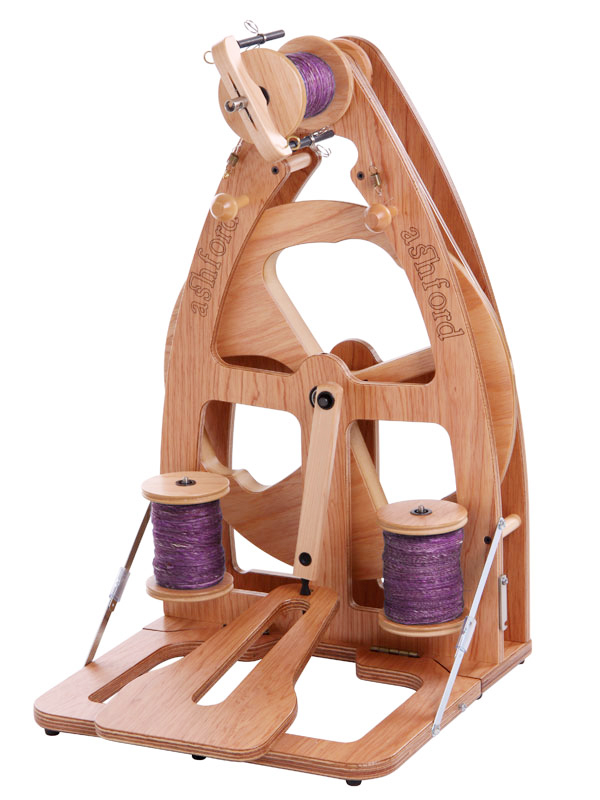
For Christmas this year Sailor Rick decided to go big and bought Mrs. Sailor aka Sailor Girl aka SlightlyTwisted (on Ravelry) a brand new SPINNING WHEEL for Christmas.
After lots of online research and not meeting the final bid on a couple of Ebay bids I decided to go for new. I found a local online knitting shop here at home run by a friendly young woman who also happened to own and use the same spinning wheel I wanted to buy. It was a no-brainer after that discovery.
After the wheel arrived Sailor Girl and I went over to Andrea’s place (owner of Flannelberry Creek). Andrea (aka Aizlin) had the wheel set up and oiled and ready to go. She showed Sailor Girl a few basics and we stocked up on some additional fibre besides the starter pack Andrea had included, we were off to make some yarn; or rather Sailor Girl was off to make some yarn.
Here’s a picture of the little beauty from the Ashford website:
Now once you get spinning fibre into yarn it collects on a spool, but what do you do when the spool gets full? Now you have a problem! What do you do with the yarn and how do you know how much yarn you just made? Is it enough for your next project?
That’s where a Niddy Noddy comes into play. A Niddy Noddy is a simple device that you wind your newly spun yarn onto; by counting the wraps you actually measure the length of your yarn. When you slip the yarn off the Niddy Noddy you have a skein which you can then either braid to look pretty or transfer to your Swift from which you can proceed to roll the yarn into a ball; ready for your project!

Basic Wooden Kniddy Noddy (from Google Images)
So once Sailor Girl’s spools were full she started looking for a Niddy Noddy. For such a simple device they aren’t cheap; wooden ones start at $40 or more. She noticed a few posts where knitters had went the do it yourself route and had created them using PVC piping and fittings. By doing it this way you also get to decide how big your skeins will be.

PVC Kniddy Noddy (from Google Images)
So that’s where I come in! She showed me a website with directions and measurements and asked if I could make her one (The Lost Pages). I took the challenge but it was tougher than I expected….I couldn’t find the fittings! Big Box stores don’t carry the fittings we needed. We needed to visit a specialty plumbing shop but it was Saturday and the specialty shops weren’t open until Monday. It was at this point I had a brainwave…what about copper? I have to admit when comparing a PVC Niddy Noddy with a wooden one the PVC version is definitely the ugly duckling of the pair.
I got the nod and began collecting the materials. The PVC version runs about $5 all in, my new copper version came to a total of $9.80. I think you will be pleasantly surprised with the results.
Sailor Girl requested a 1.5m Niddy Noddy so I needed the following supplies:

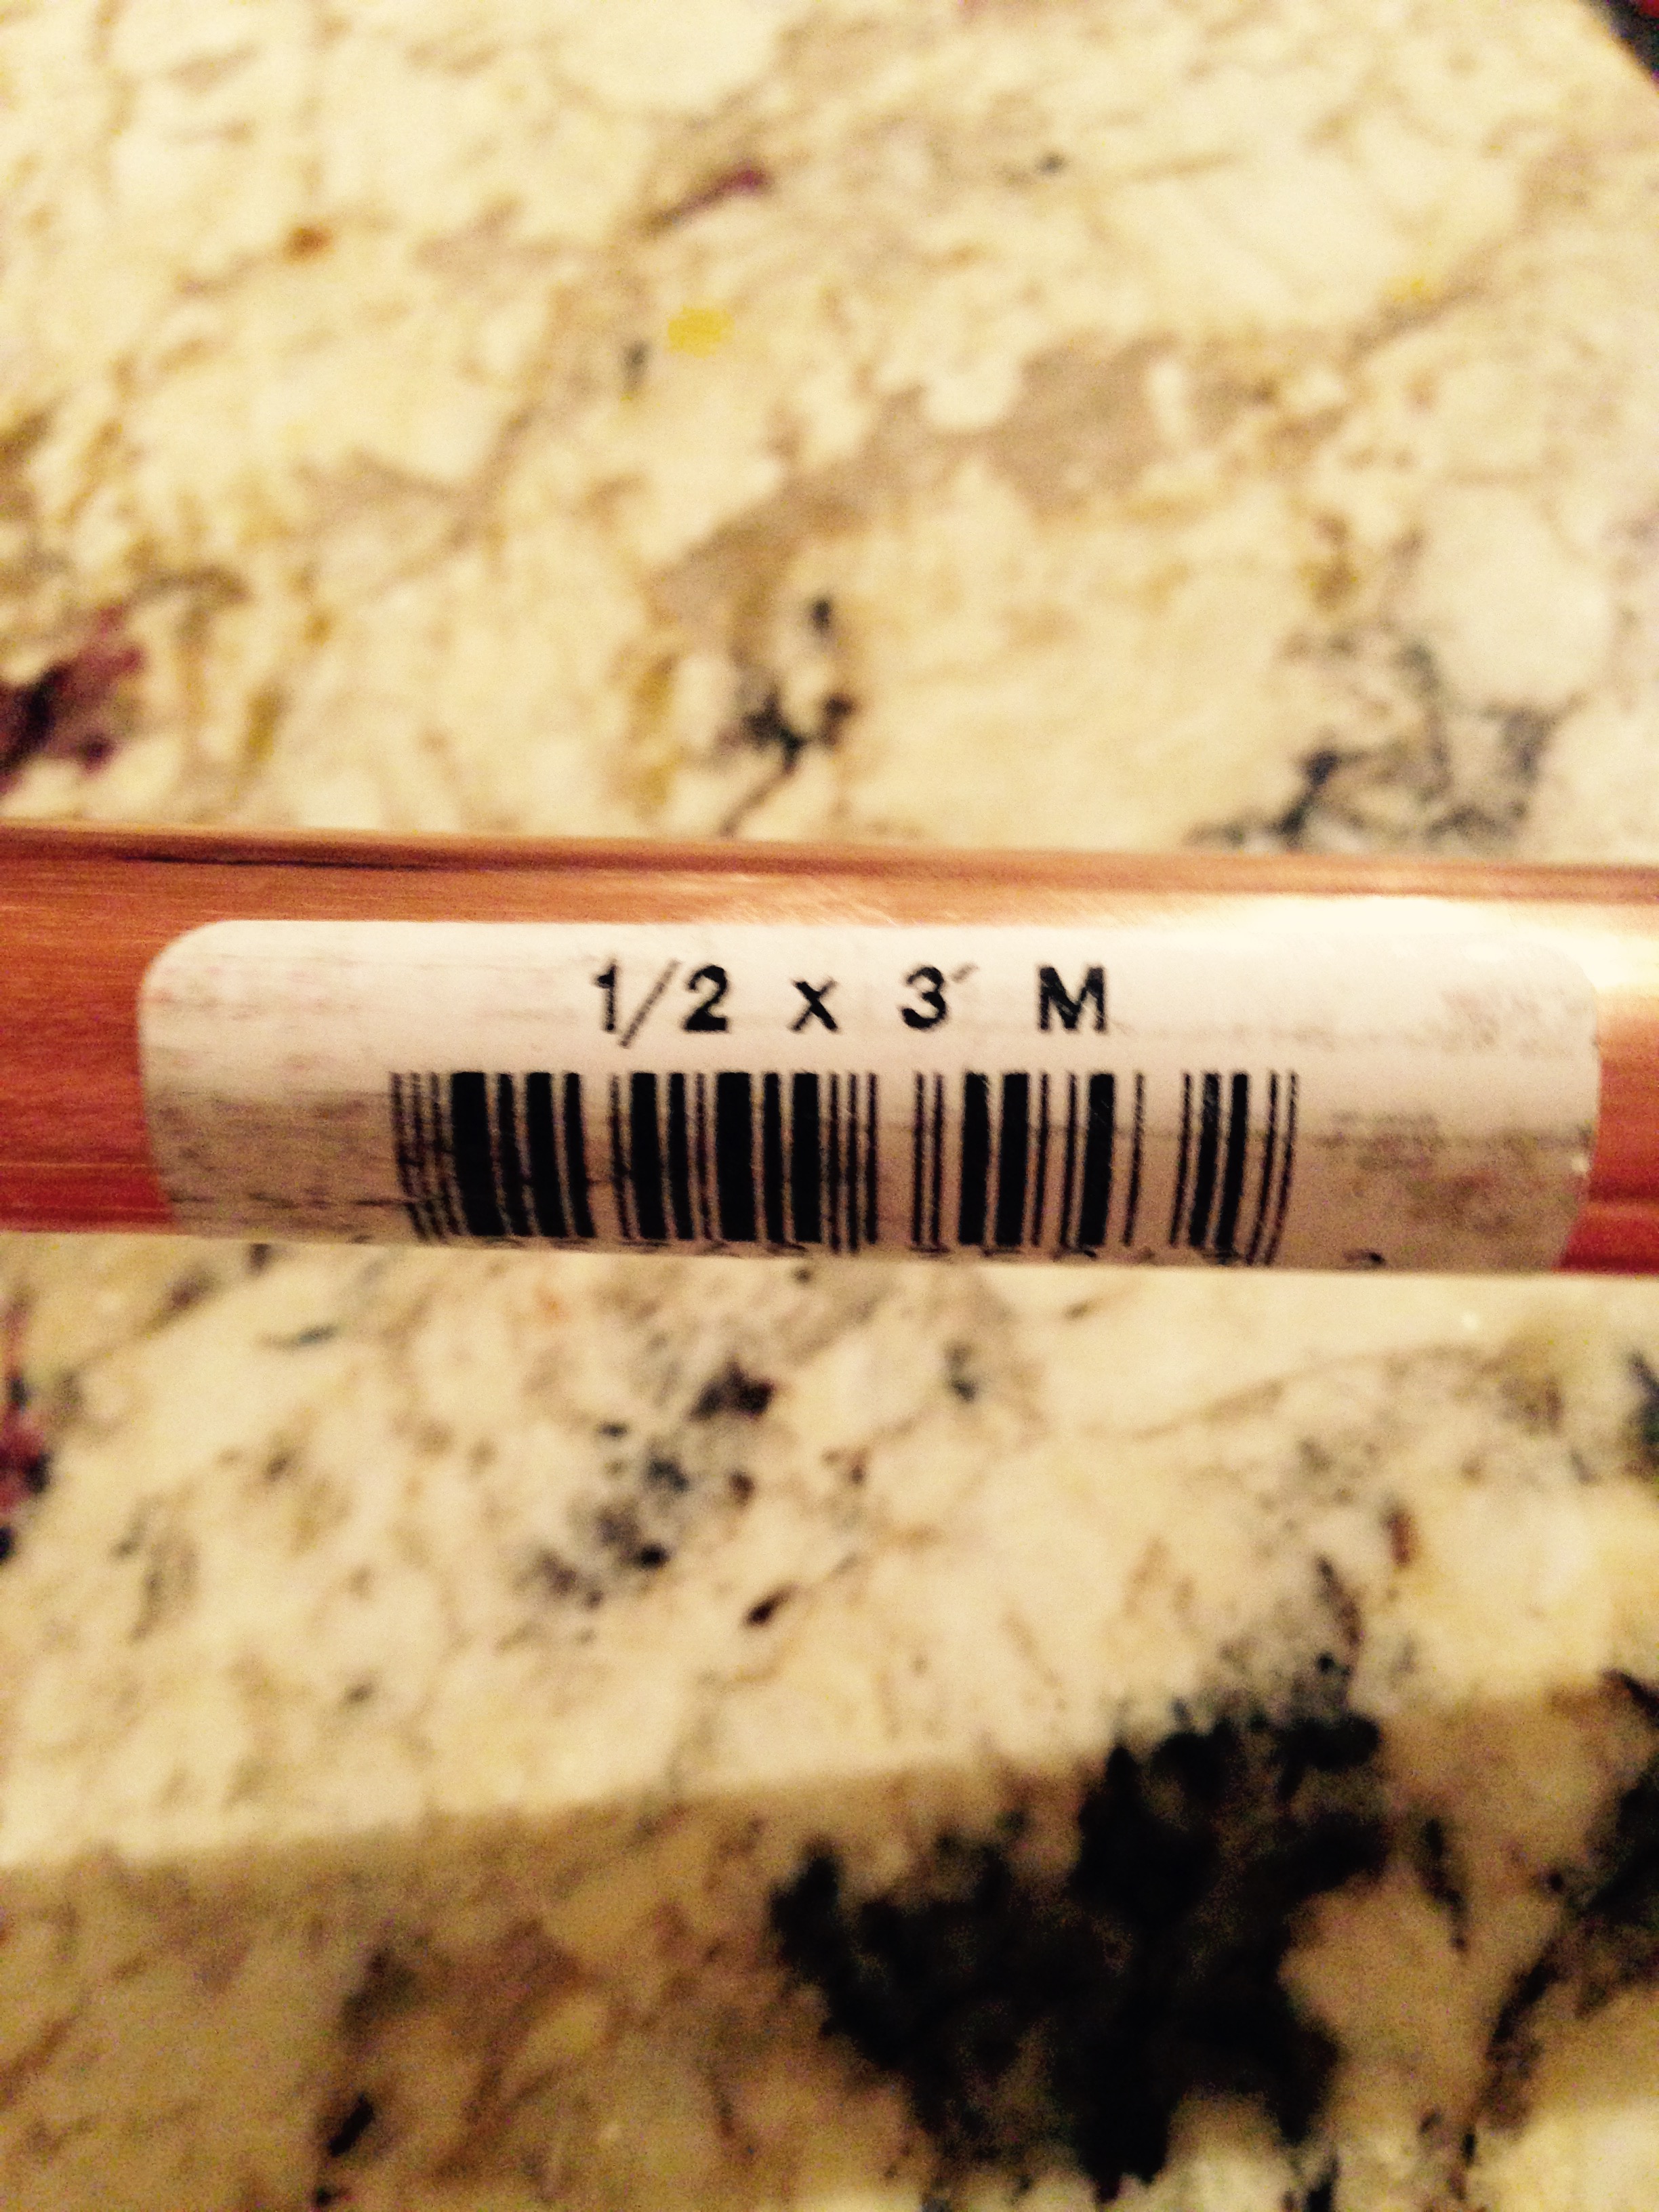
3 feet half inch copper pipe

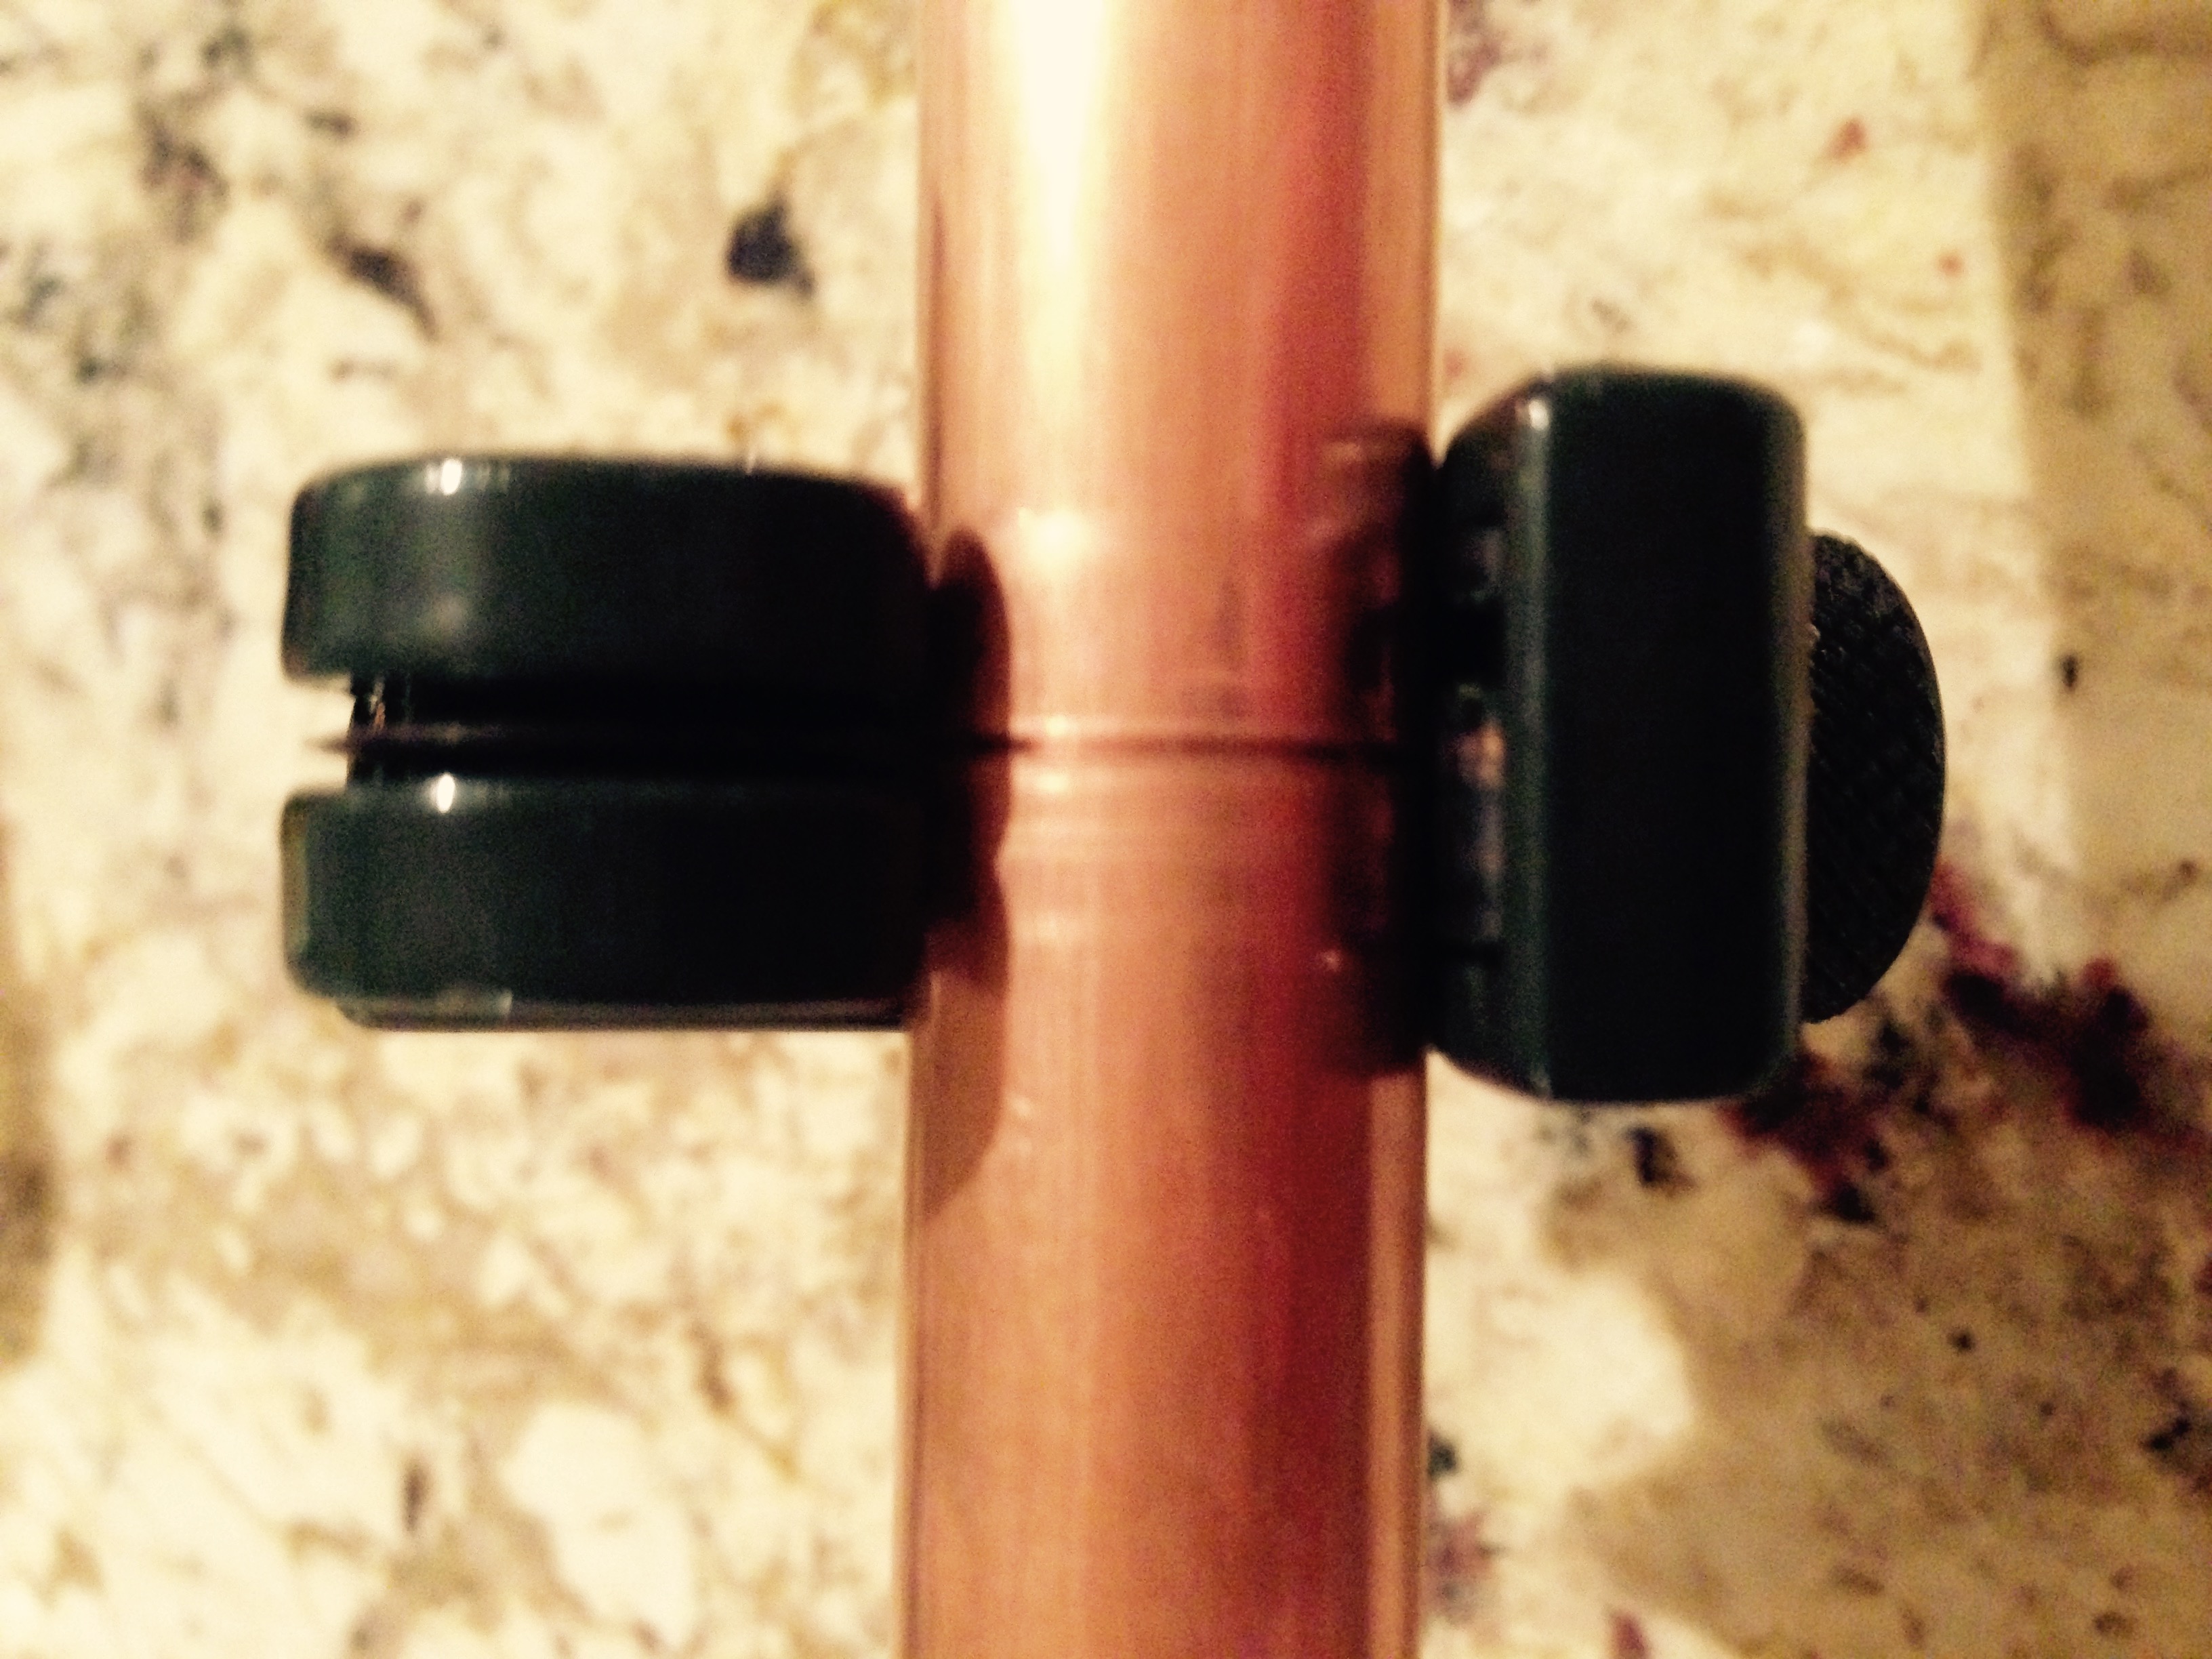
2 ‘T’s

4 Caps
You will also need some glue, I used Lock Tite and a
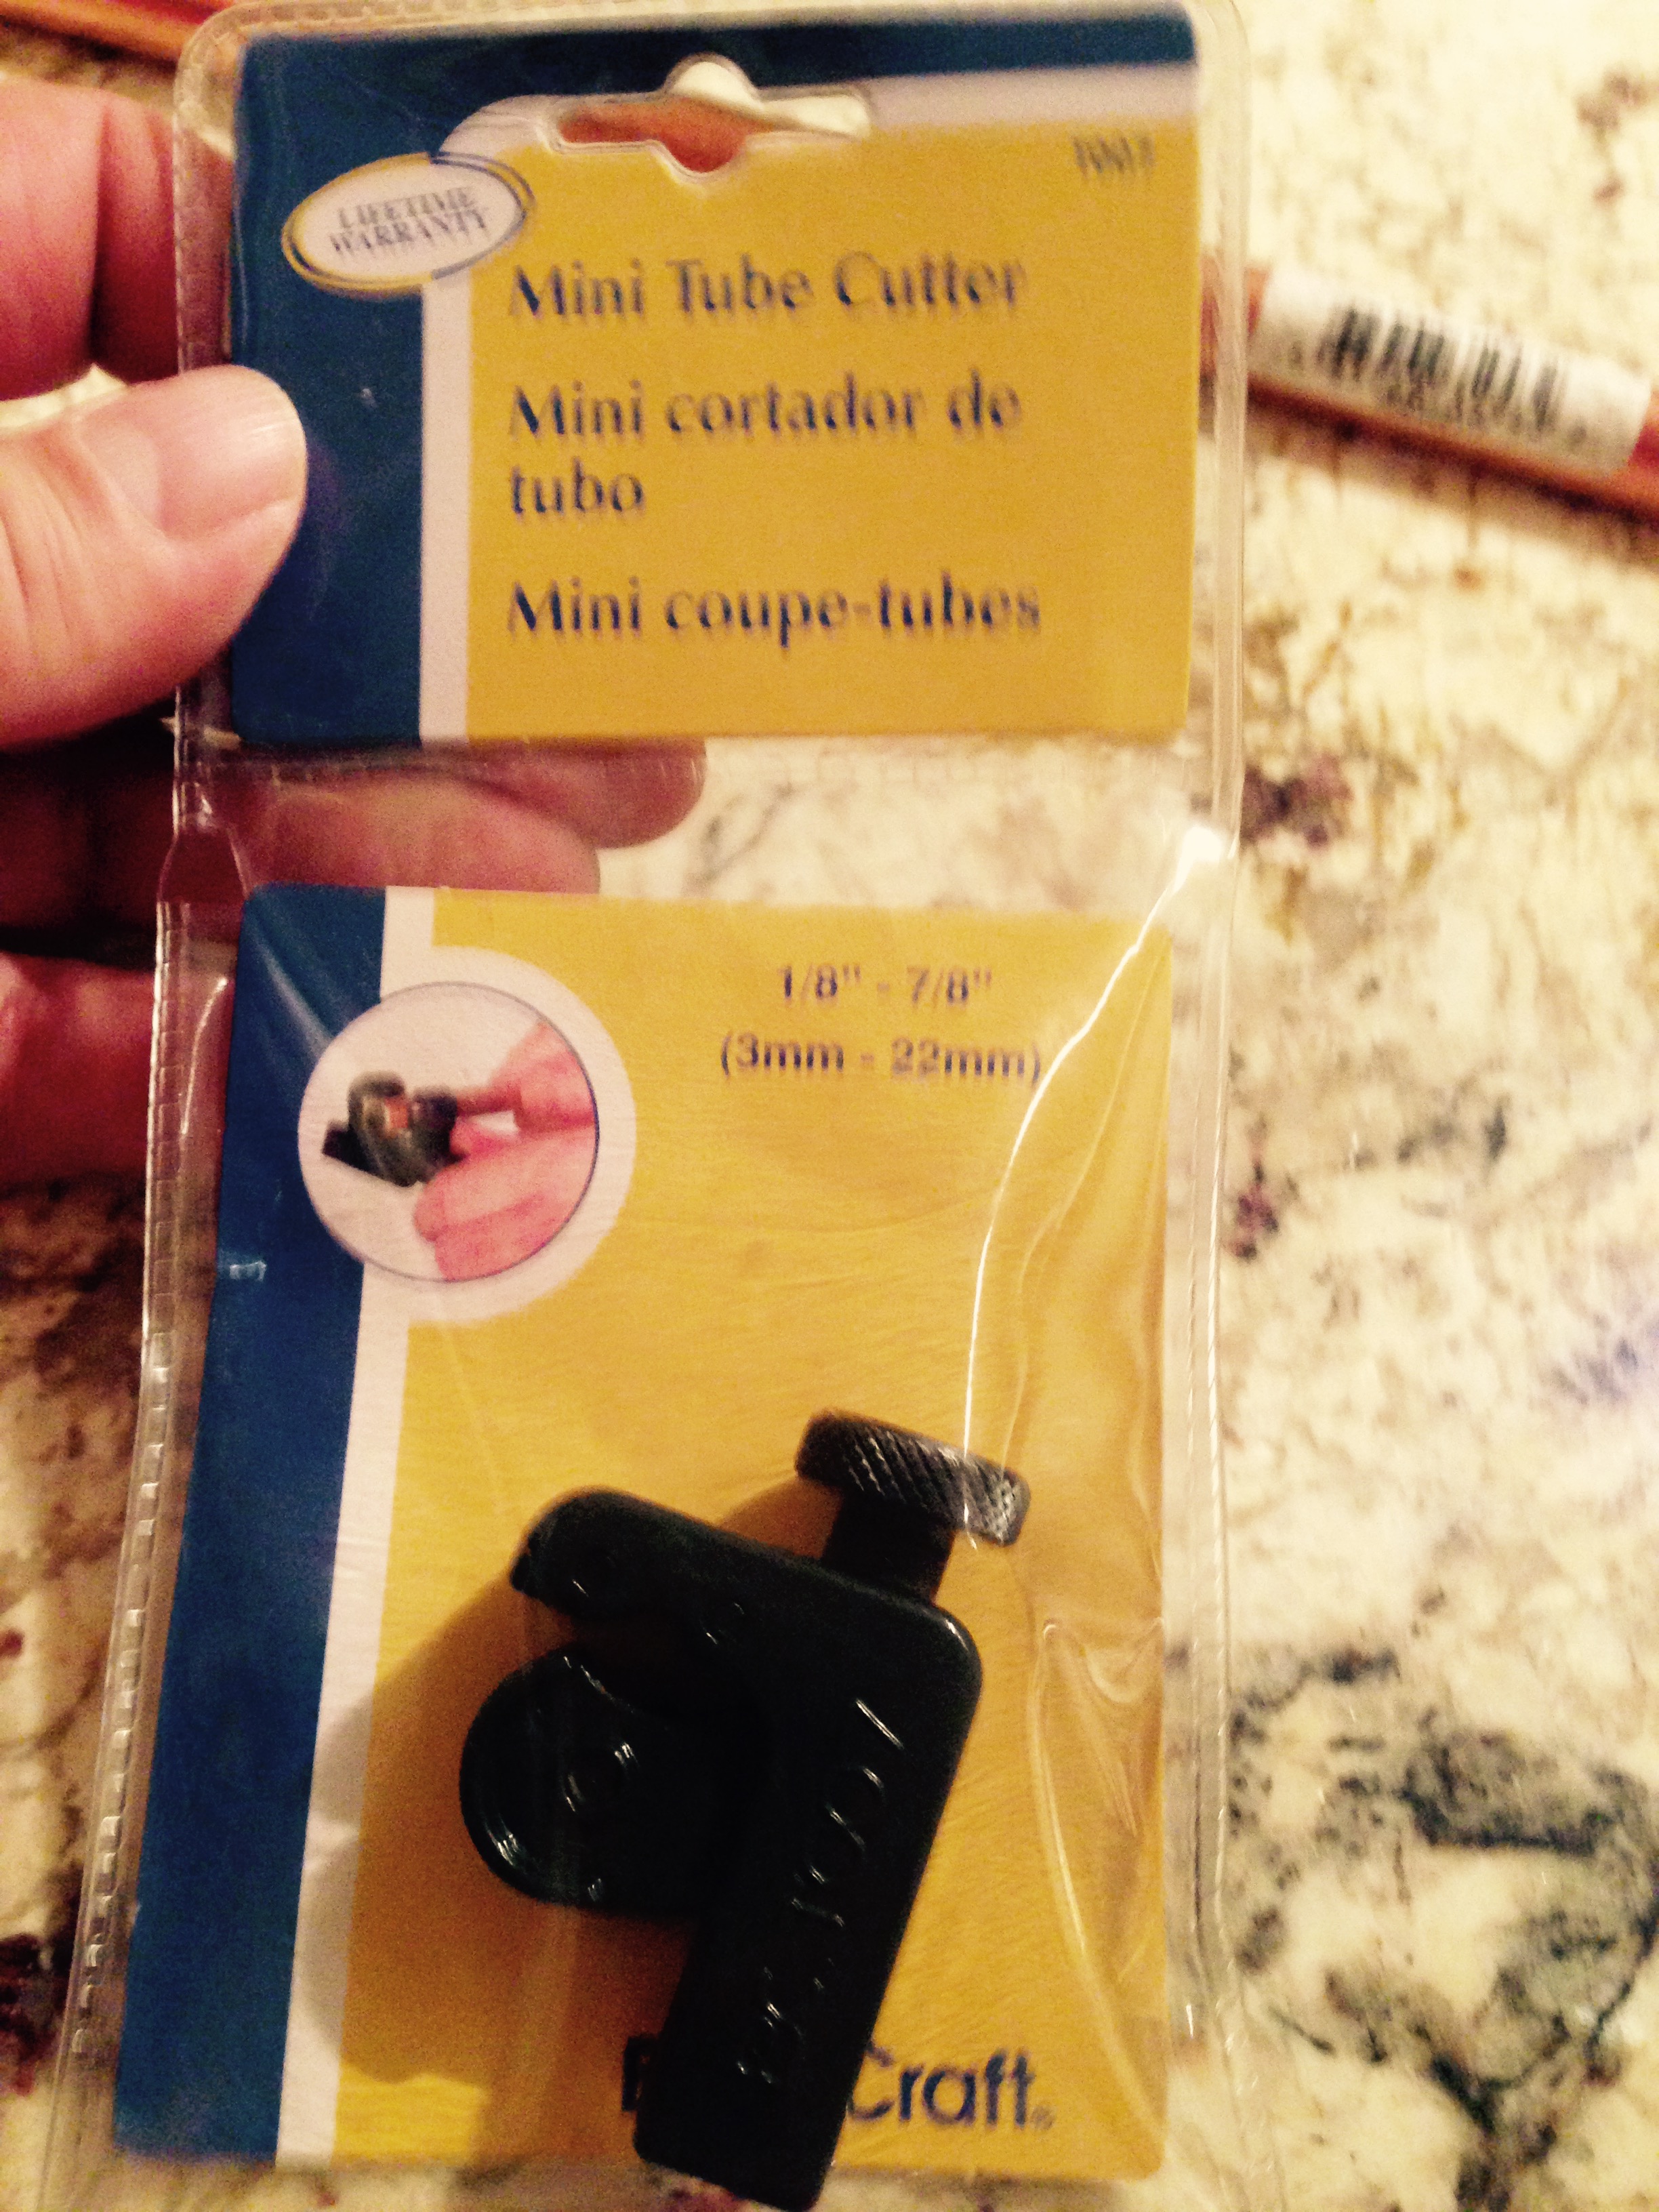
 Tubing Cutter (the store may be able to help you with the cuts if you don’t have one).
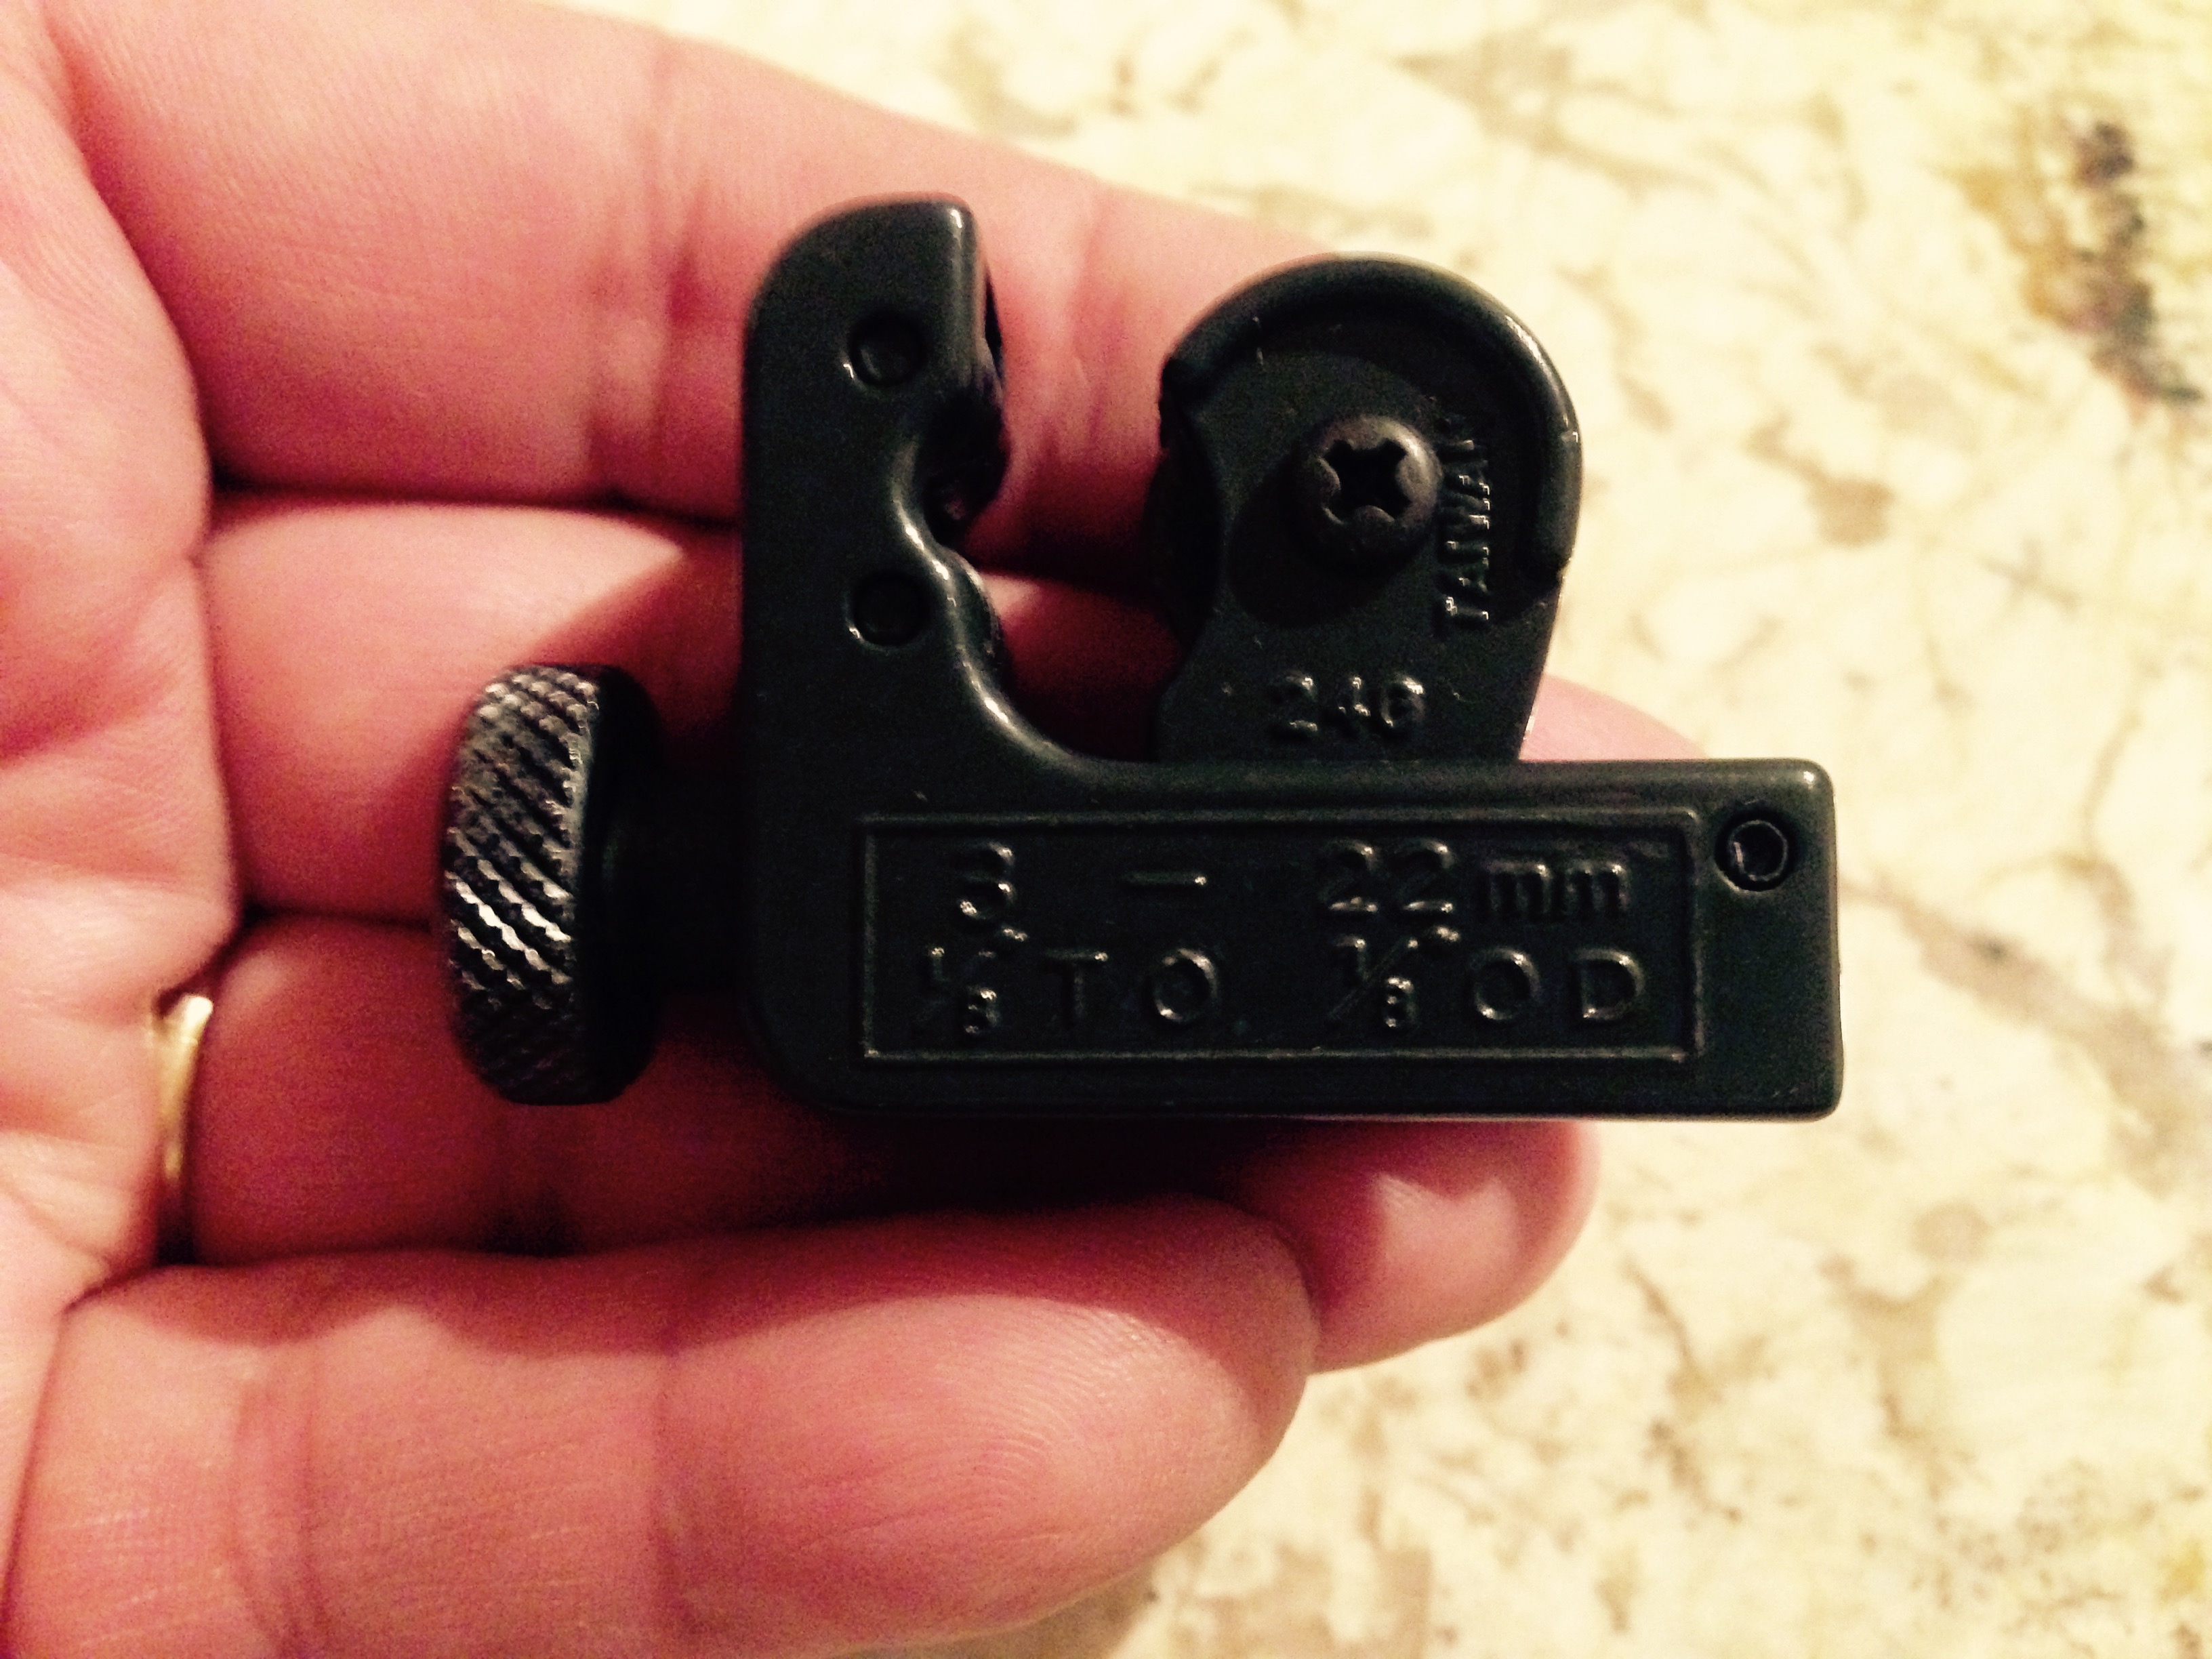
To use the tubing cutter:
1. Mark the pipe where you need to cut,
2. Open the cutter wide enough to insert the pipe,
3. Ensure the cutter wheel lines up with your mark and tighten the
wheel until it is snug,
4. Rotate the cutter around the pipe until the resistance decreases,
5. Tighten the wheel a quarter turn and repeat until the piece is cut free.
To make a 1.5 m Niddy Noddy you need to cut the pipe as follows:
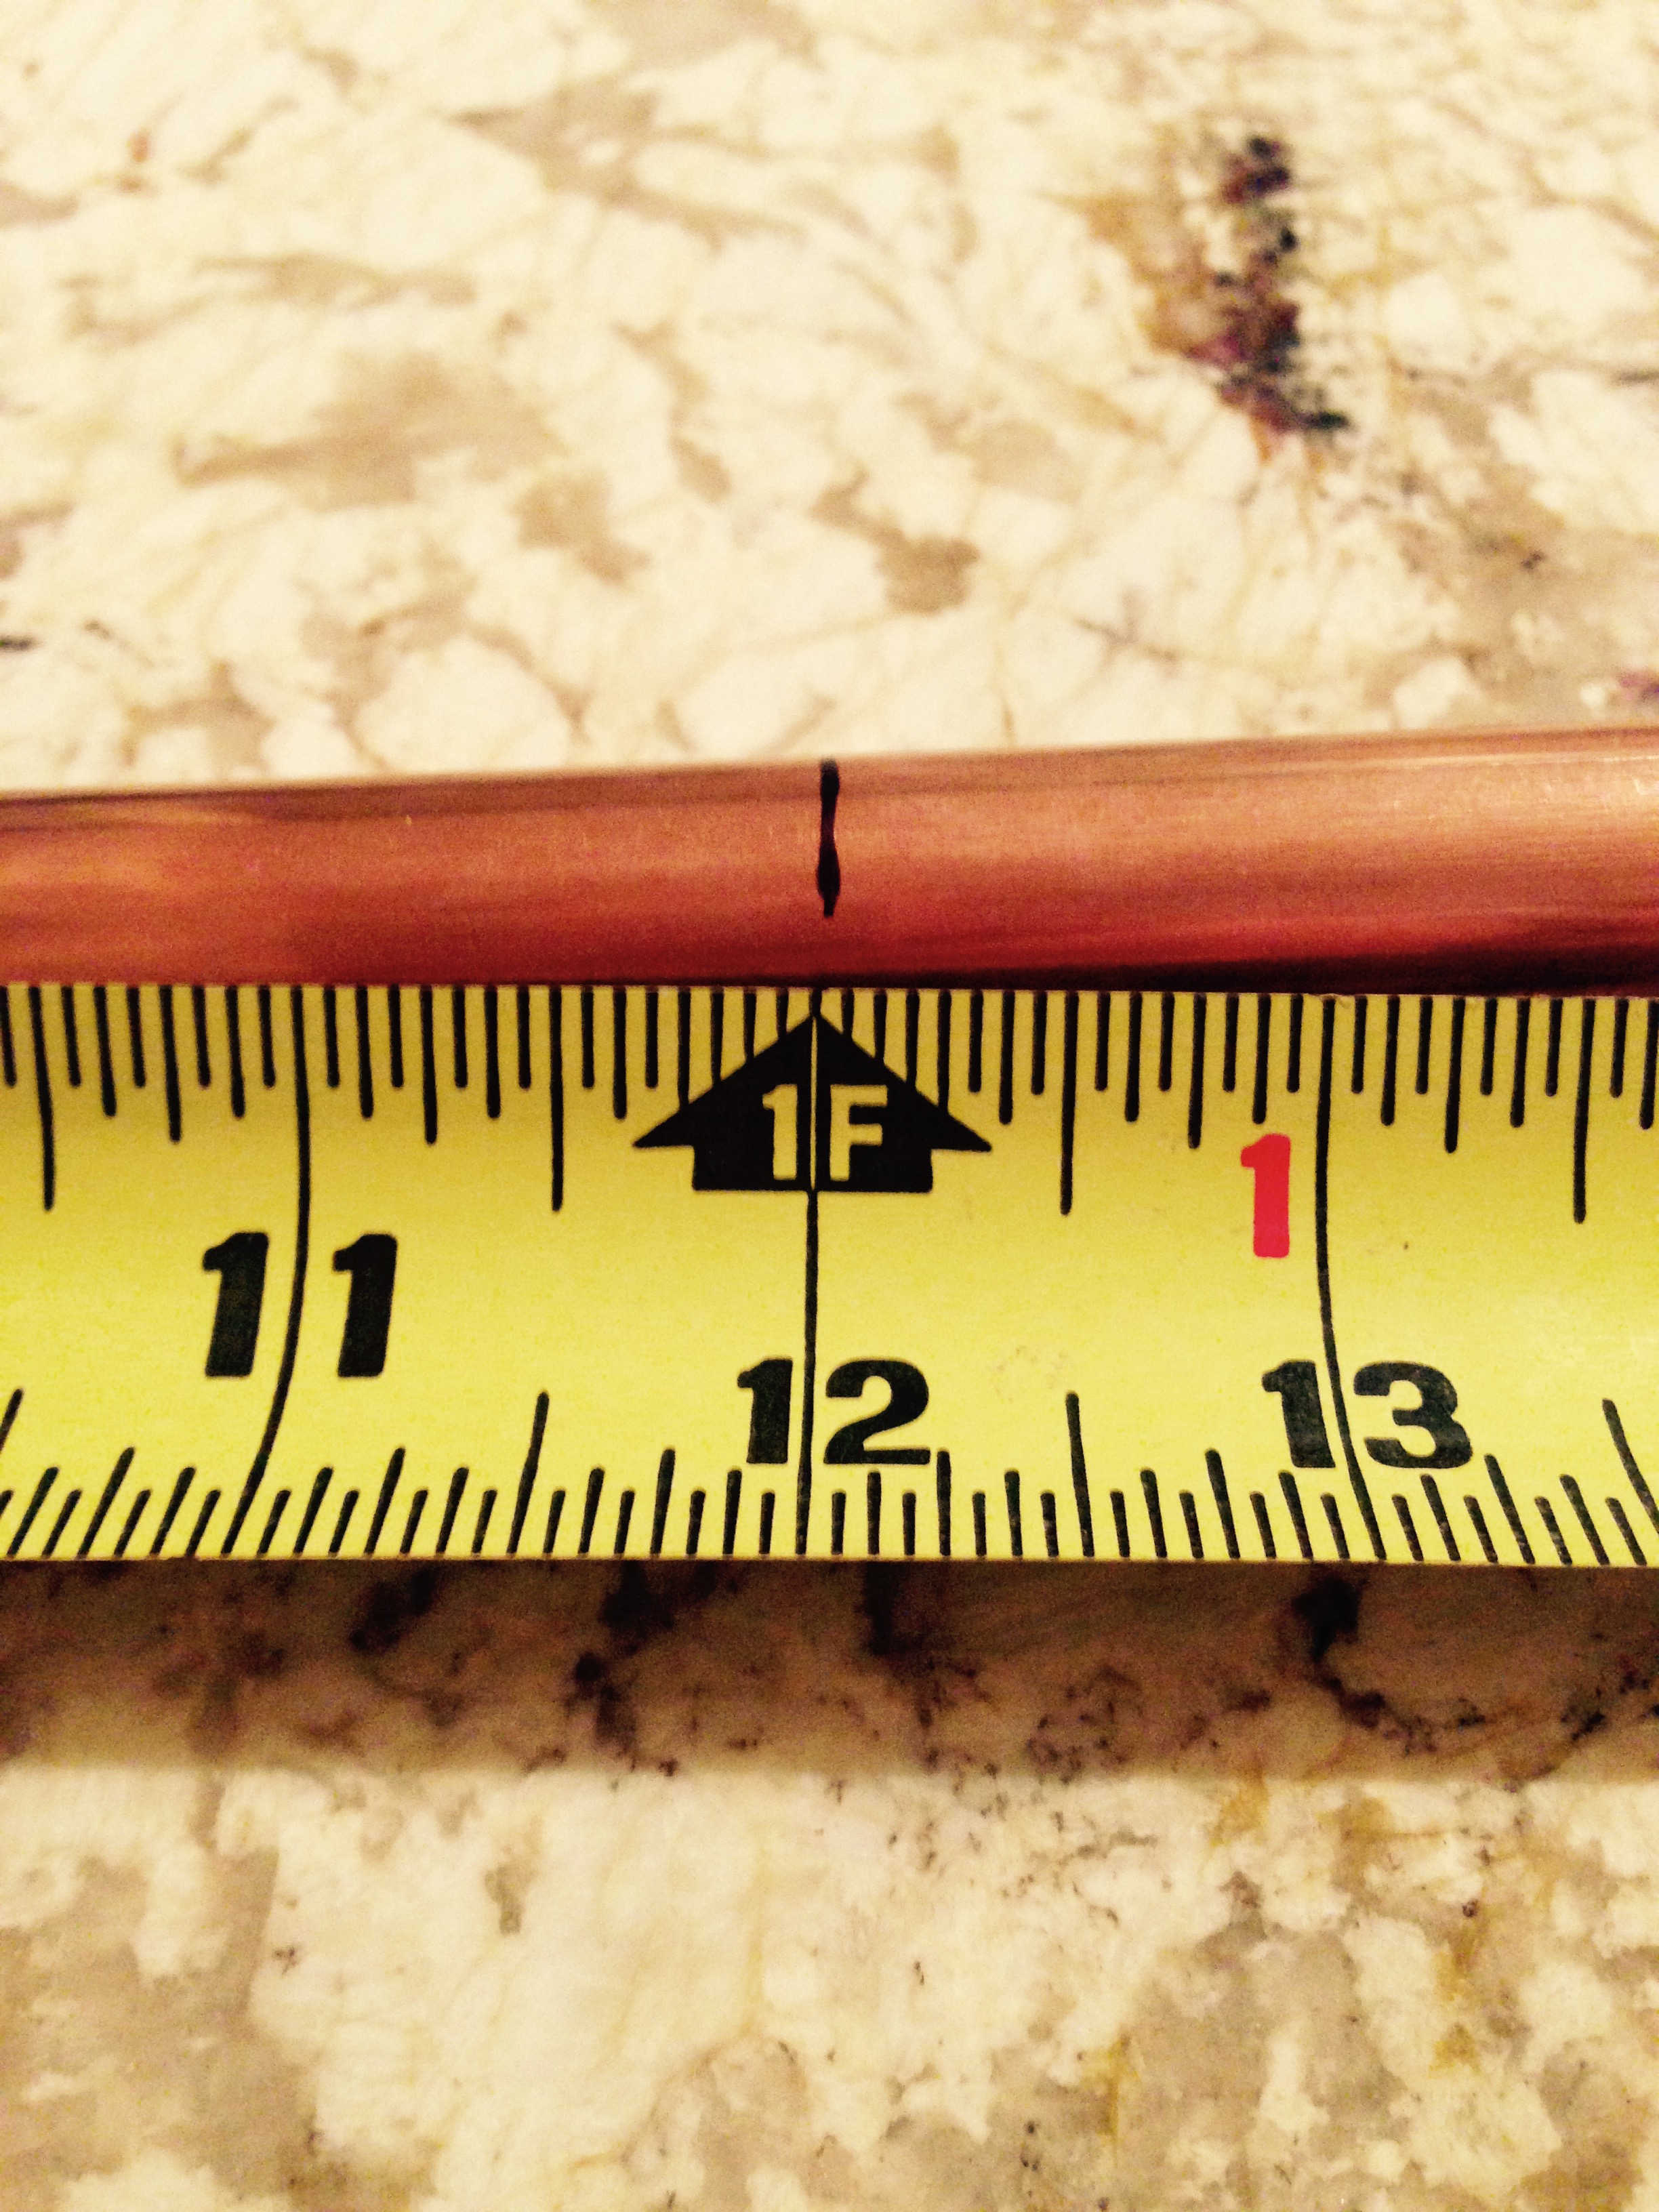
12 Inch Piece

4 x 4.5 Inch Pieces
Layout the pieces:

Assembly Steps:
- Dry fit the pieces for fit; if they won’t slip together you may need to sand the ends of the pipe.
- Once they fit together add a bit of glue to the caps and place on one end of each of the 4” pieces.
- Glue the 4” pieces into the ‘T’s.
- Next place the 12 inch piece into the end of the first T.
- Insert the 12 inch piece into the second T, you want to offset the T’s 90 degrees. I didn’t glue the 12” piece so the Niddy Noddy could be partly disassembled to put it in the spinning wheel bag for travel.


After winding just a couple skeins of yarn the copper has been polished to a lovely shine. I think the copper Niddy Noddy is actually a beautiful tool compared to the PVC version. Check it out for yourself!


“Yarn winding drives me nuts!!!!” – Mr. Morris, Le Chat
Man I’m starting to talk like a knitter and I’ve never even pearled (just kidding, I mean purled) or knit a stitch in my life.
Stay tuned I may need to create some more DIY Knitting Projects.
Now it is time to return to our regularly scheduled cheese and smoking projects.
