The Sailor Smokes A Salmon*
*or at least part of a salmon
What!! You say. The Sailor isn’t writing about cheese?!?!?
With the return of the cool weather (lows of -17 degC) I thought it was time to get my smoker smoking. I’ve owned my present smoker for about 2 1/2 years but have never smoked fish so here goes.
Both Sailor Girl and myself love smoked salmon (even the cabin rats love smoked salmon) but most smoked salmon has a sugary coating on it; definitely not something low carbers like us want. This will be the first in a series of low carb smoked salmon recipes I plan on developing over the next month. The first one I will be doing is cold smoked salmon, it will be almost a Lox but will have a light smoke on it. In the future I plan on doing other cold smoked recipes, some hot smoked ones and even a salmon candy recipe (all low carb). For those of you that are scared of the health benefits of a low carb lifestyle I will also present you with a full sugar option as well.
On to the preparation!
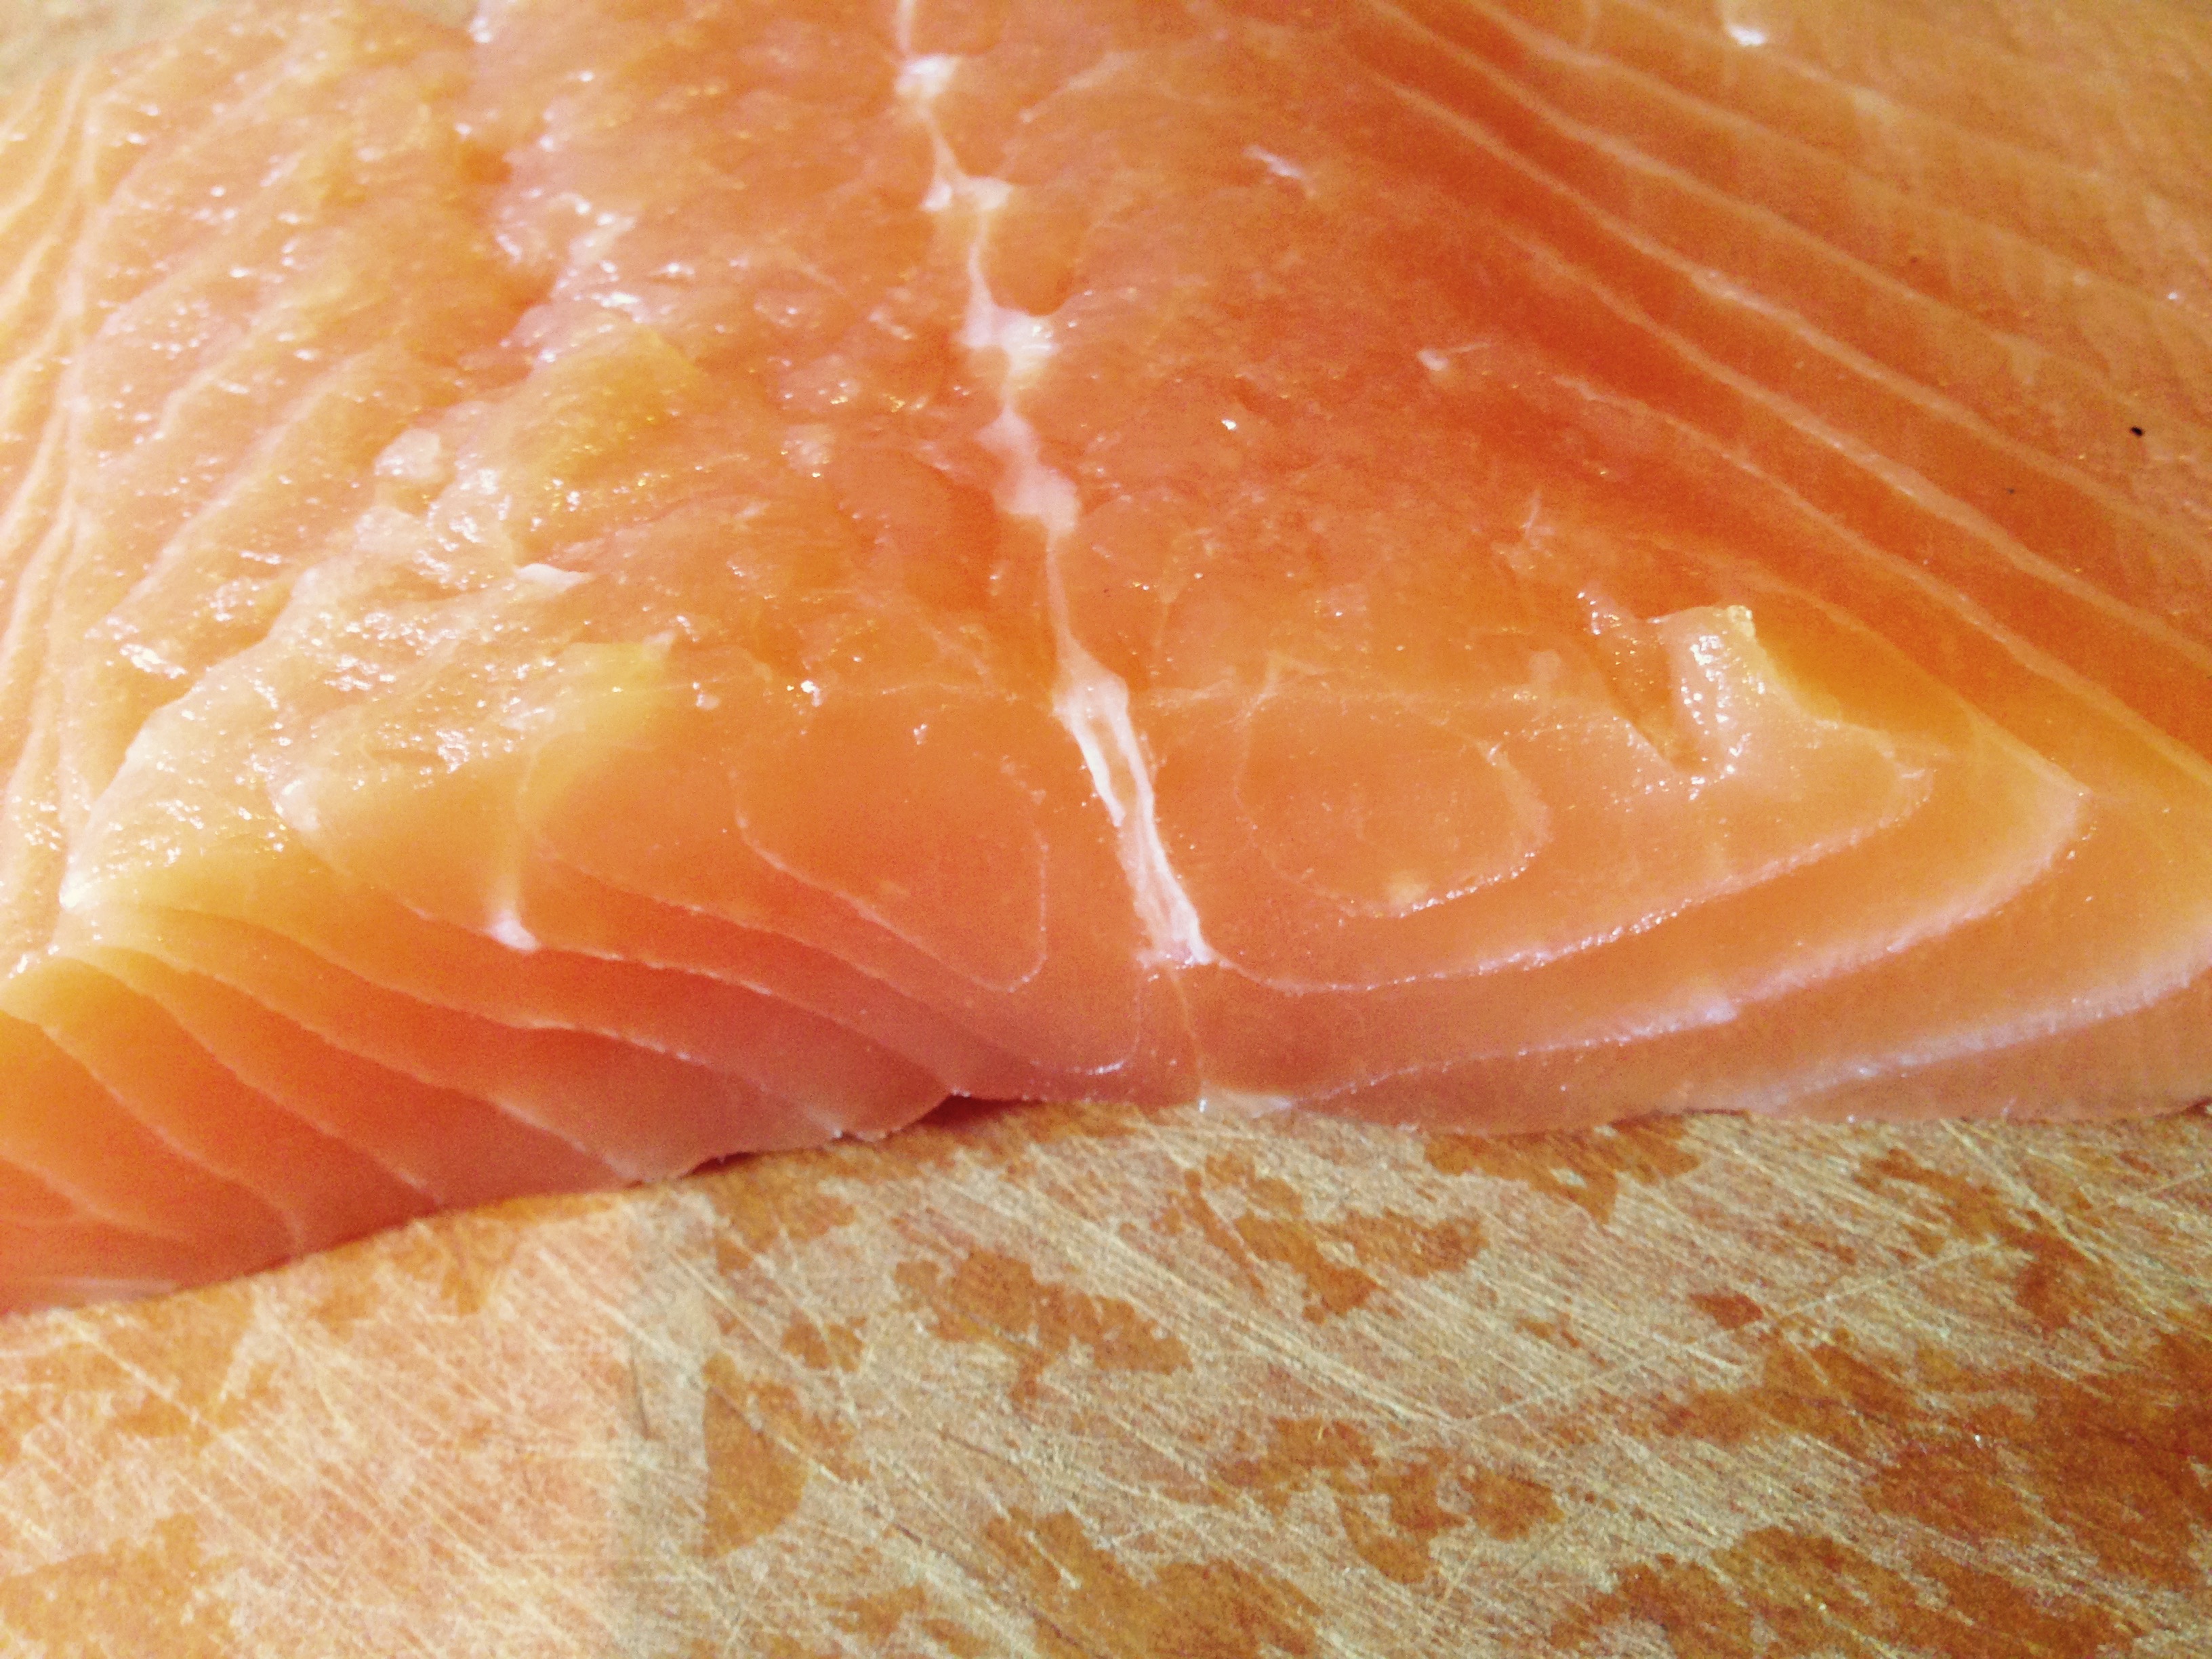
Obtain a salmon fillet. I’ve used an Atlantic salmon fillet for this recipe. Once I have this down I plan on using Sockeye in the future.
It is very important to keep the salmon as cool as possible to prevent the growth of microbes. Work quickly on the steps and return the fillet to the refrigerator.
Wash the fillet under clean running cold water.
Dry the fillet with paper towels; Mrs Sailor would frown if I used a tea towel for this step.

Put a layer (3/4 cm) of Kosher Salt in the bottom of a tub that is large enough to lay the fillet flat.

Lay the salmon on top of the salt, skin side down if it has skin.
Cover the salmon with a layer of salt; cover and refridgerate for 12 to 14 hours.

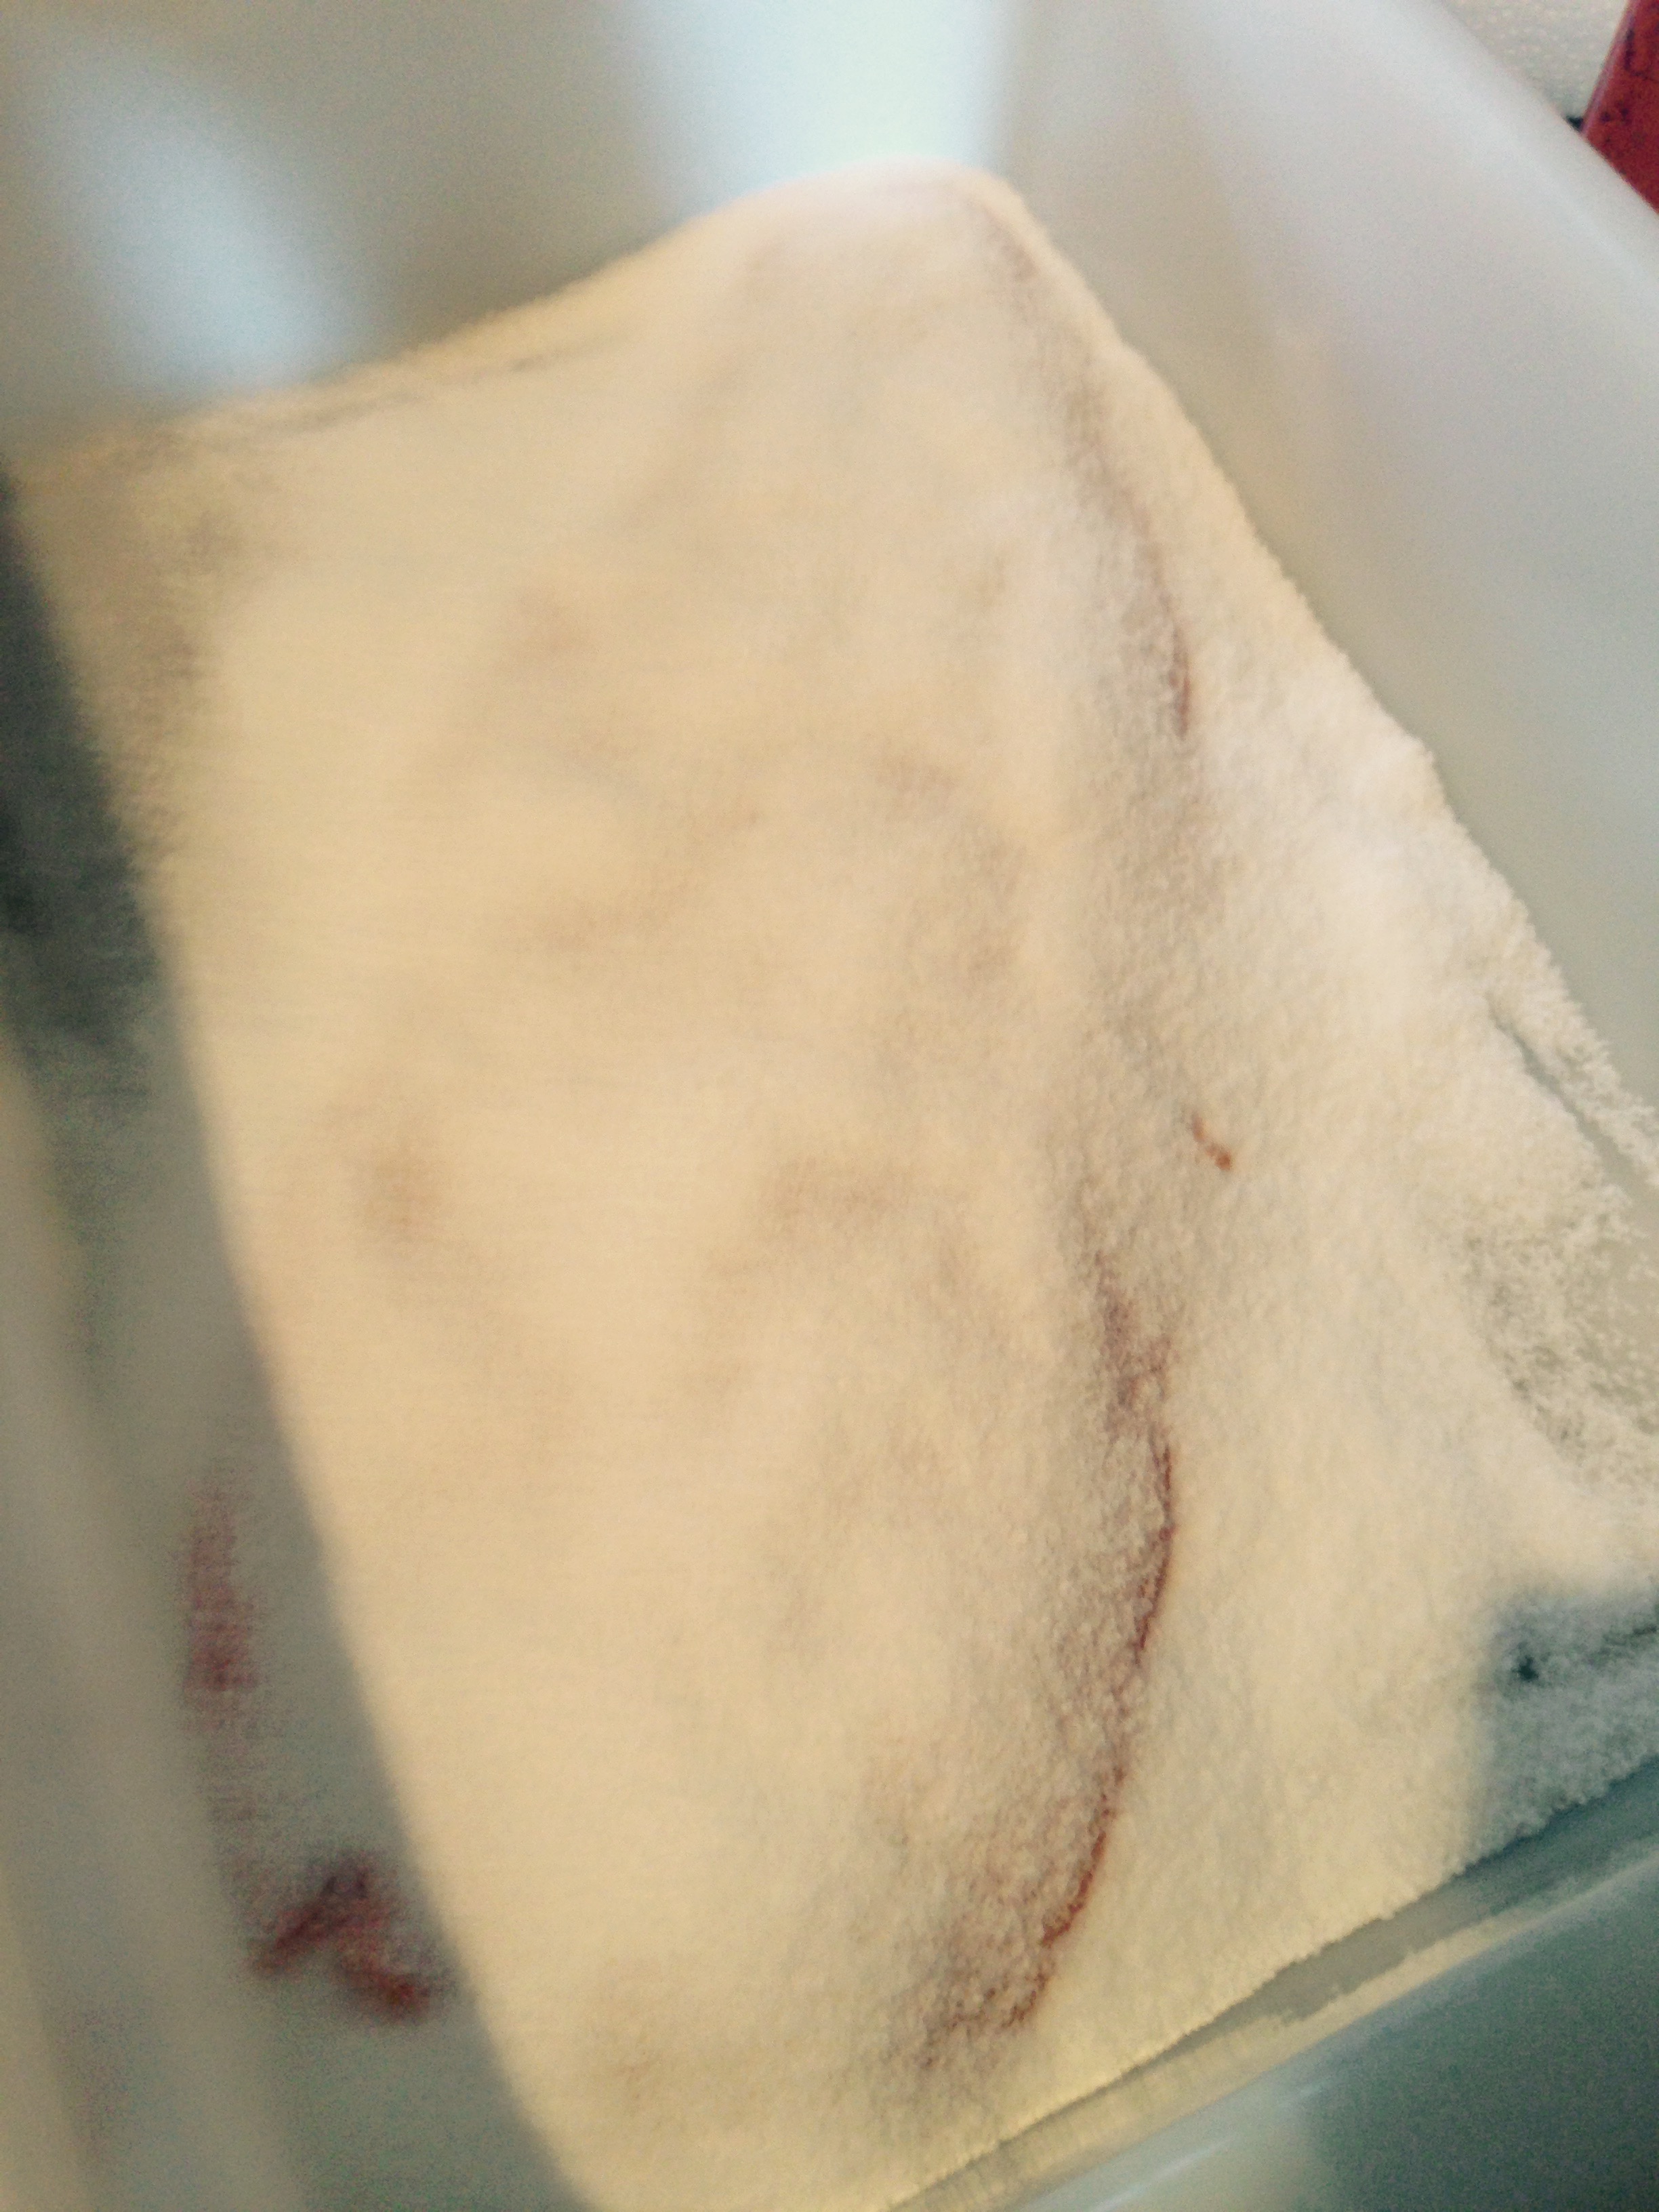
After 13 hours of dry brining. Looks like I could have cut back on the salt!
Now wash the salt from the salmon with cold running water and rinse the salt out of the container.
Place the salmon back into the container and cover with cold water, about half full.
Let soak for about one hour to remove salt from the salmon. The longer you soak the less salty the salmon. This will be a bit of trial and error.

Notice how the fillet has stiffened up after brining and the colour has changed before soaking in the fresh water.
After the fillet has soaked for an hour or so; remove the fillet from the water and drain the pan and rinse the pan well. Dry out the pan and place the fillet skin side down on a wire rack in the pan.
Return to the refridgerator overnight or about 12 hours. DO NOT cover the pan, this is an important step as the surface of fillet must dry.
As the fish dries it forms a pellicle (a shiny, somewhat tacky surface). The pellicle seals the fish keeping moisture in and also seems to take the smoke better.
I will be using alder wood for the smoke (a very traditional salmon smoke) and I will let the salmon smoke about 2 hours. As I mentioned above this recipe is meant to be more of a lox with a light smoke.
Well it is the middle of the night so time for some sleep before the smoke begins.
The Next Morning
Well just like I hoped, it is a cool morning, perfect for cold smoking (hopefully not frozen smoking!).

-15 degC, Excellent!
For this smoke I will be using my A-MAZE-N cold smoke generator. This is a great product that I have been using to smoke cheese and add extra smoke to my other smoking projects. Check them out they work great!
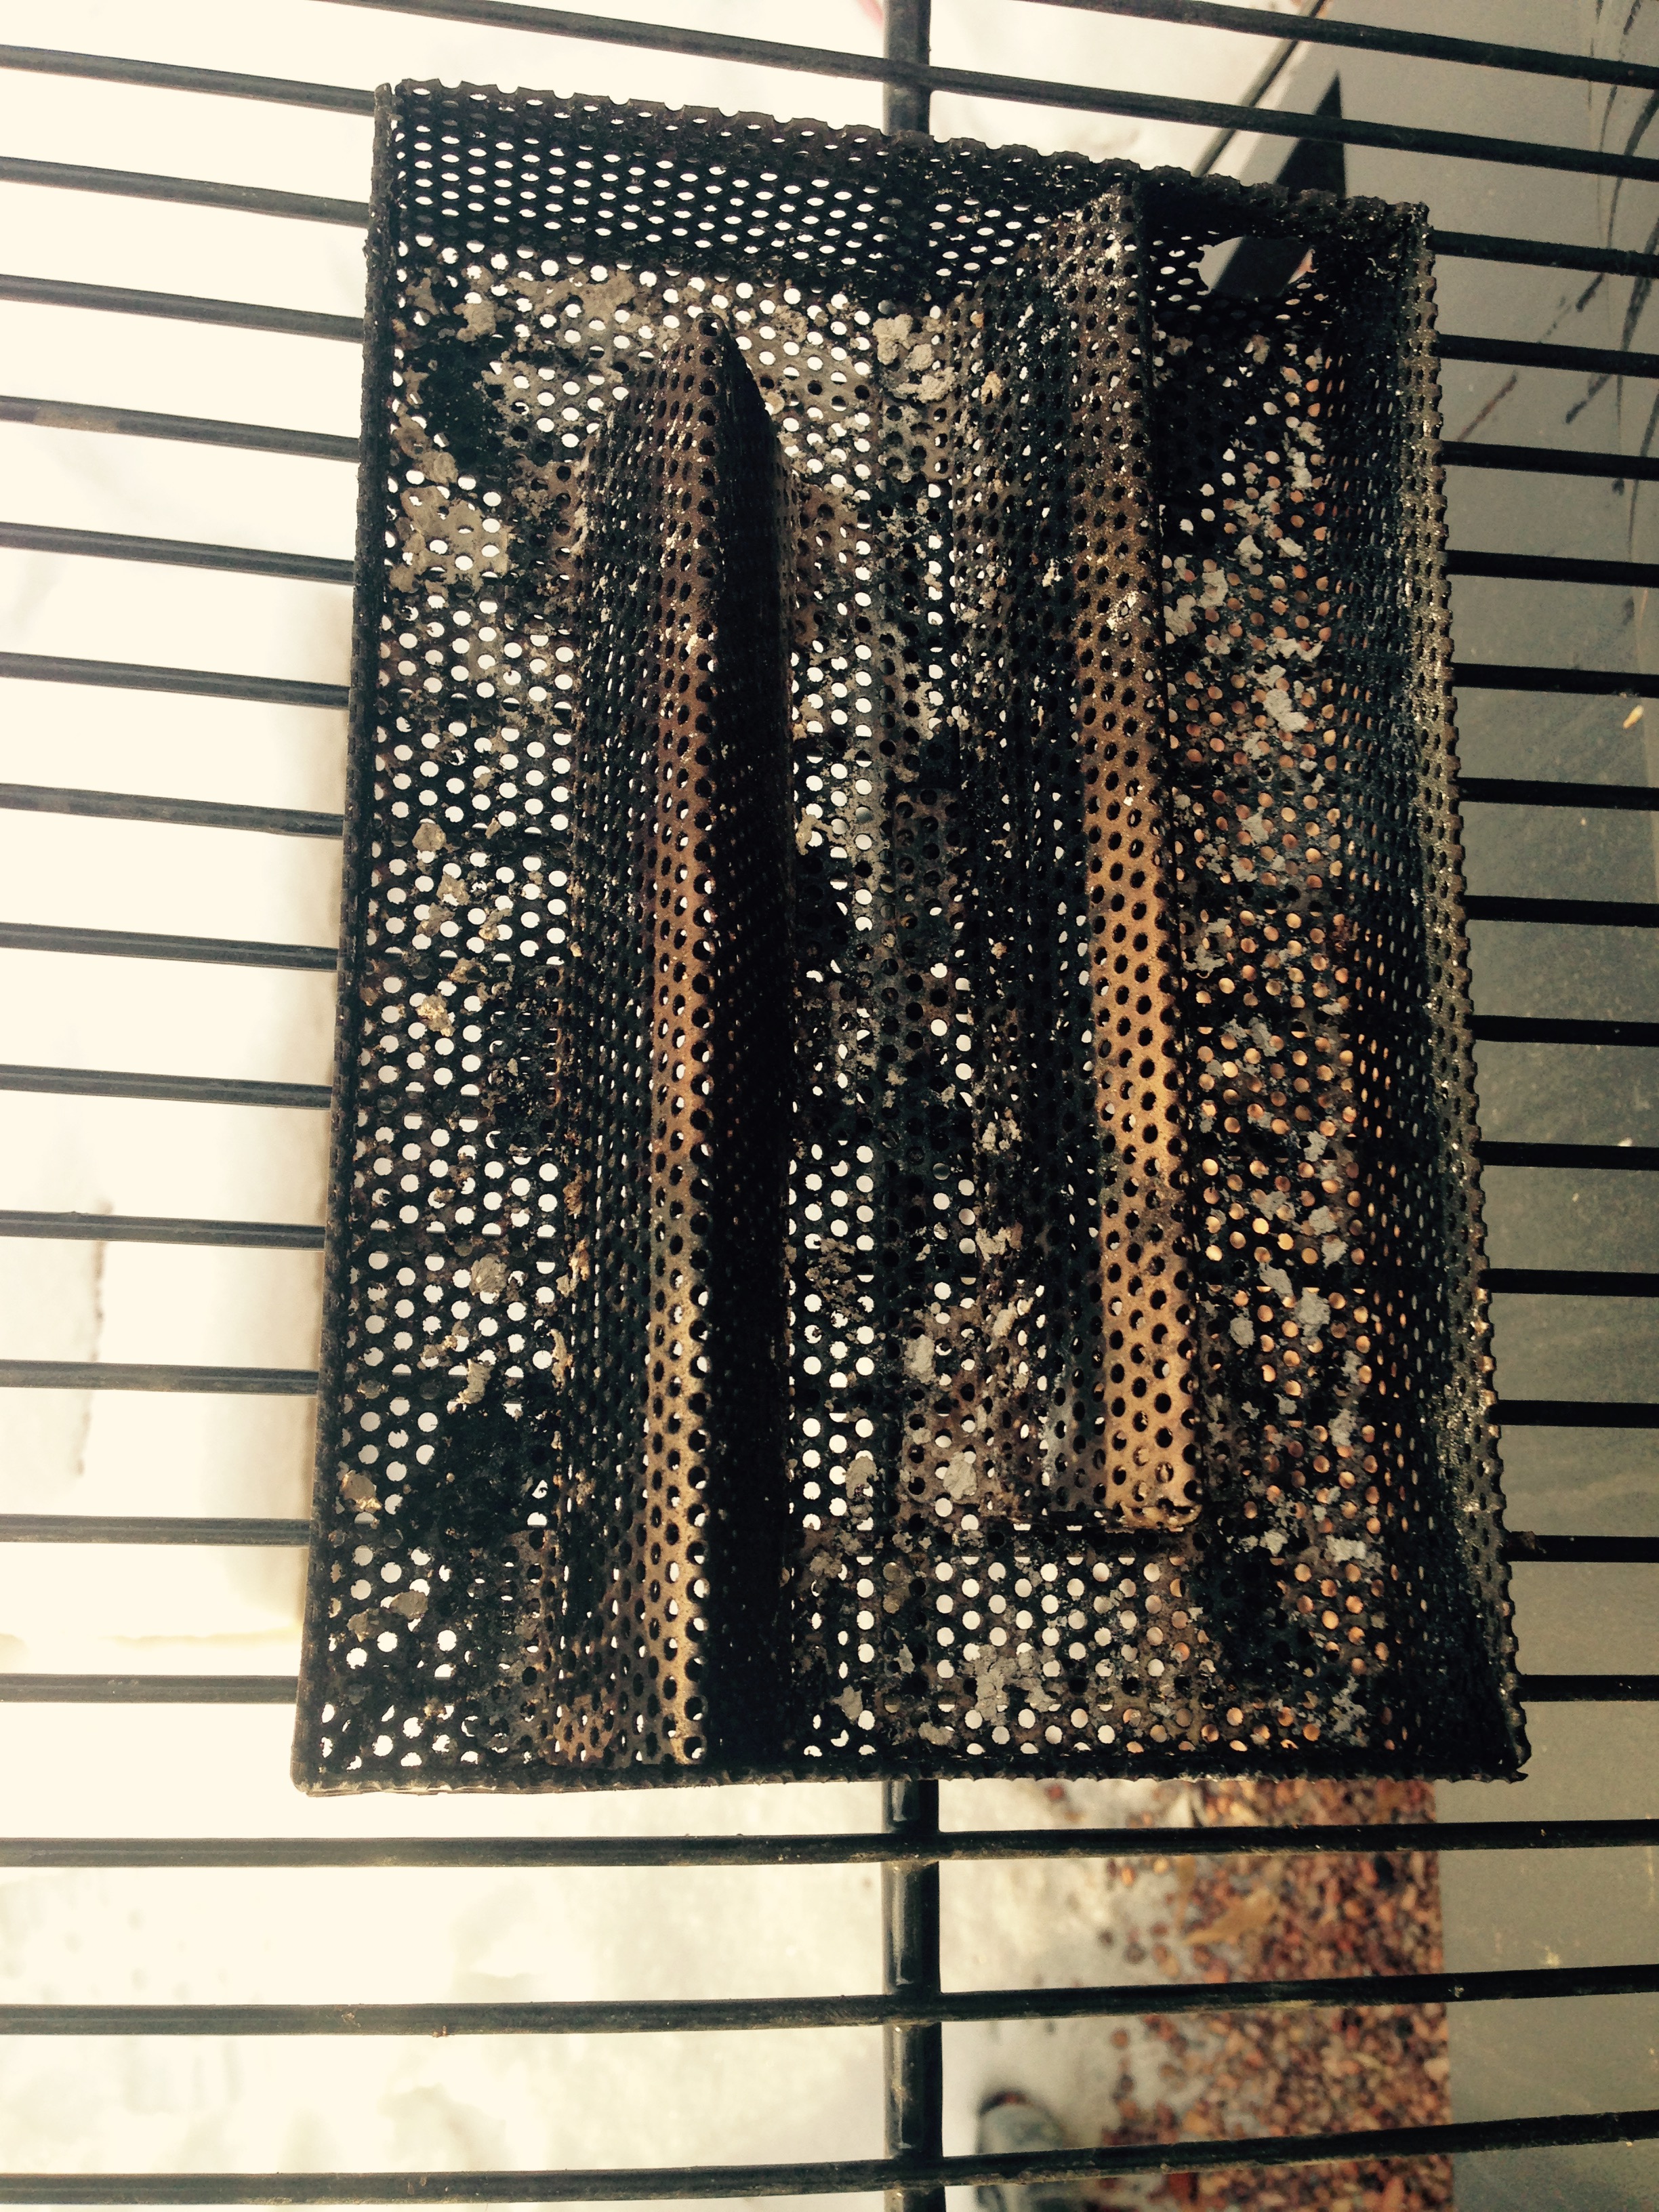
My well used A-MAZE-N Smoker
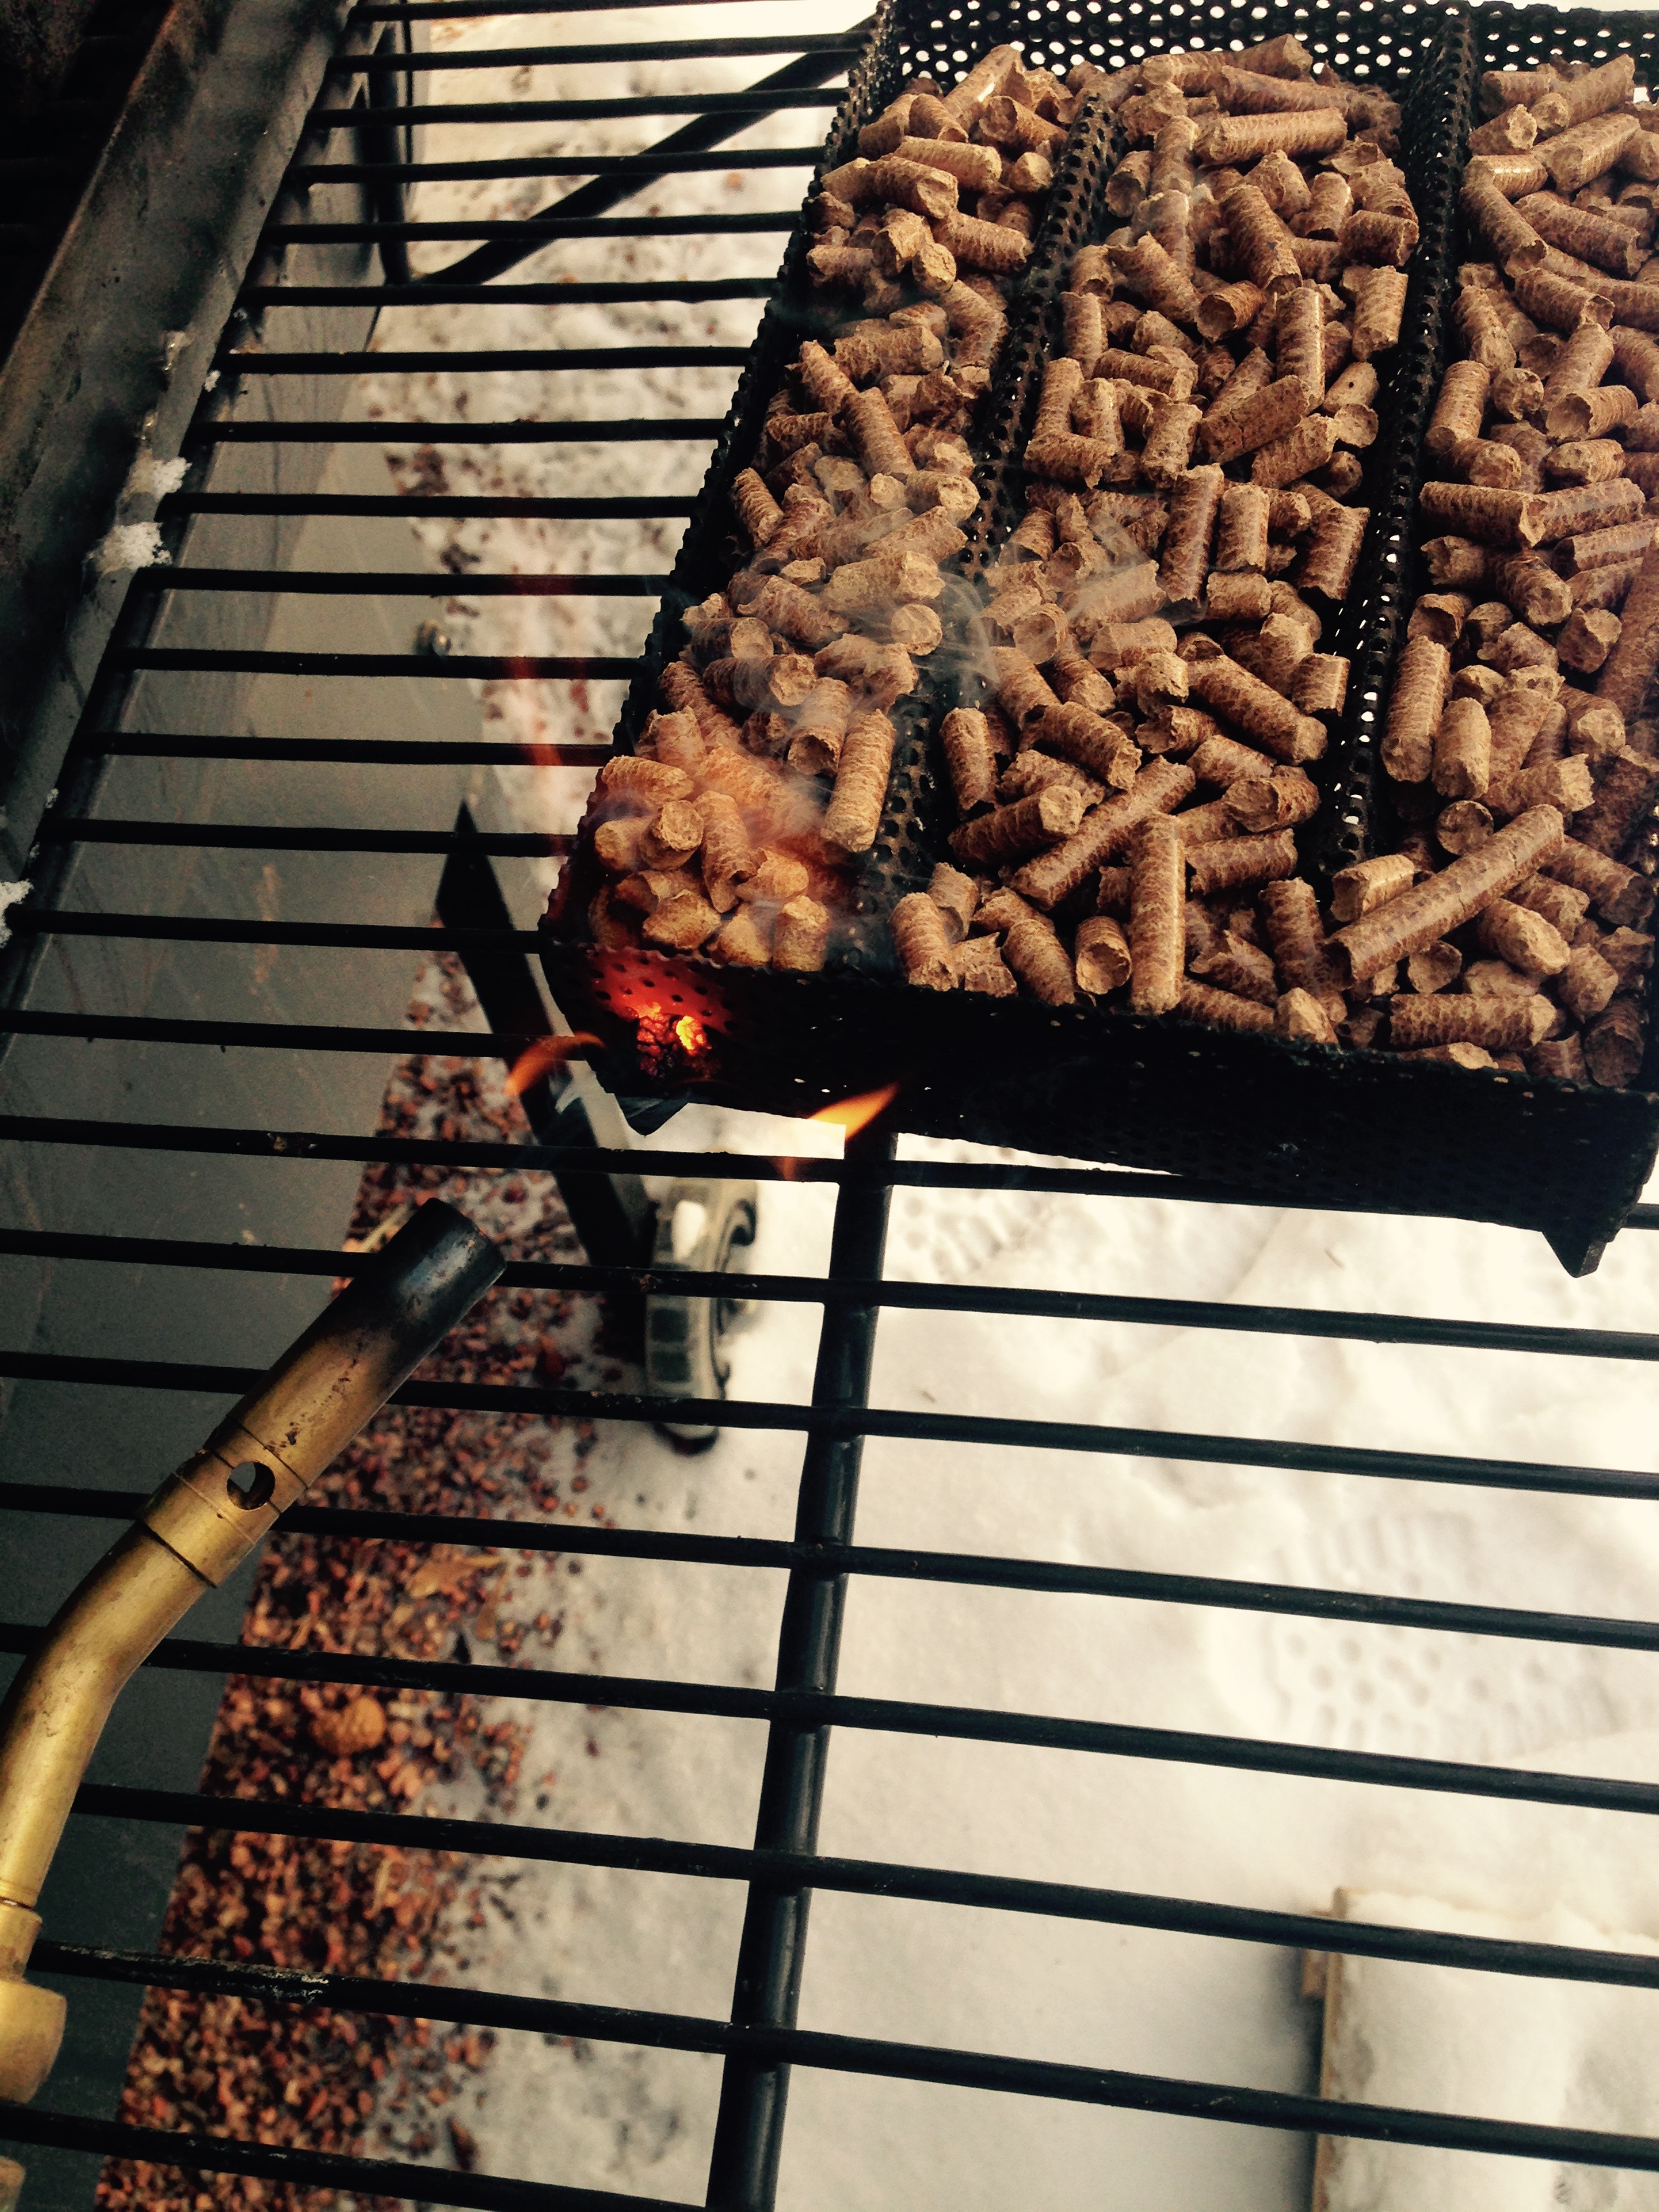
Lighting the smoke generator

Let the smoking begin!
I placed the smoke generator next to the chimney, hopefully most of the heat will escape through the chimney while the smoke fills the compartment. I also placed the thickest end of the fillet closest to the burning pellets so that hopefully the temperature incease won’t affect the salmon.
I generally do my cold smoking in my Traeger smoker instead of inside my gas grill due to the chimney. This allows a nice flow of air across the cooking space as the heat exits the chimney. Works excellently for cheese.
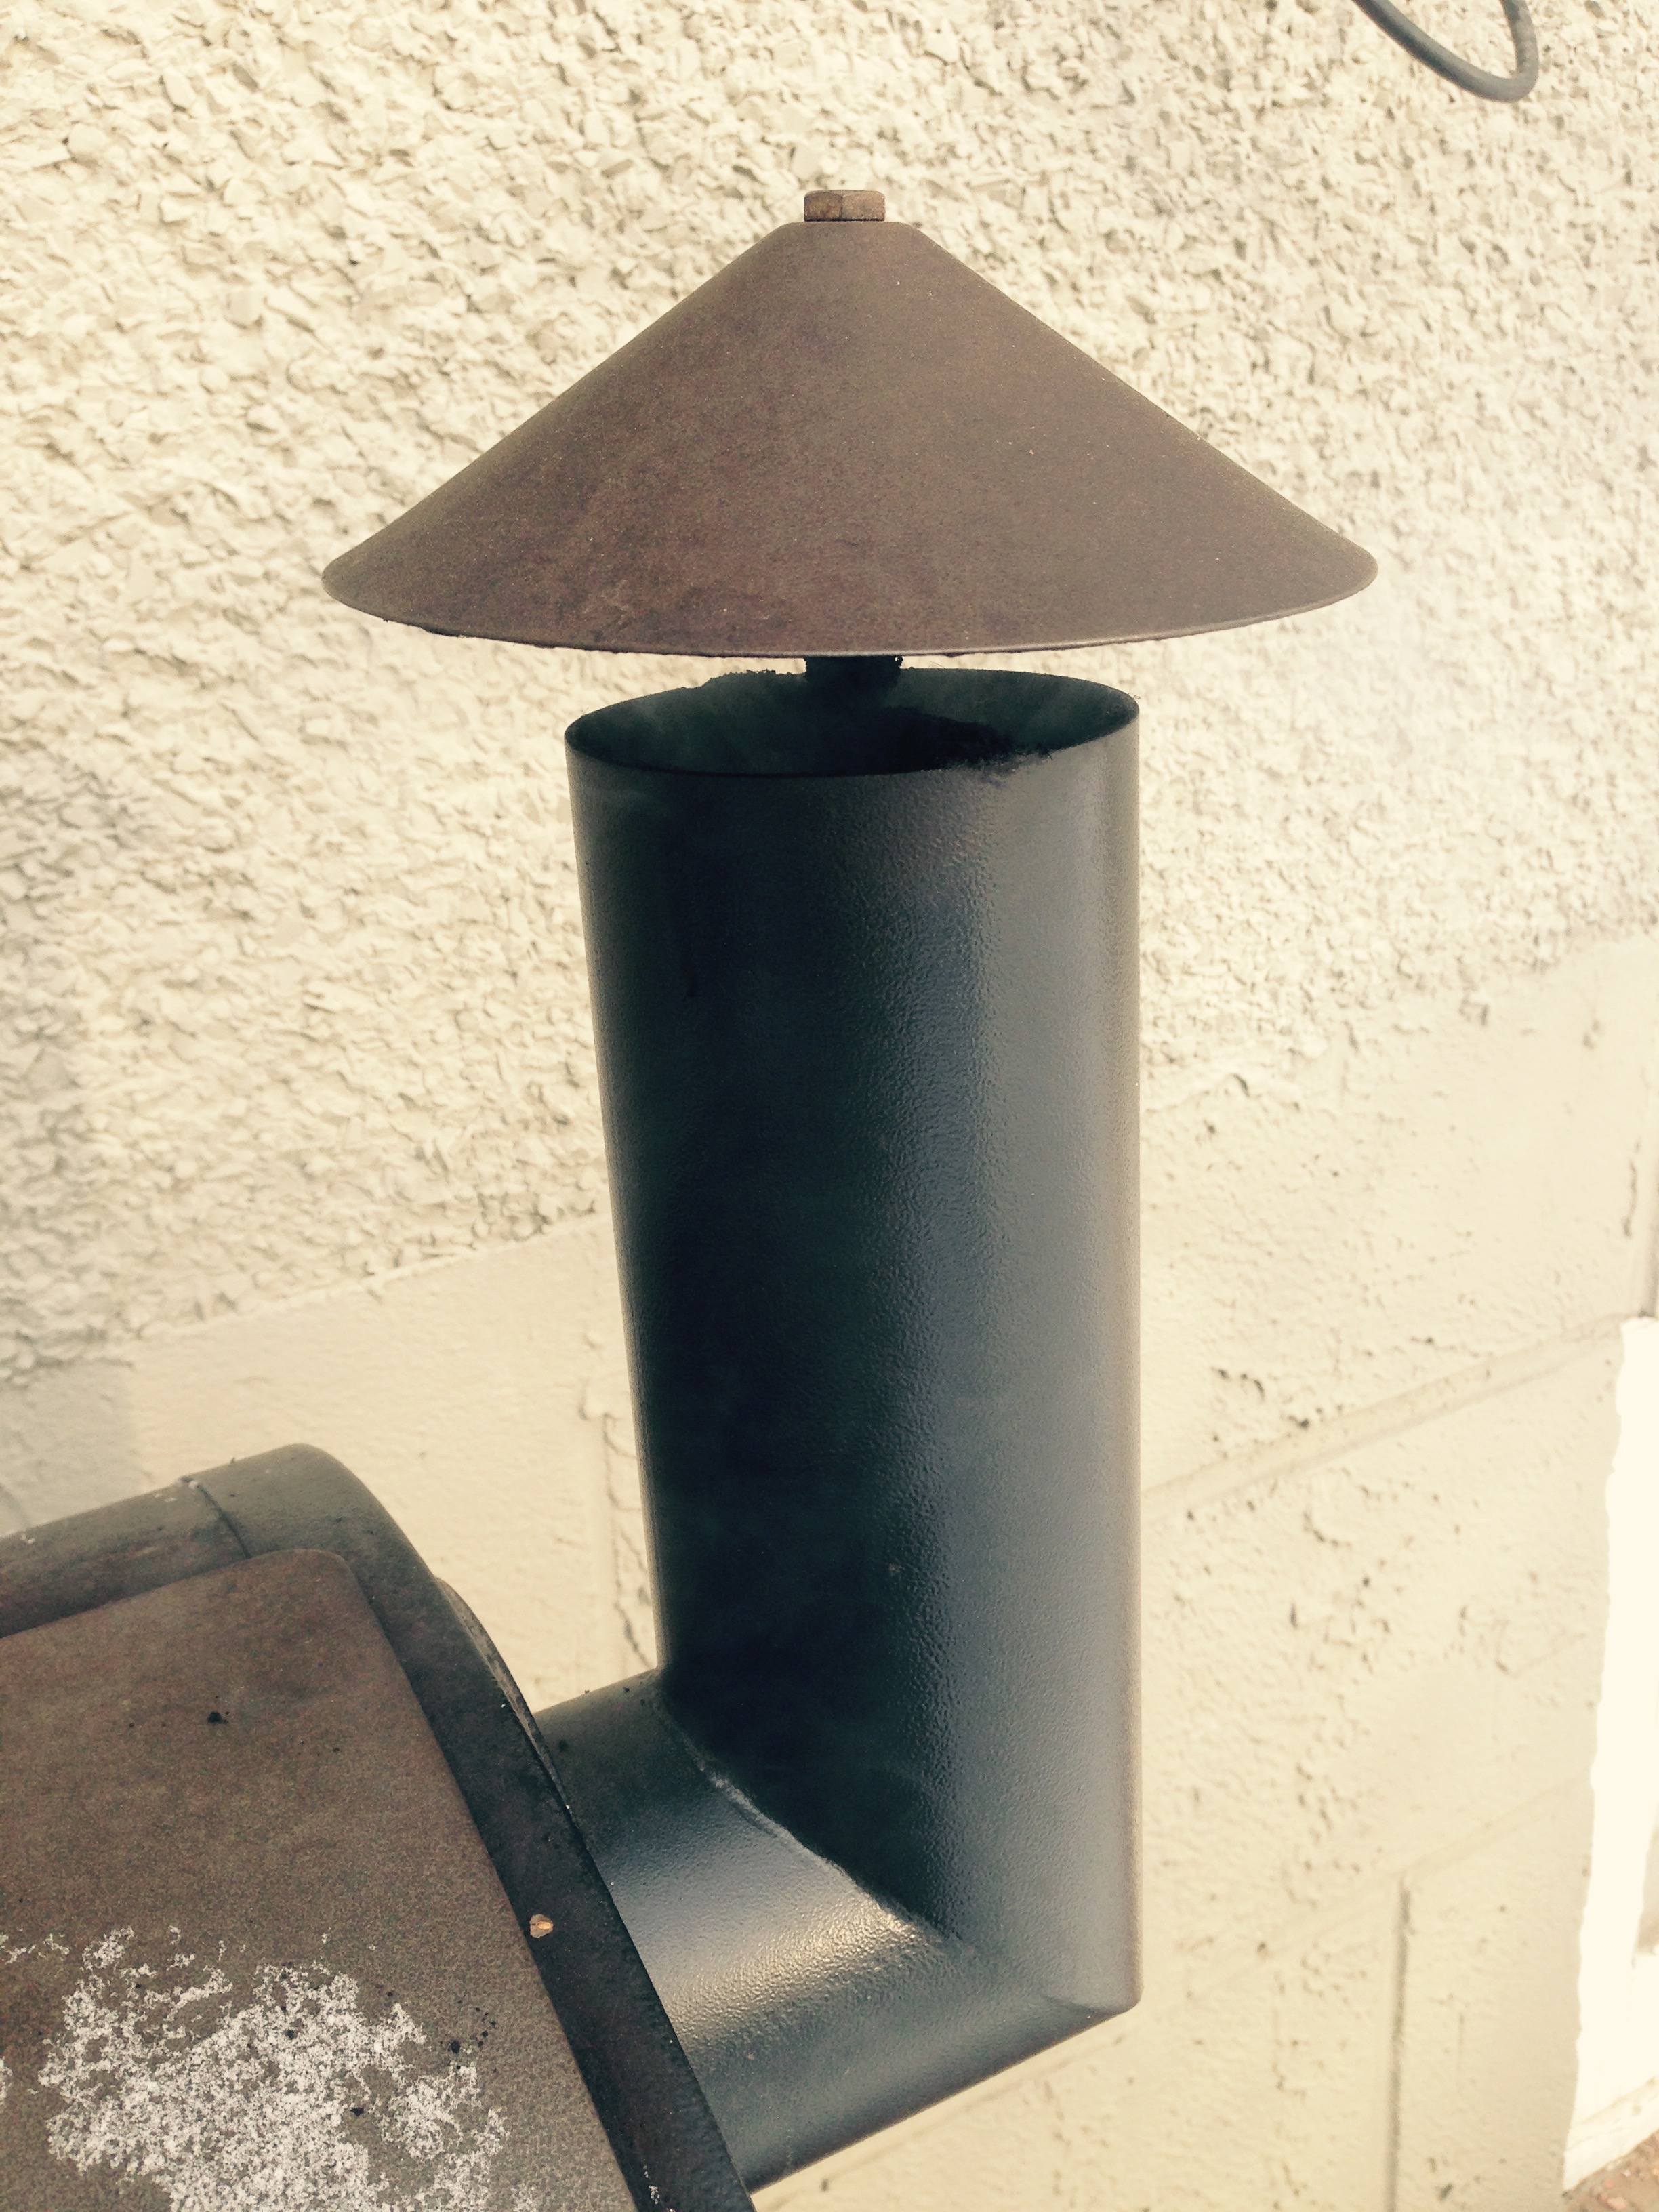
You can just make out the smoke exiting the chimney (sorry for the poor contrast).
See you in two hours my little beauty!
Well I did a 30 minute check and things are moving along smokingly!

Excellent smoke being generated.
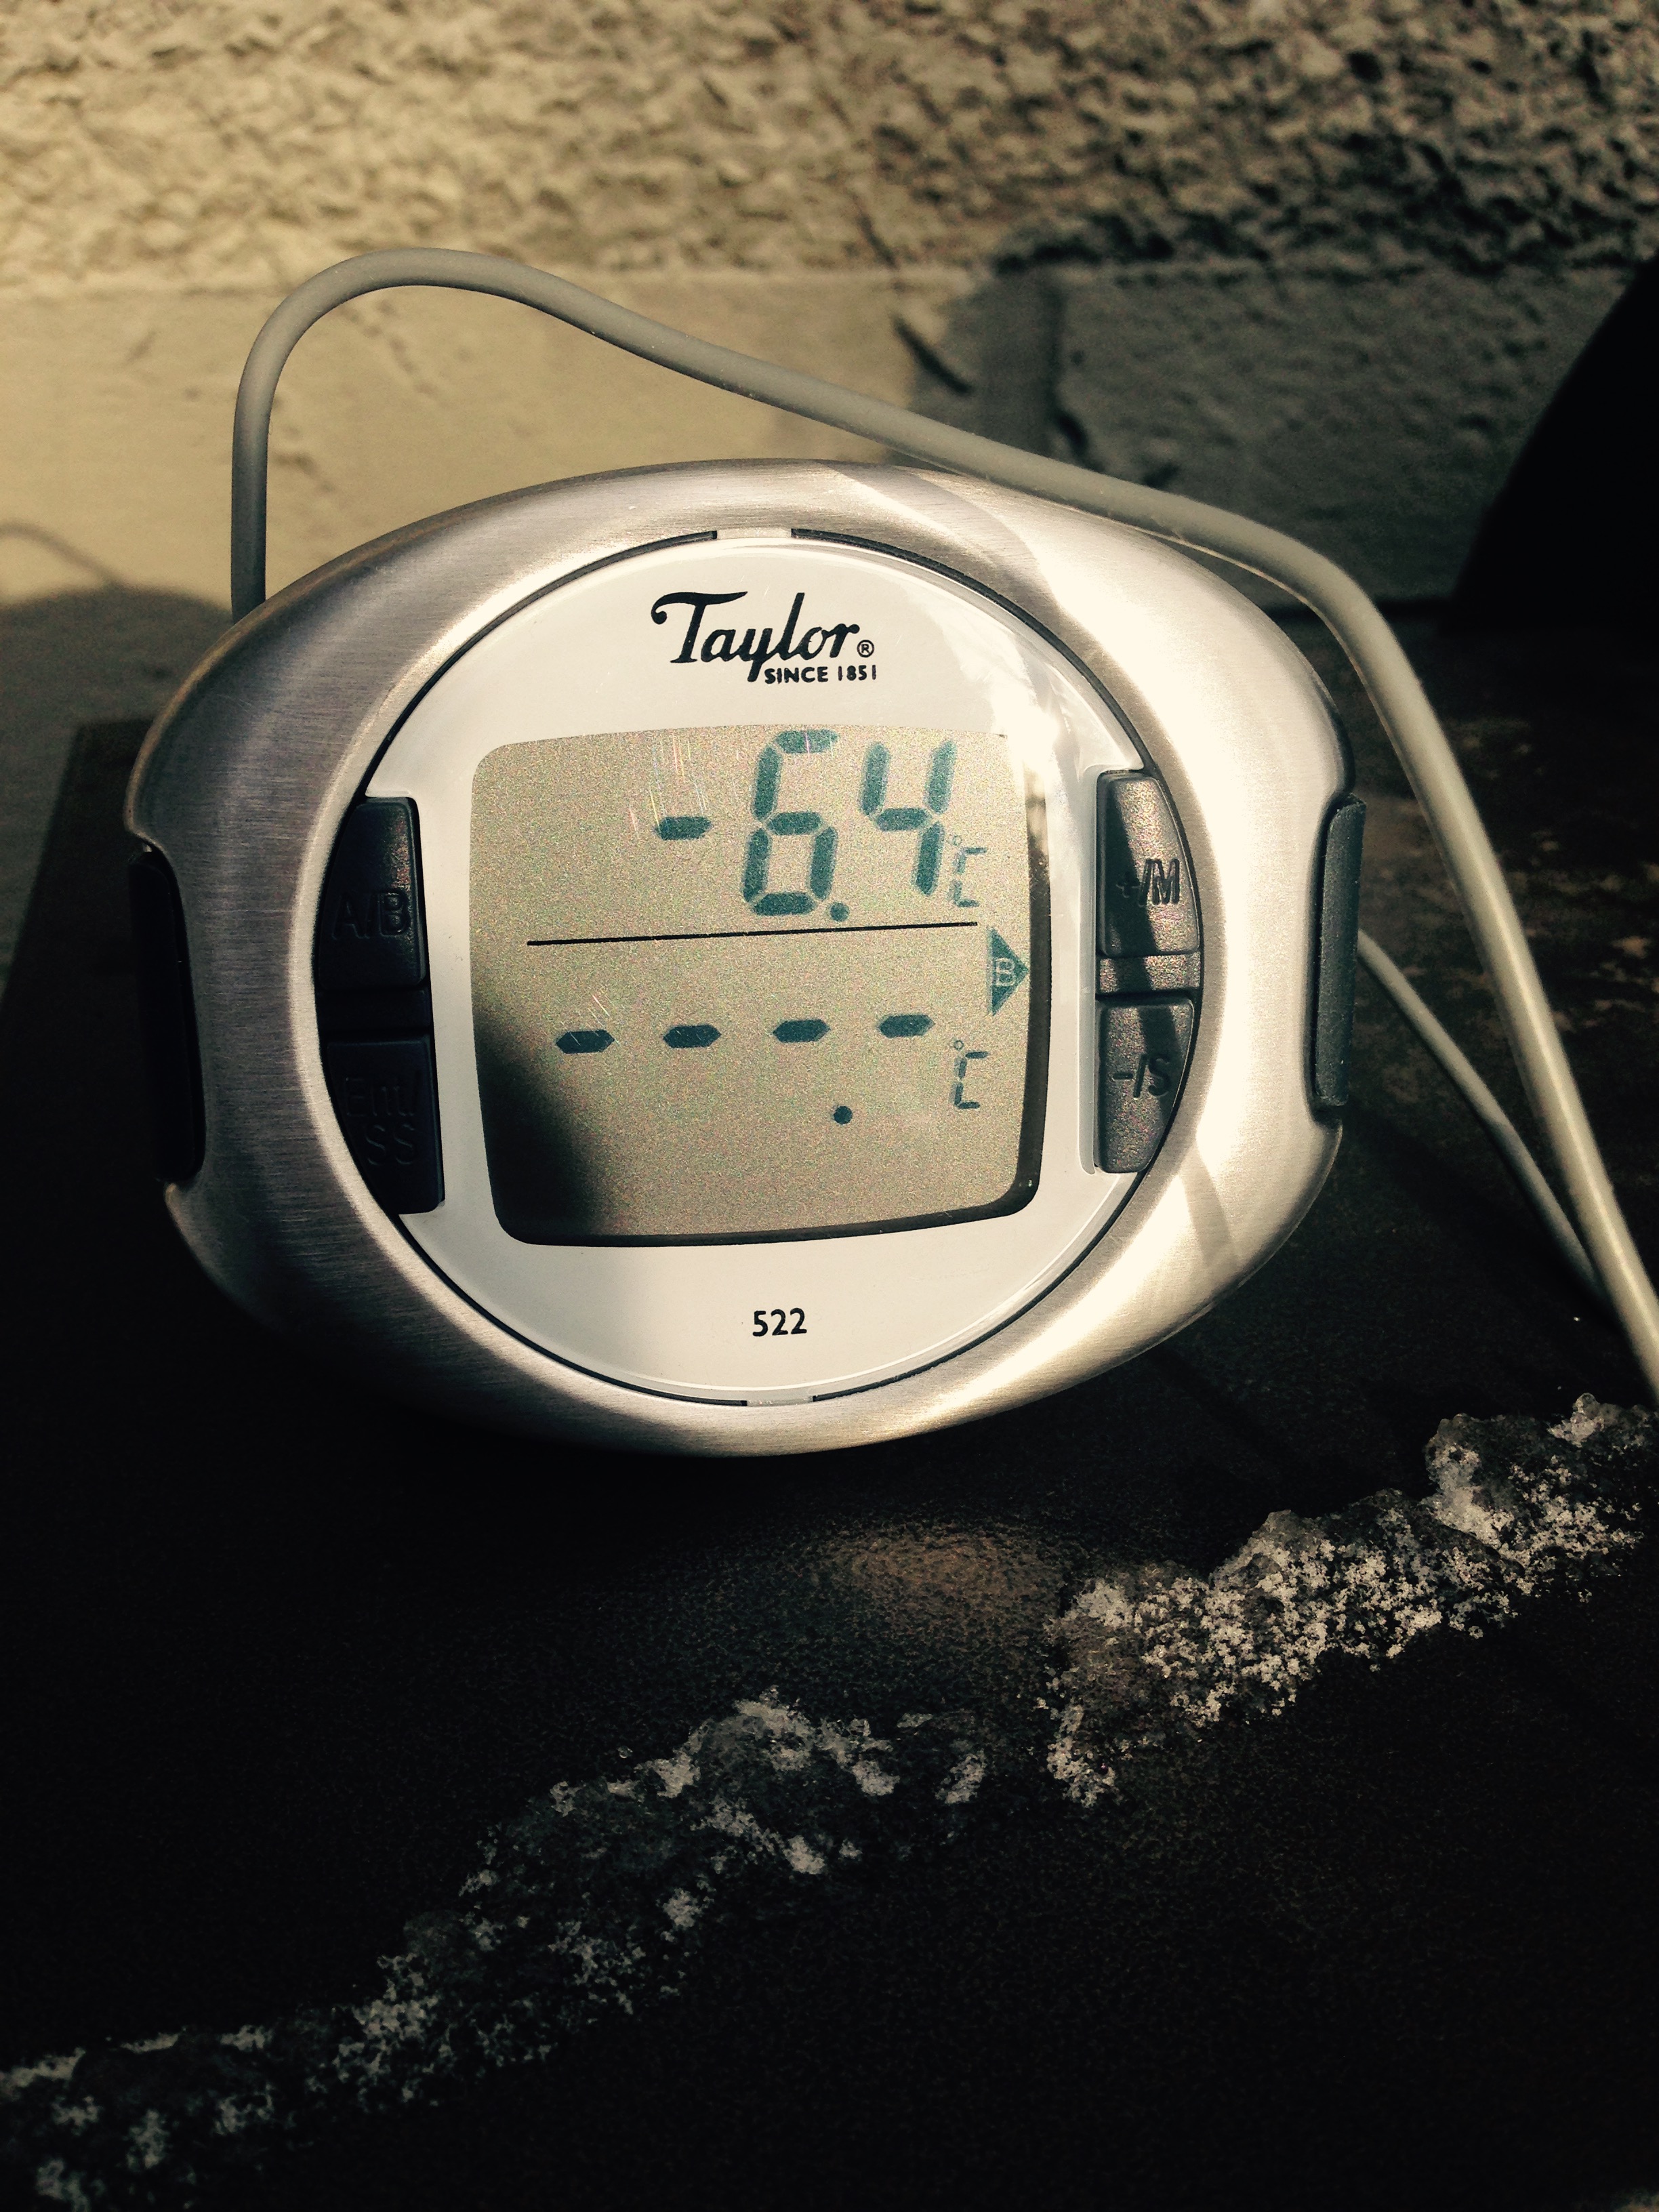
Temperature is holding well at -6 degC inside the smoking chamber.
It is very important that the temperature in the smoke chamber not exceed 27 degC. If the temperature exceeds 27 degC the fish will be ruined unless you catch the temperature increase so it is a good idea to watch the smoking temperature closely. If the temperature exceeds 80 degC you are safest to turn up the heat and make it a hot smoke at about 80 degC until the fillet internal temperature is 65 degC.
and as you can see the external temperature is also holding at -15 degC.
Well, it has been 2 hours so lets see what we have!

I’m really happy with that the temperature stayed nice and cold -2 degC.
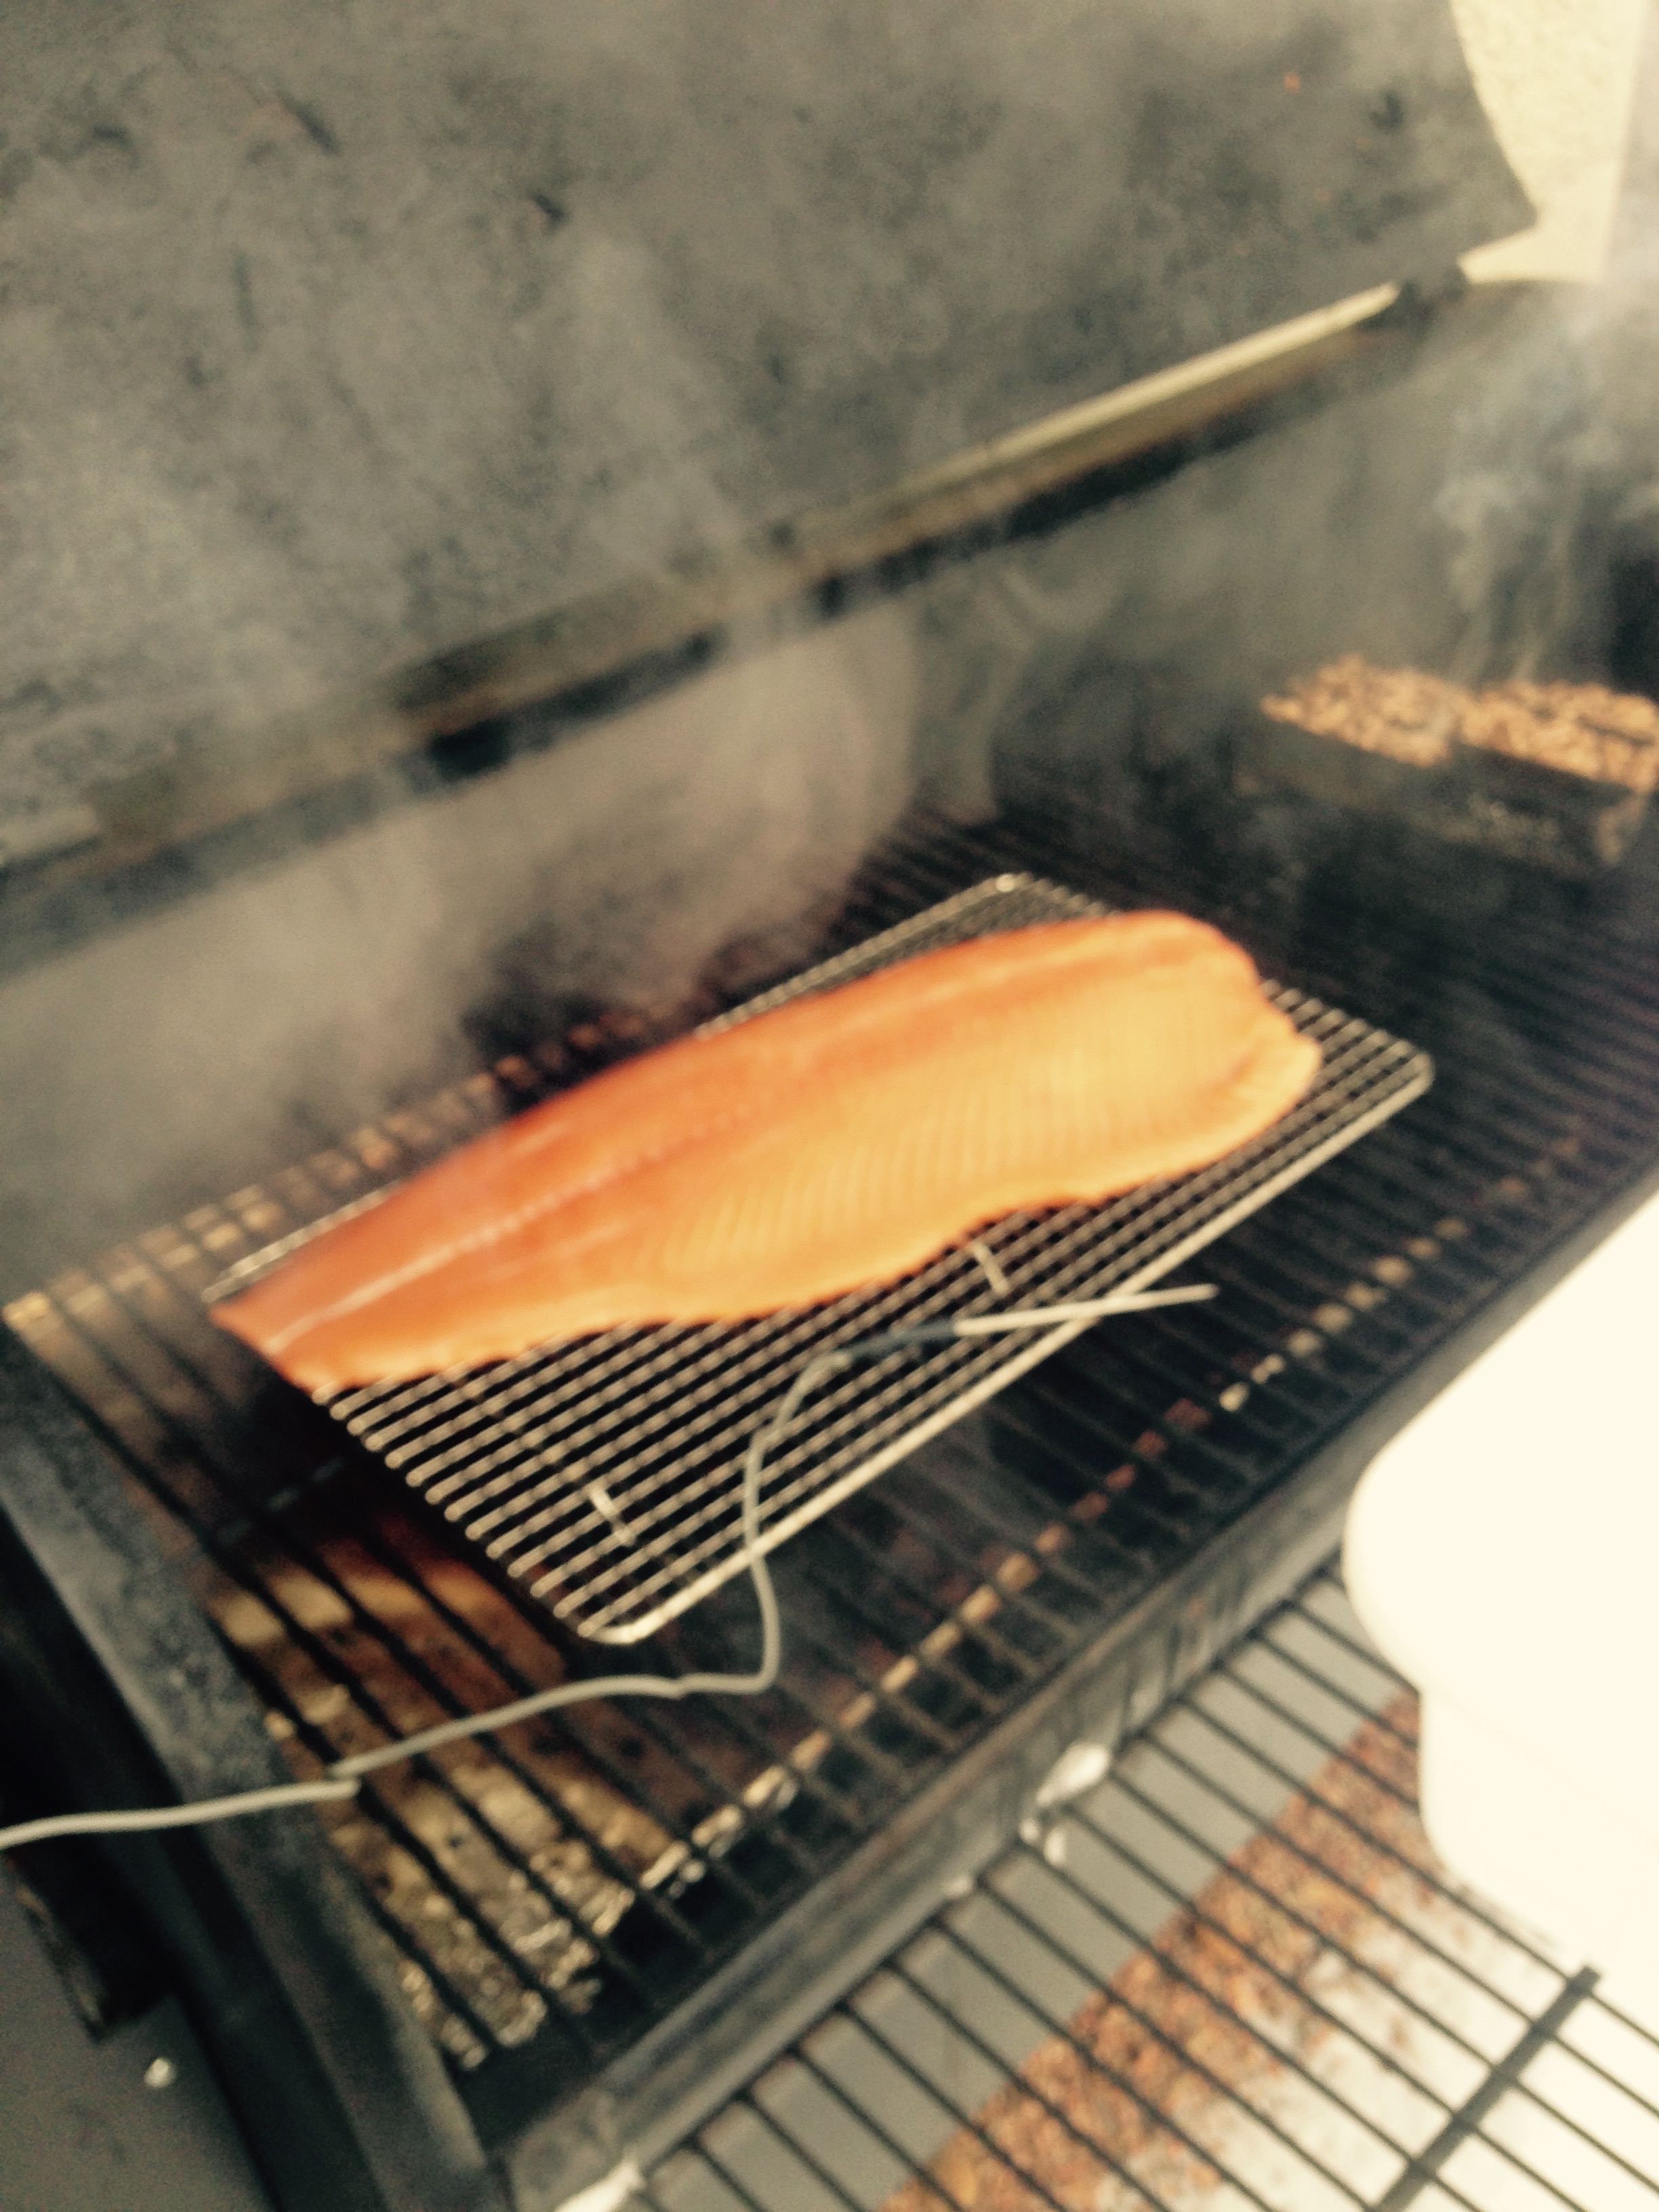
Looking Good!

Only used about a quarter of the pellets.

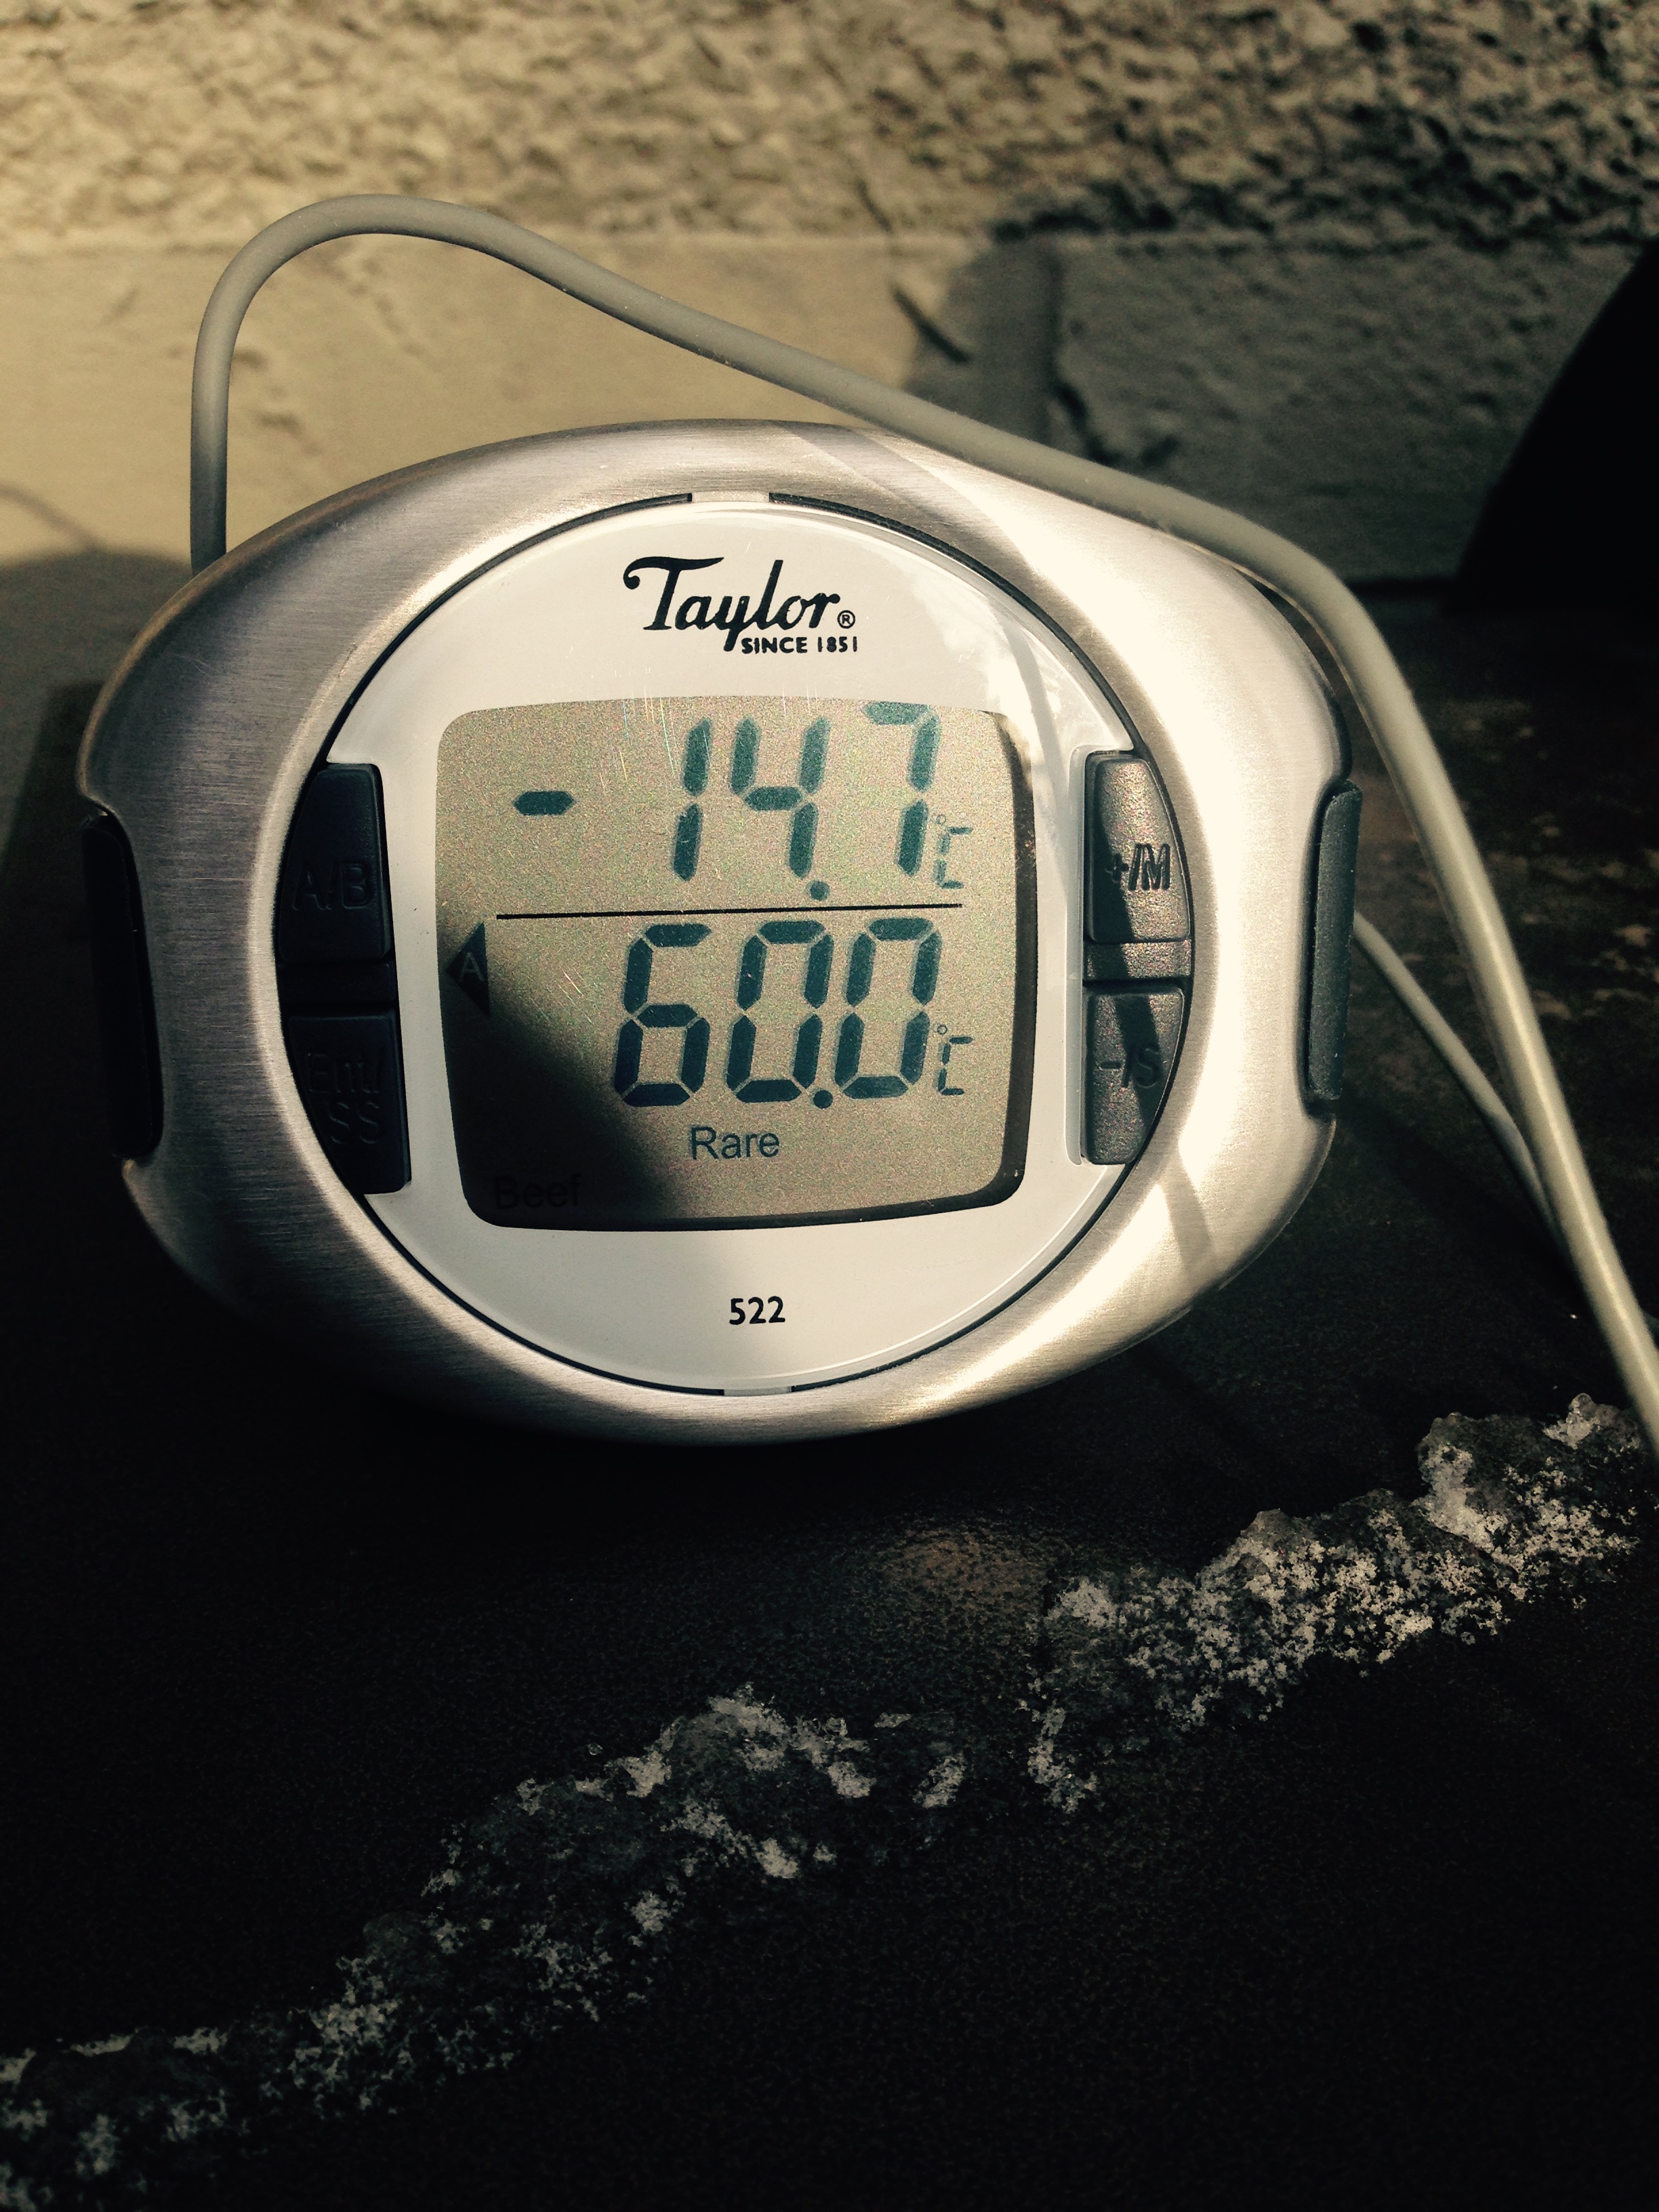
Nice looking piece of fish.
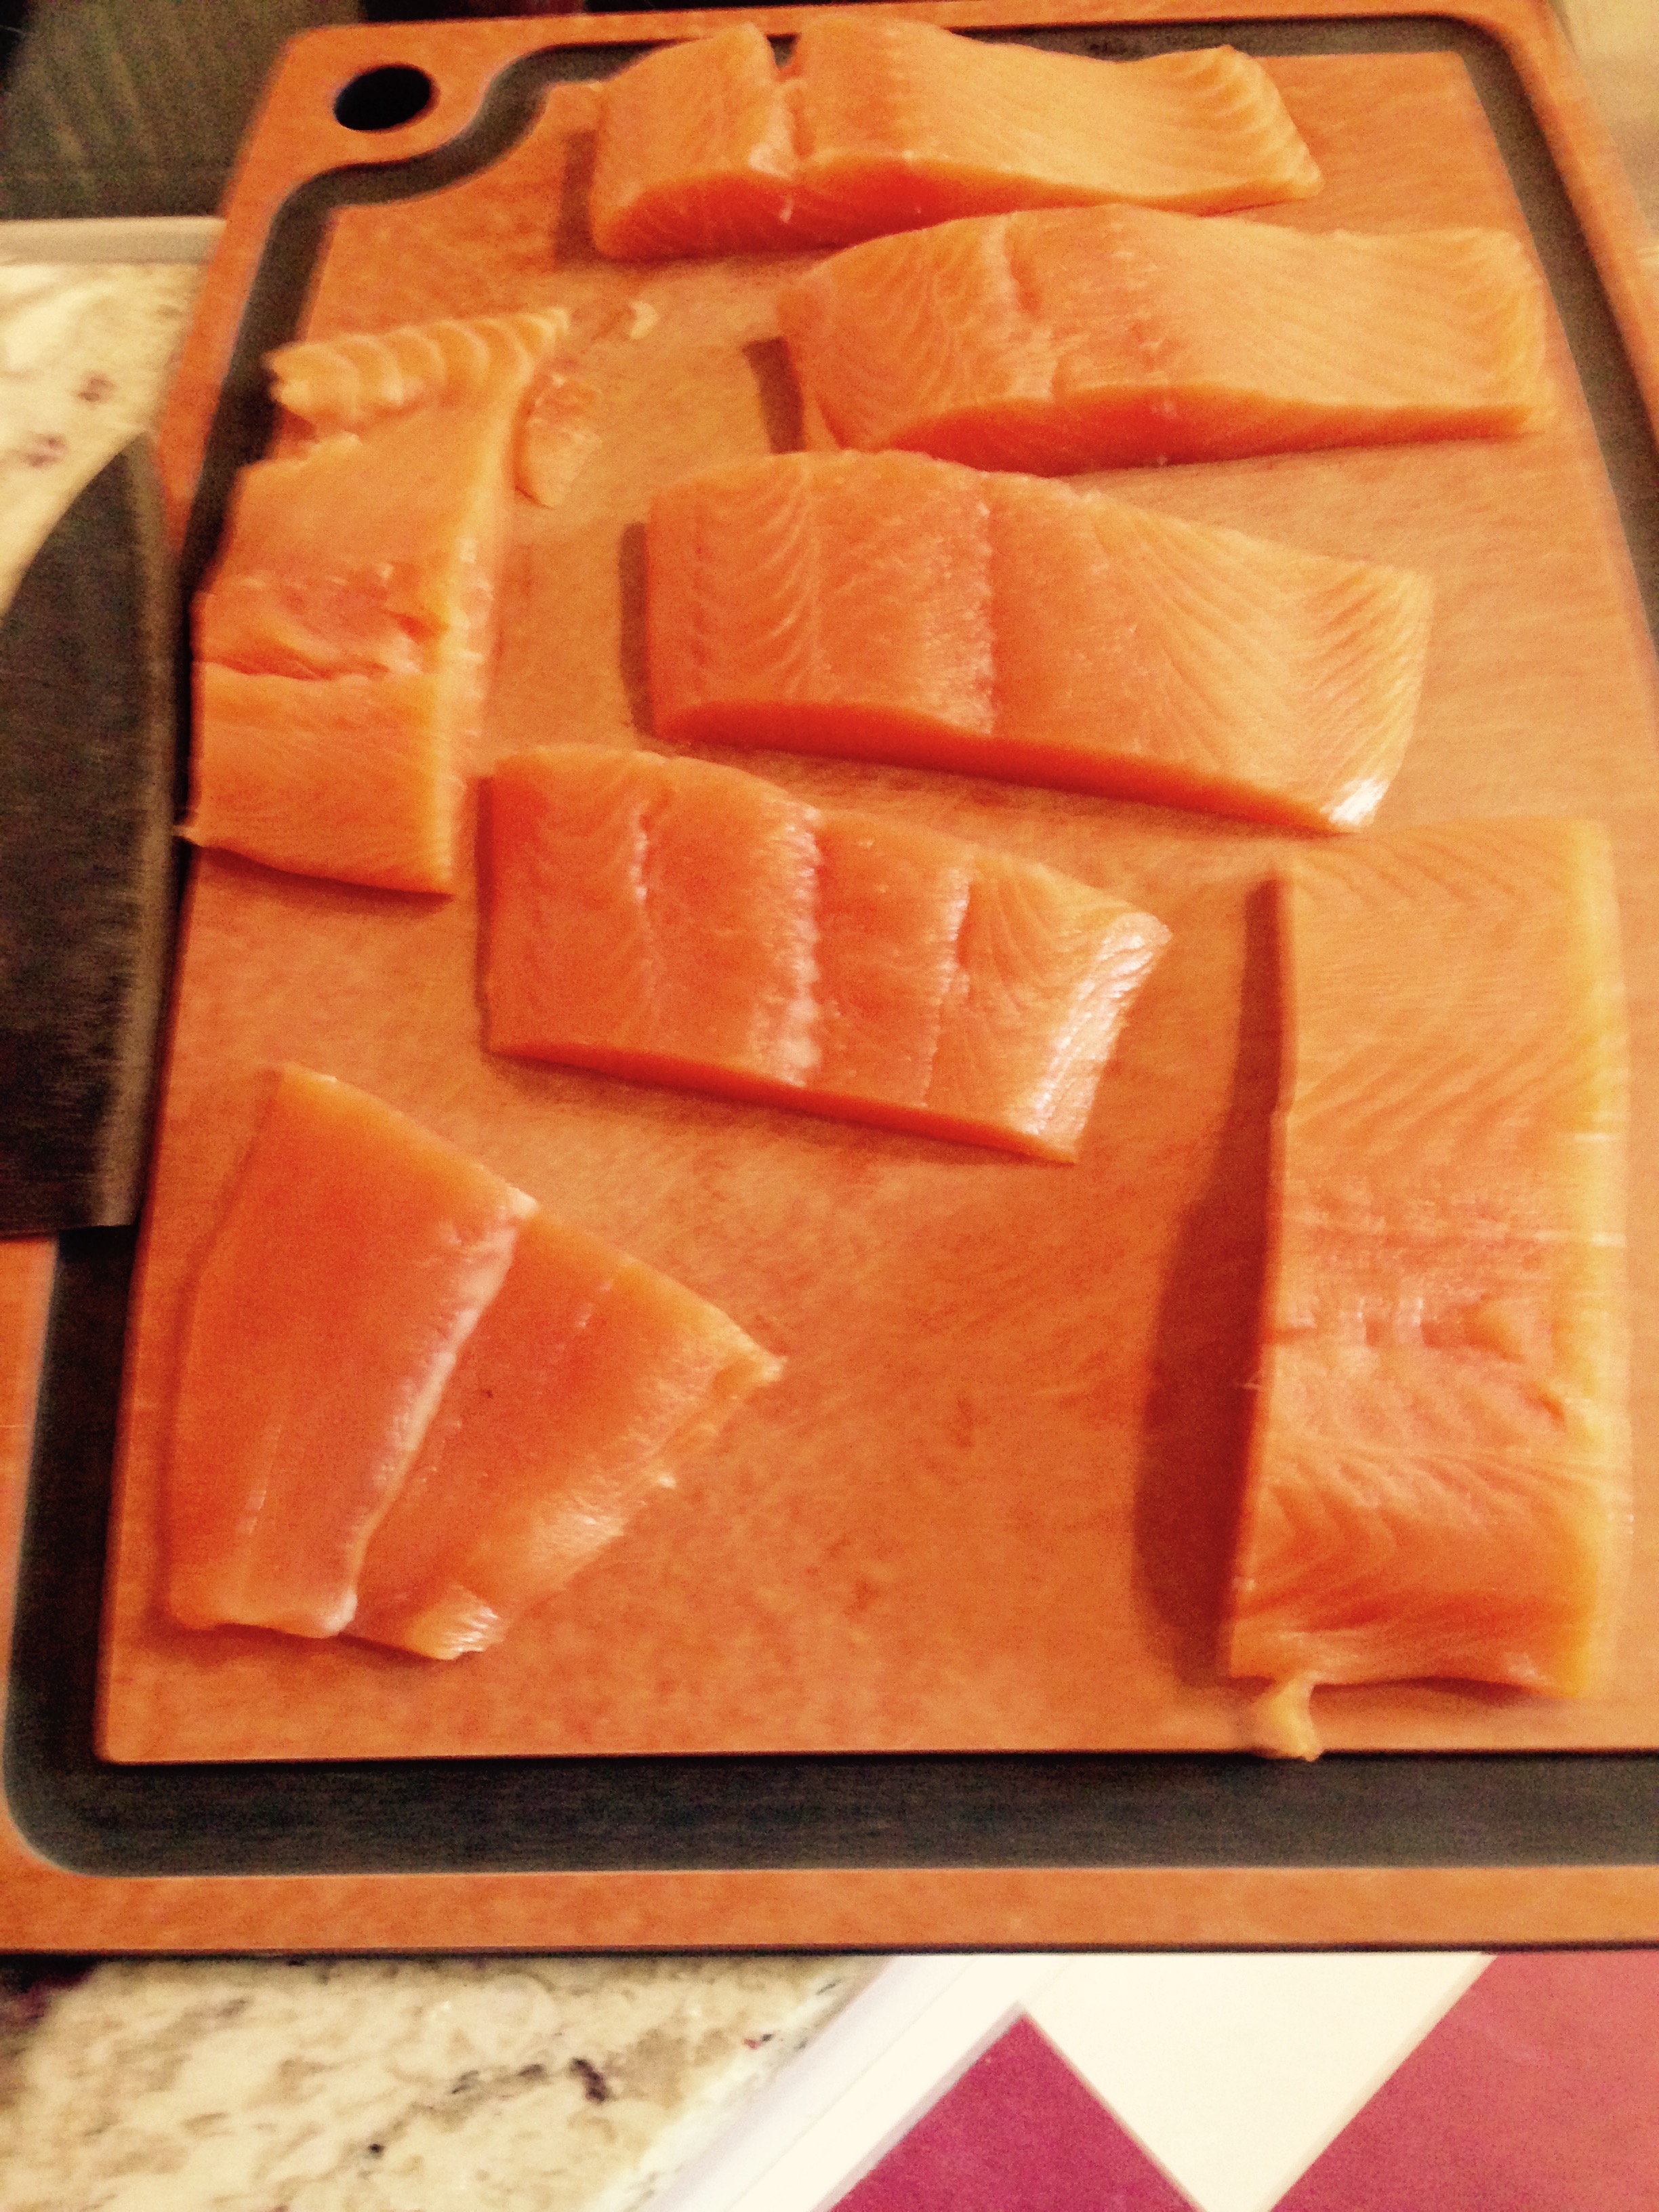
Cut up and ready for vacuum packing.
We will vacuum pack and freeze most of it. It is supposed to freeze nicely.
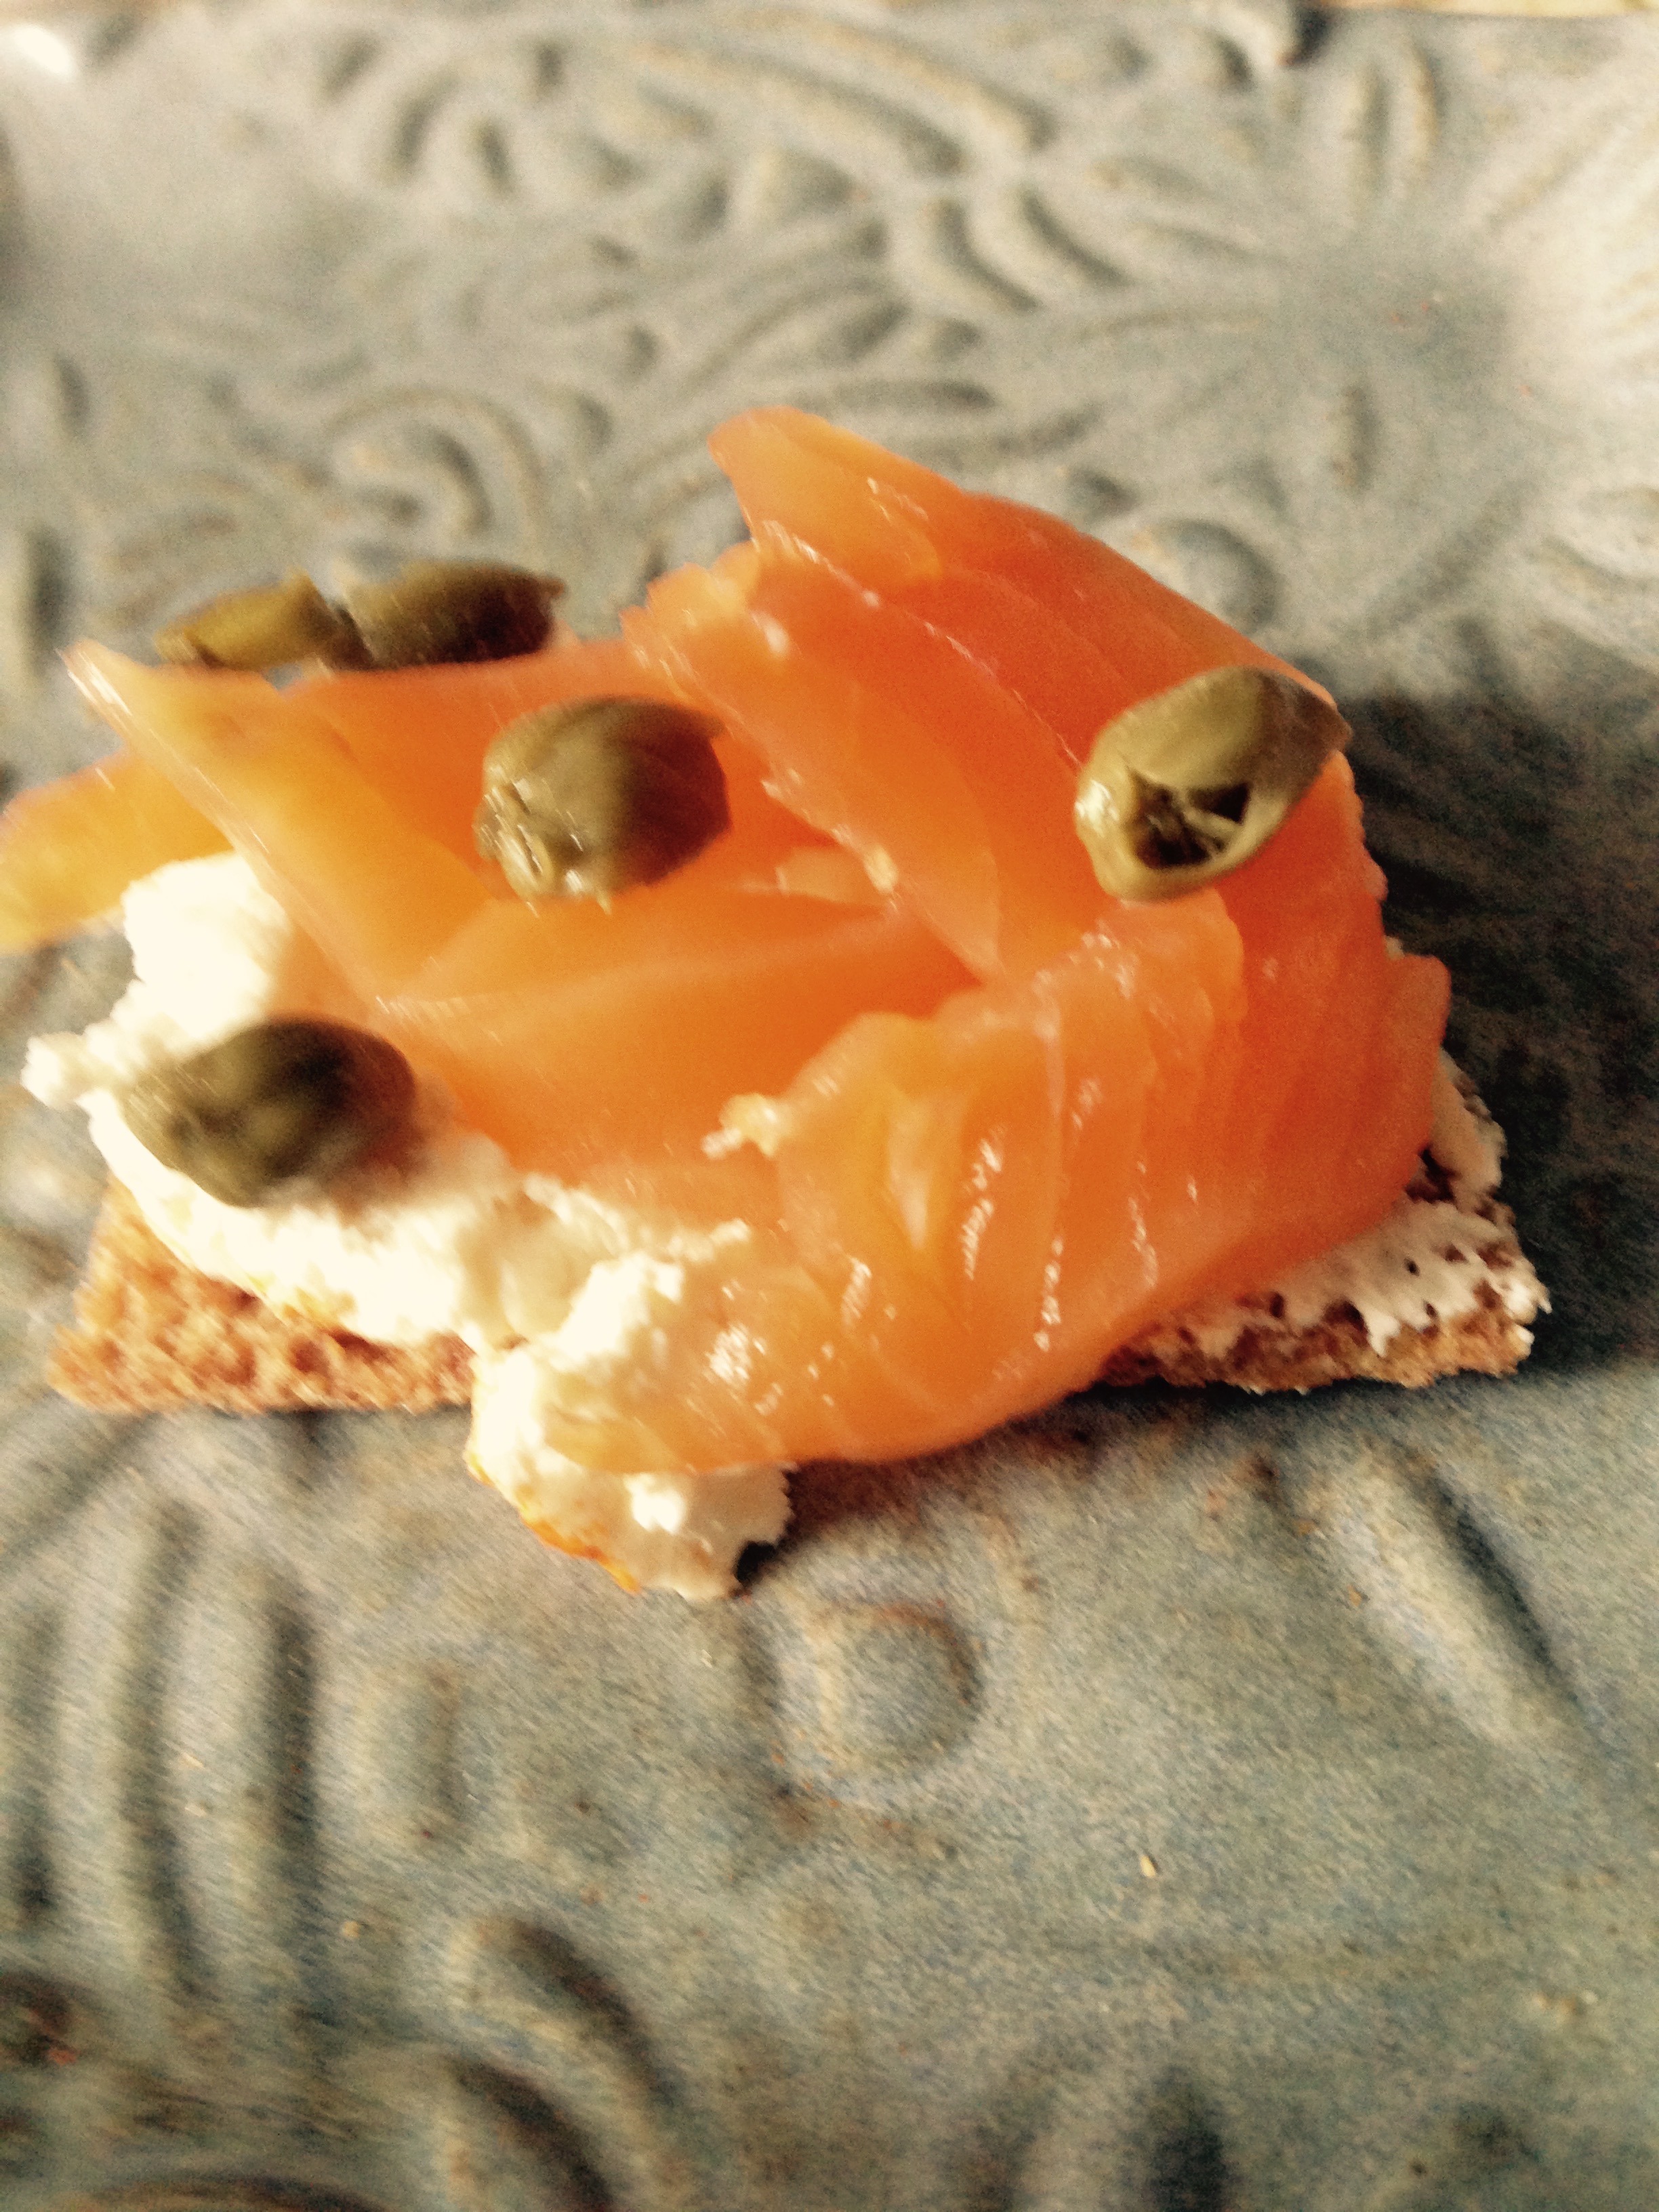
I like it served on a rye cracker with my homemade yoghurt cheese and a couple of capers.
When I first brought the salmon into the house UI was worried it was too smoky. We thinly sliced some for lunch and the 3 of the 4 of us at home (#4 was off on a school ski trip to BC) dug in. Everyone loved it and what I thought was a big piece soon dissappeared. The cabin rat ate it with his fingers, as did Mrs. Sailor. They both proclaimed it was some of the best salmon they had ever had. I guess this recipe is a keeper! Although next time I think I will work with two fillets and smoke one and put some dill on the unsmoked one just for a change of pace. That would be a more traditional style Lox.
Good to the last bite!
Watch for future salmon smoking recipes in the near future.
Until then; eat some cheese or salmon or bbq.
The League of YEG Home Cheese Makers Meeting January 31, 2015
Well today was the first meeting of the year for the League of YEG Home Cheese Makers. It has been quite awhile since we had met and we hoped some new members would attend. It was nice to see everyone and try their cheeses. For this meeting we decided to make fresh cheeses and of course we all brought along tidbits of other creations we had made.
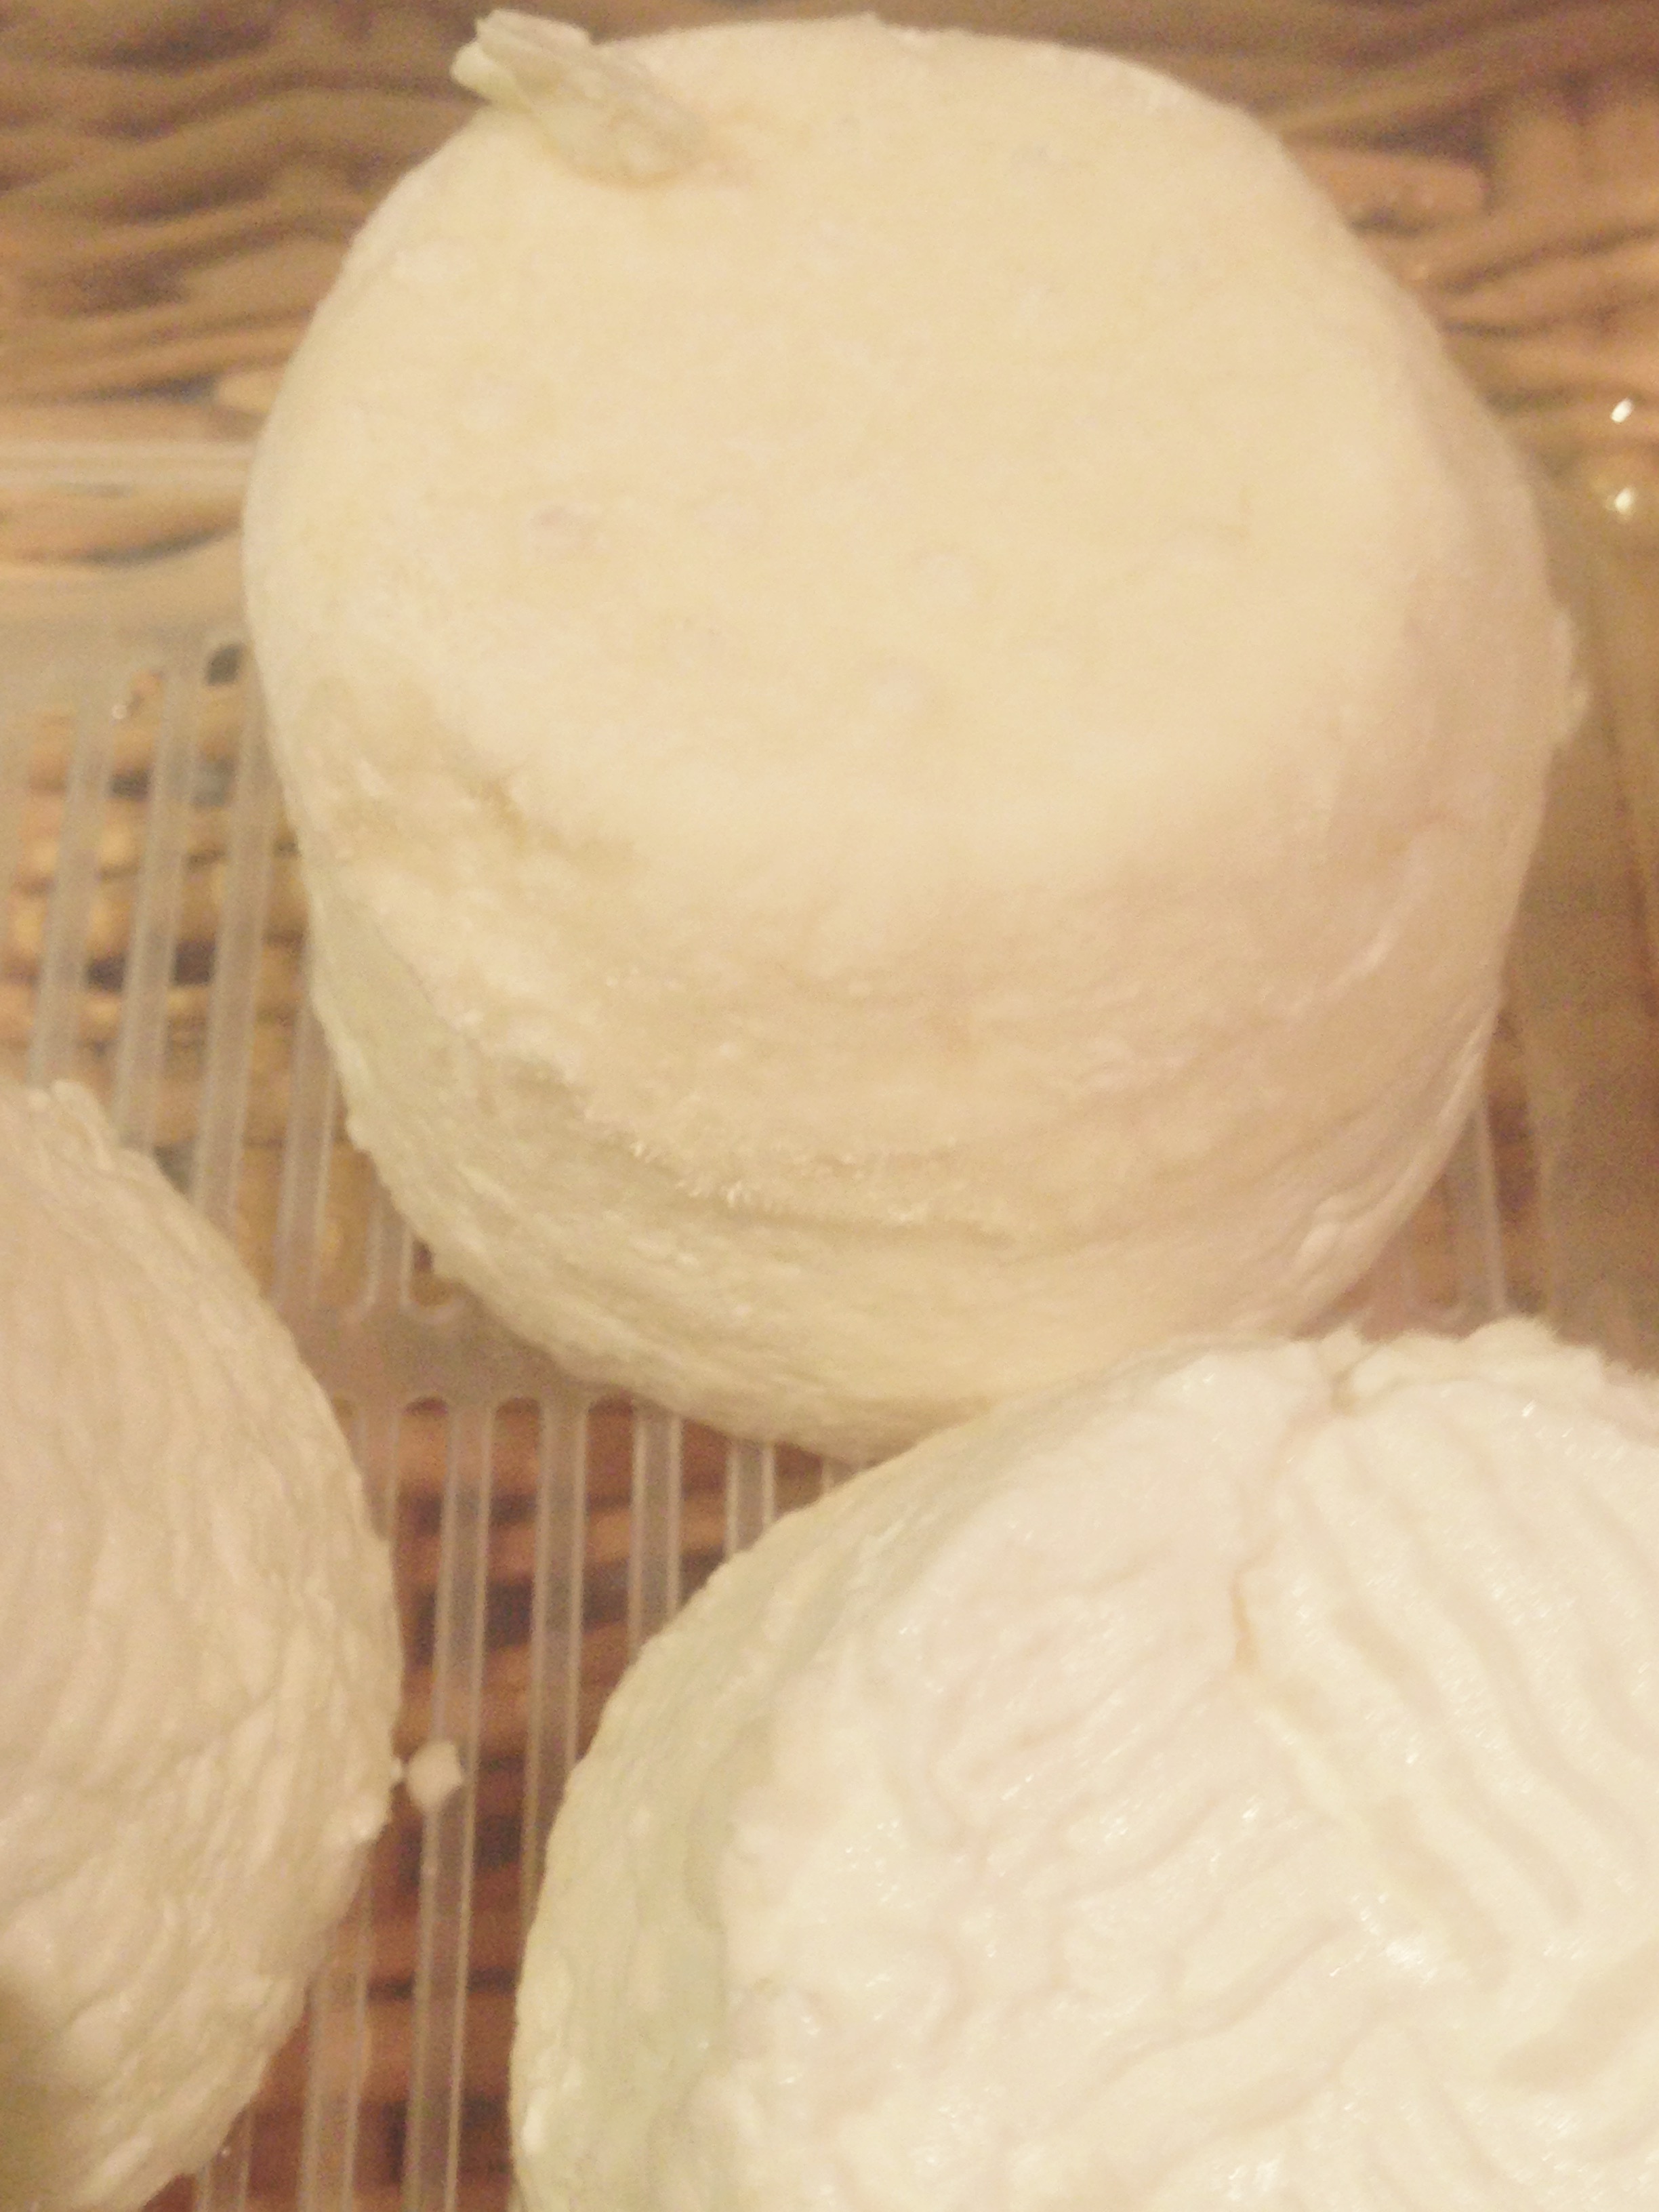
Now for some cheese curdography:
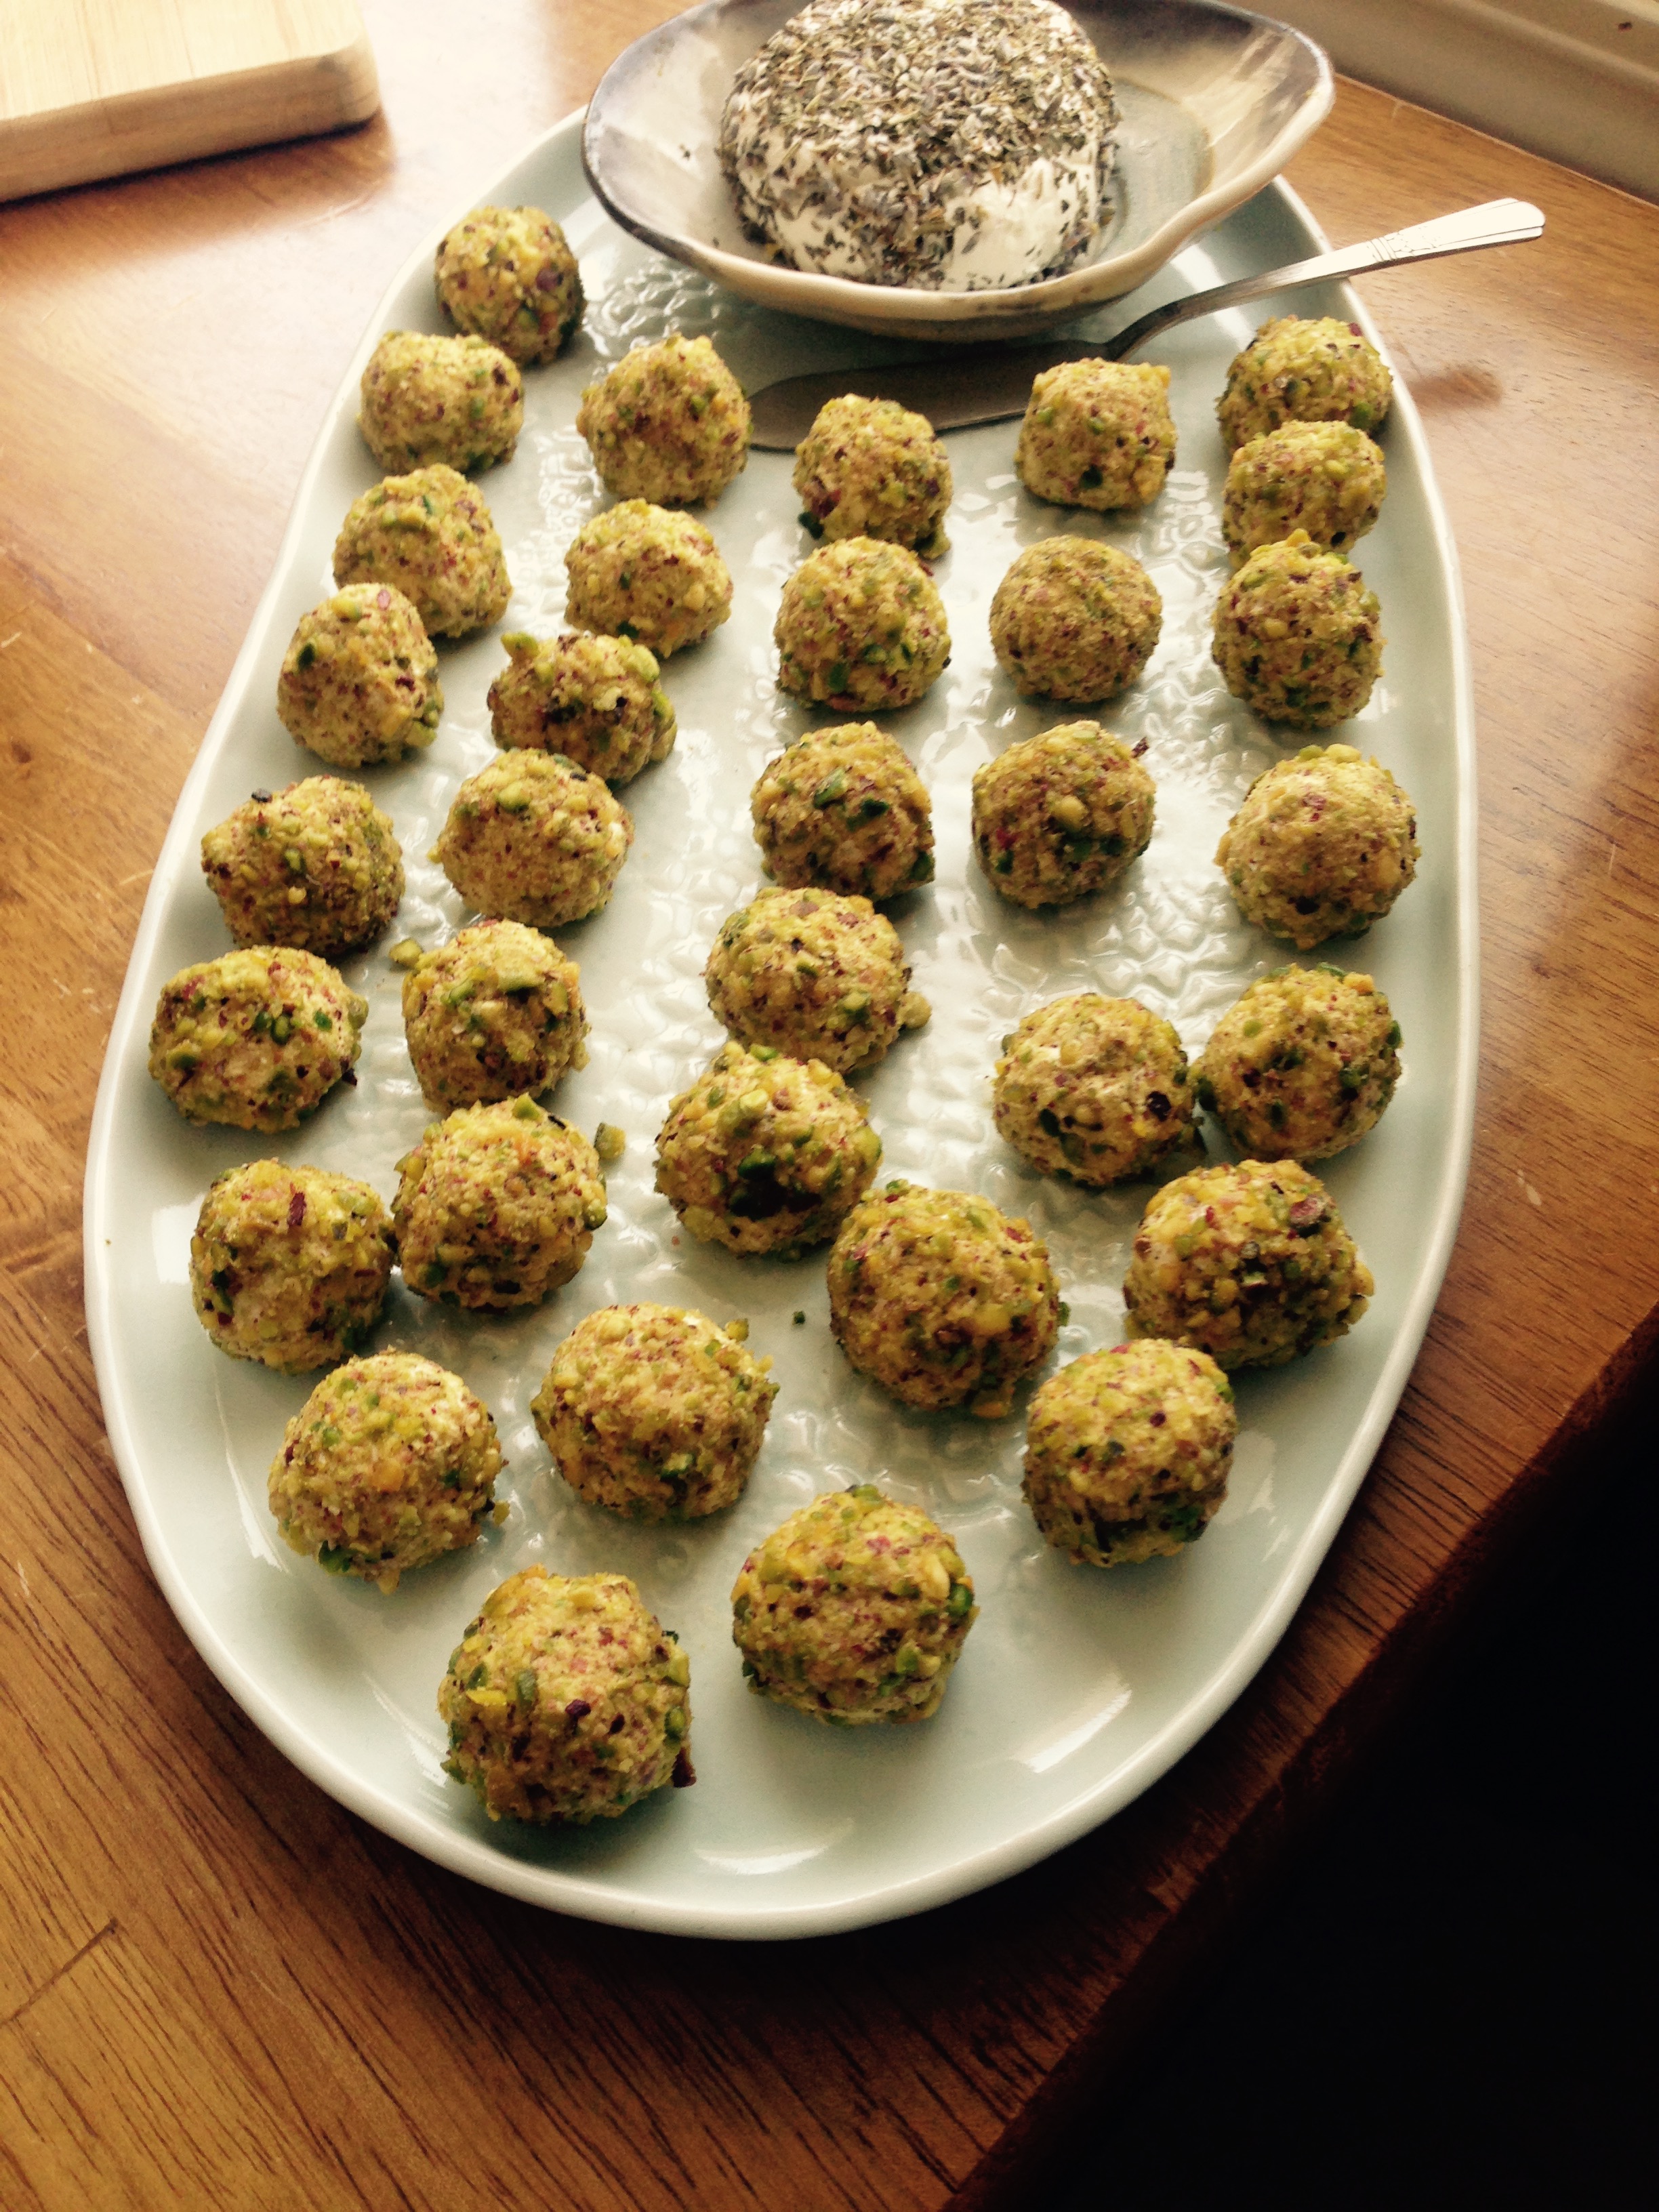
Corinne’s Goat Cheeses
Corinne made a fresh goat cheese and then rolled the cheese in two different seasonings. The upper one was rolled in Herbes de Provence from the San Juan Islands. (this was the best tasting Herbes de Provence I have ever had). The smaller balls were rolled in cardamum and pistachios (if my memory is correct). Both very tasty.
Next up was Jonatan, our young transplant from Belgium who is on a quest for good cheese while living in the cheese wasteland known as Central Alberta.

This was Jonatan’s fresh cheese rolled in smoked paprika.

This was Jonatan’s ‘Something I had in the refridgerator’.
Jonatan’s fresh cheese rolled in smoked paprika was also a very tasty fresh cheese. His extra cheese was quite pungent and slightly bitter but very nice on a slice of his homemade baguette.
Next up was Janet, a new member who was a student of Ian’s. She made an acid coagualted fresh cheese.

Janet’s Lemon Fresh Curd Cheese
Janet’s lemon cheese was nice and lemony fresh and perky in your mouth with a nice clean taste.
Next up we have Ian from Much To Do About Cheese. Ian hosted today’s meeting and is one of the cofounders of both the League of YEG and Cheesepalooza.

Ian’s first cheese was a Formage Blanc rolled in Za’atar, a Middle Eastern spice mix.
Ian also did a Formage Blanc with Chil Flakes which gave the cheese a nice sizzle.
I have only ever had Za’atar on pita bread which I quite enjoy. The cheese rolled in Za’atar was very nice with an exotic flavour twiast.
And of course Ian layed out a wonderful spread of his hard cheeses as well.

A one year old cloth bound cheddar!

You need a stout knife to slay a wild aged cheddar!

The hole in the right side of the top piece was caused by a
Trier; a tool used to sample hard cheeses as they age.
The cheddar was everything you hope for in a cloth bound cheddar, nutty, creamy in the mouth as it disolves on your tongue. Excellent!!
Next up was an Appenzeller style cheese that Ian calls Joseph, after his Grandfather.

This is the second time Ian has made Joseph.
The first was a decent cheese but with this one he’s hit the bulls-eye! It has been aged about 10 months which would classify it as an ‘Extra’ if he had made it in Switzerland.
Shhh!!! Don’t tell the Swiss but I think his may be better!
And finally yours truly brought some cheese as well.
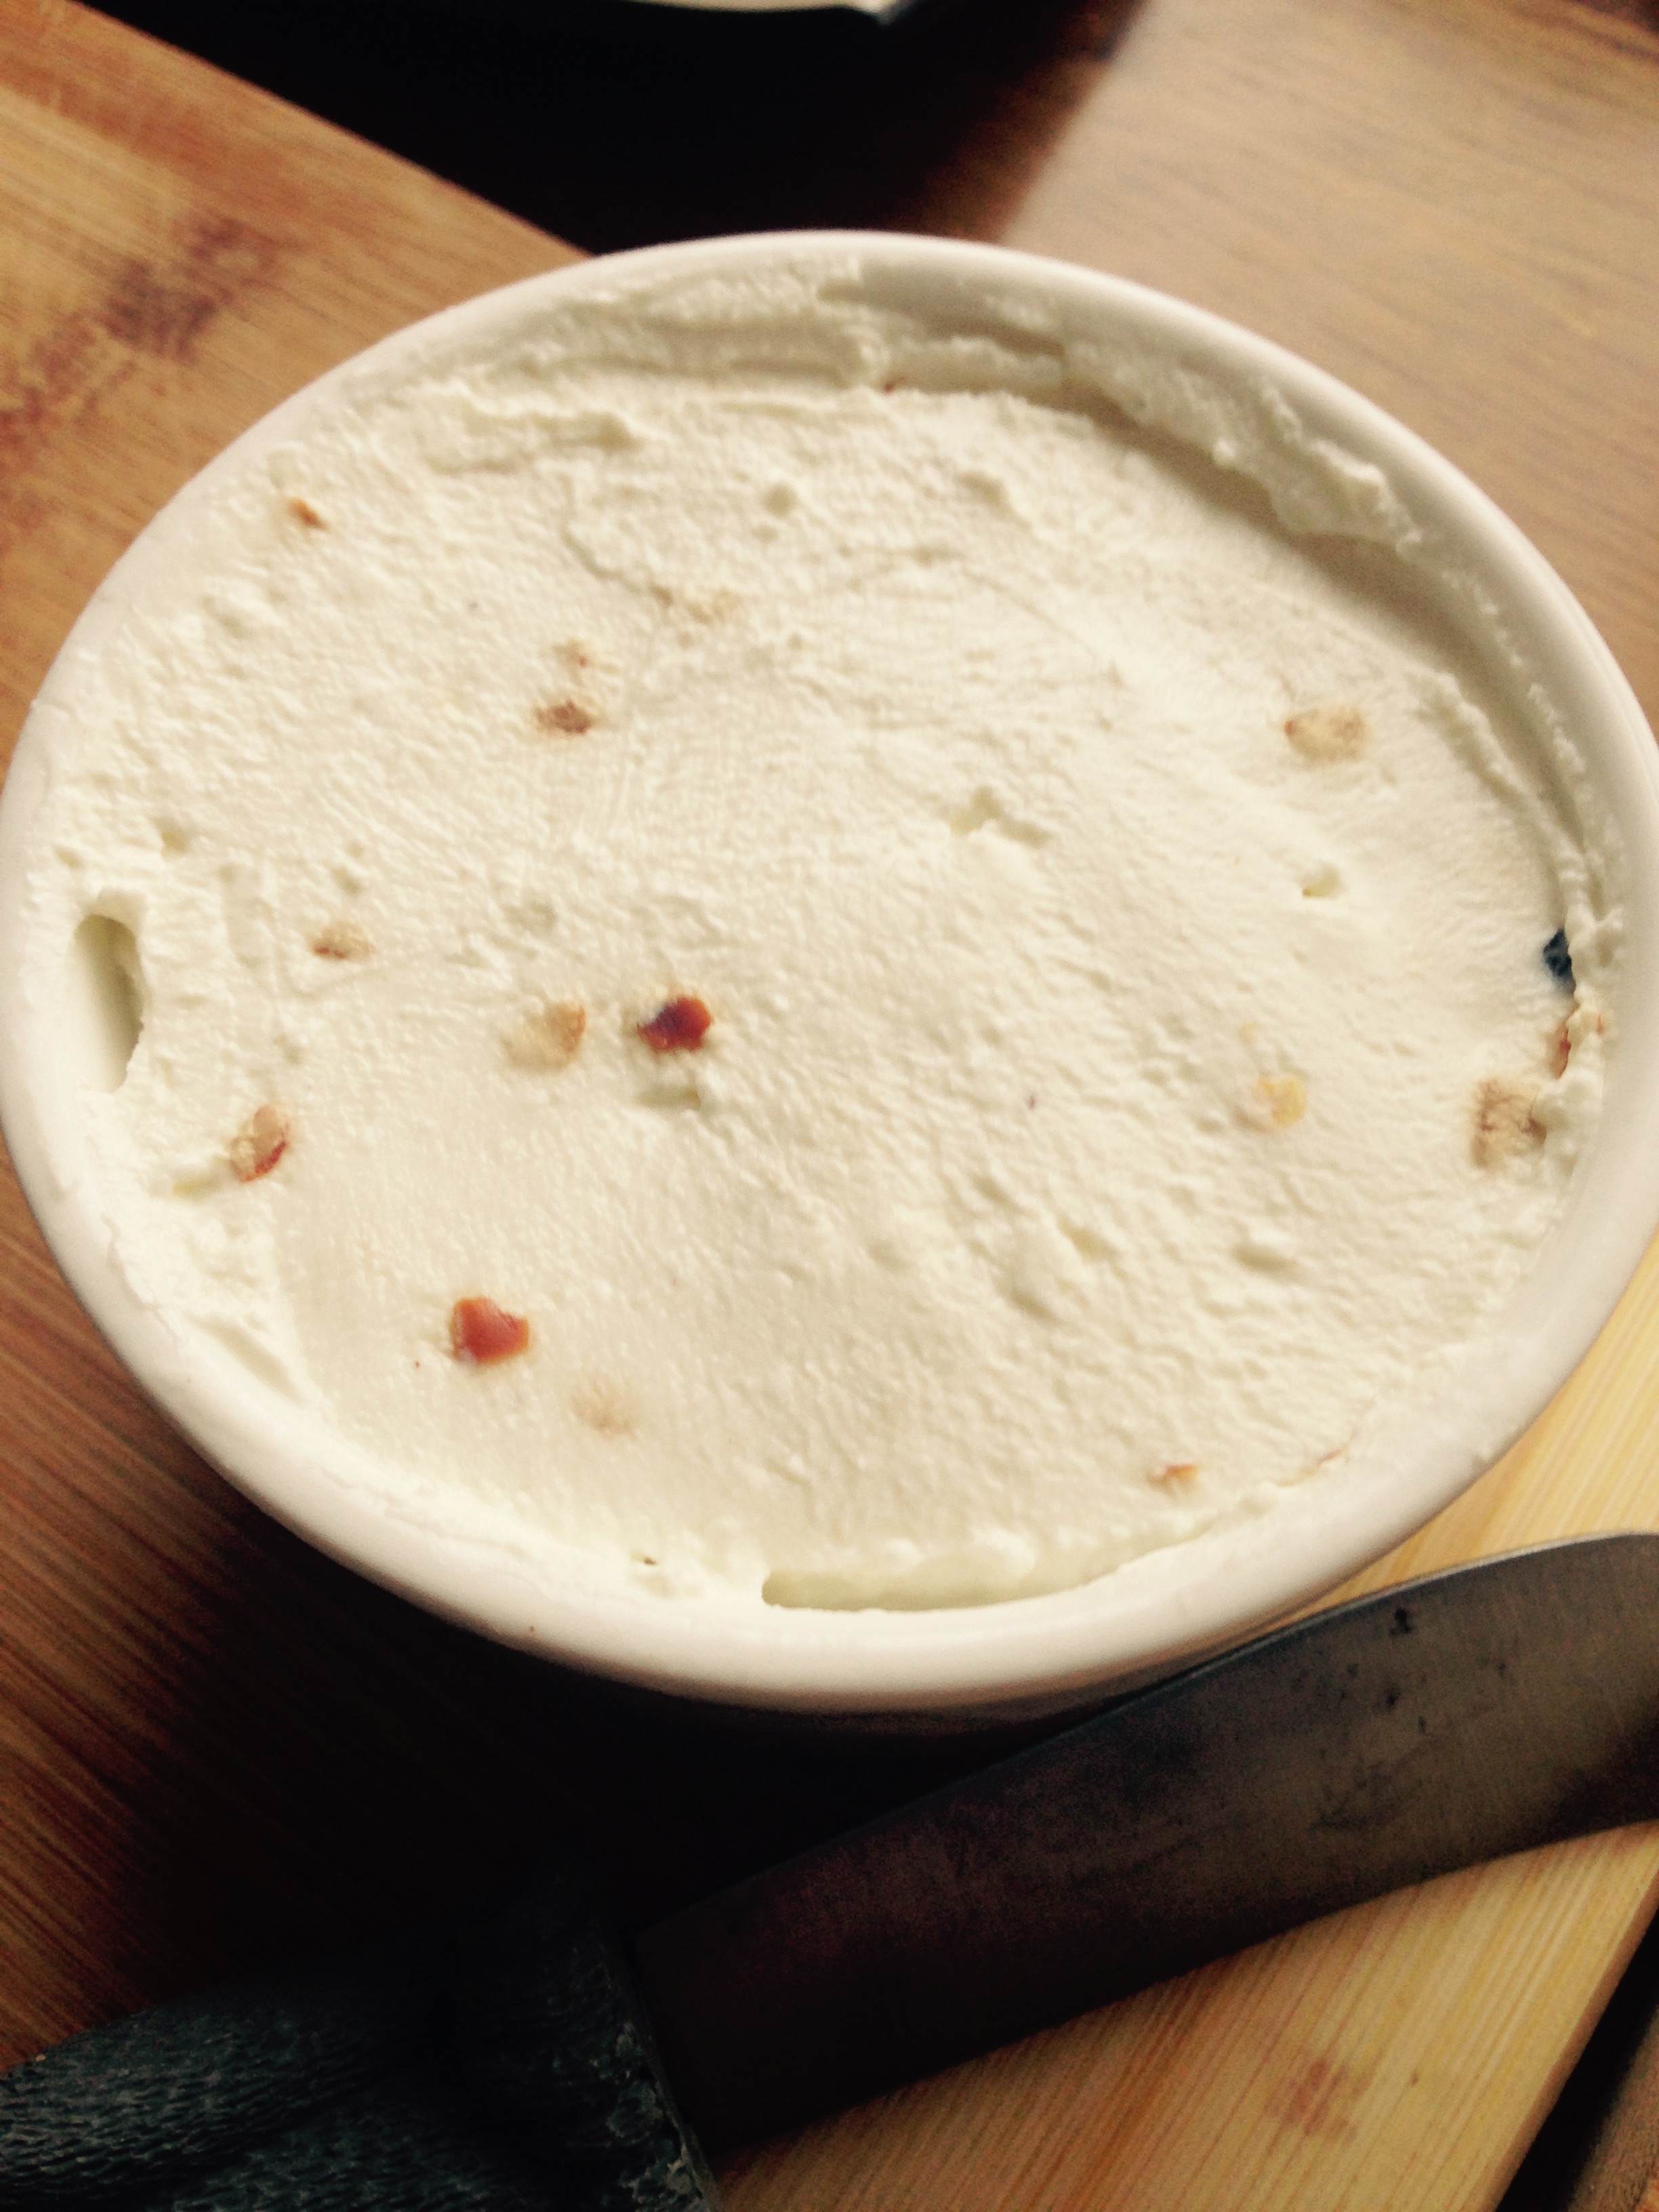
My fresh cheese was a cheese made from home-made yoghurt; made using coffee cream (10%mf). I drained the yoghurt for about 24 hrs and then mixed in some roasted smoked garlic (that I smoked using mesquite on my Traeger). I then sprinkled it with paprika and smoked olive oil.
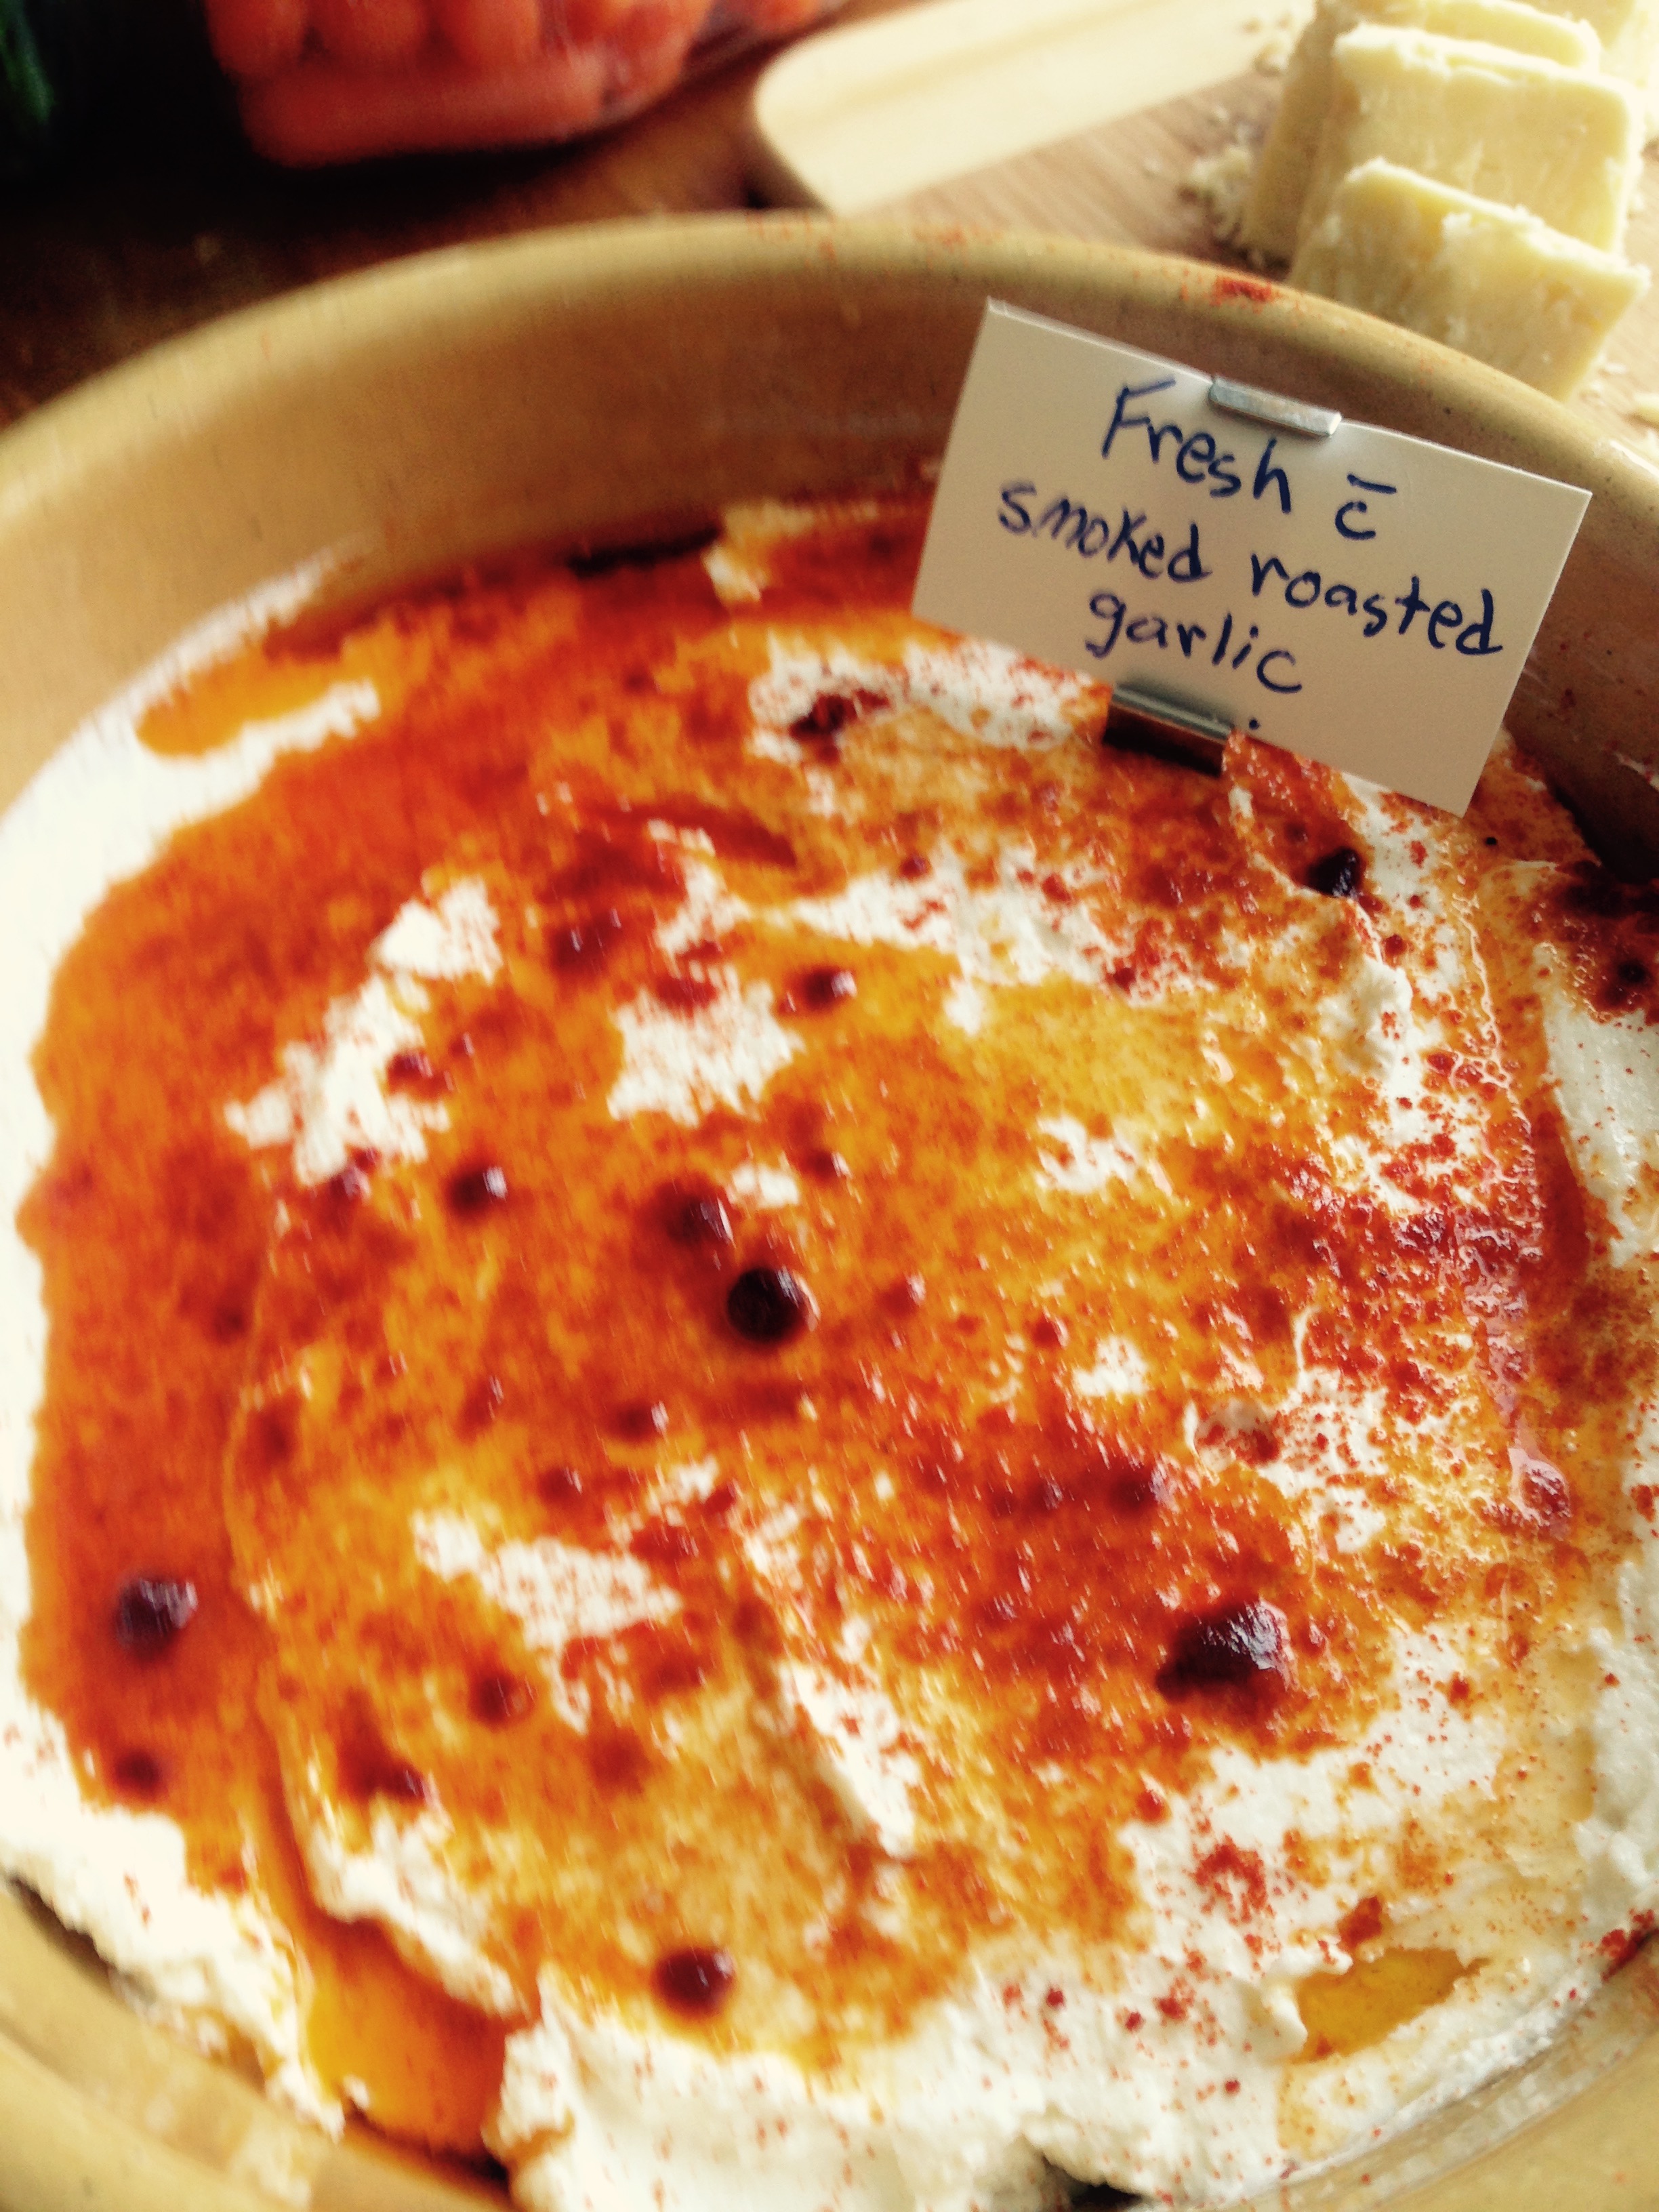
Unfortunately the olive oil picked up the colour of the paprika and turned an orangey colour. Too bad as the original colour was a smoky light amber due to being smoked. This cheese is somewhat sour as I let it age for three days in the yoghurt maker to reduce the level of milk sugars present. This is the way we always make our yoghurt.
I also brought some cheeses from my cheese cave.

Cabra al Vin
The Cabra al Vin is almost 25 months old (the sign is misdated, I just checked my log book). In my humble opinion it just keeps getting better; the fruity bouquet of the wine mixed with the goatiness of the cheese makes a wonderful aroma. Unfortunately I didn’t write a blog post about this cheese when I made it. I think I will make another in the near future which I will write about.
Next up were some Crottin. Goat cheeses made in a French style.

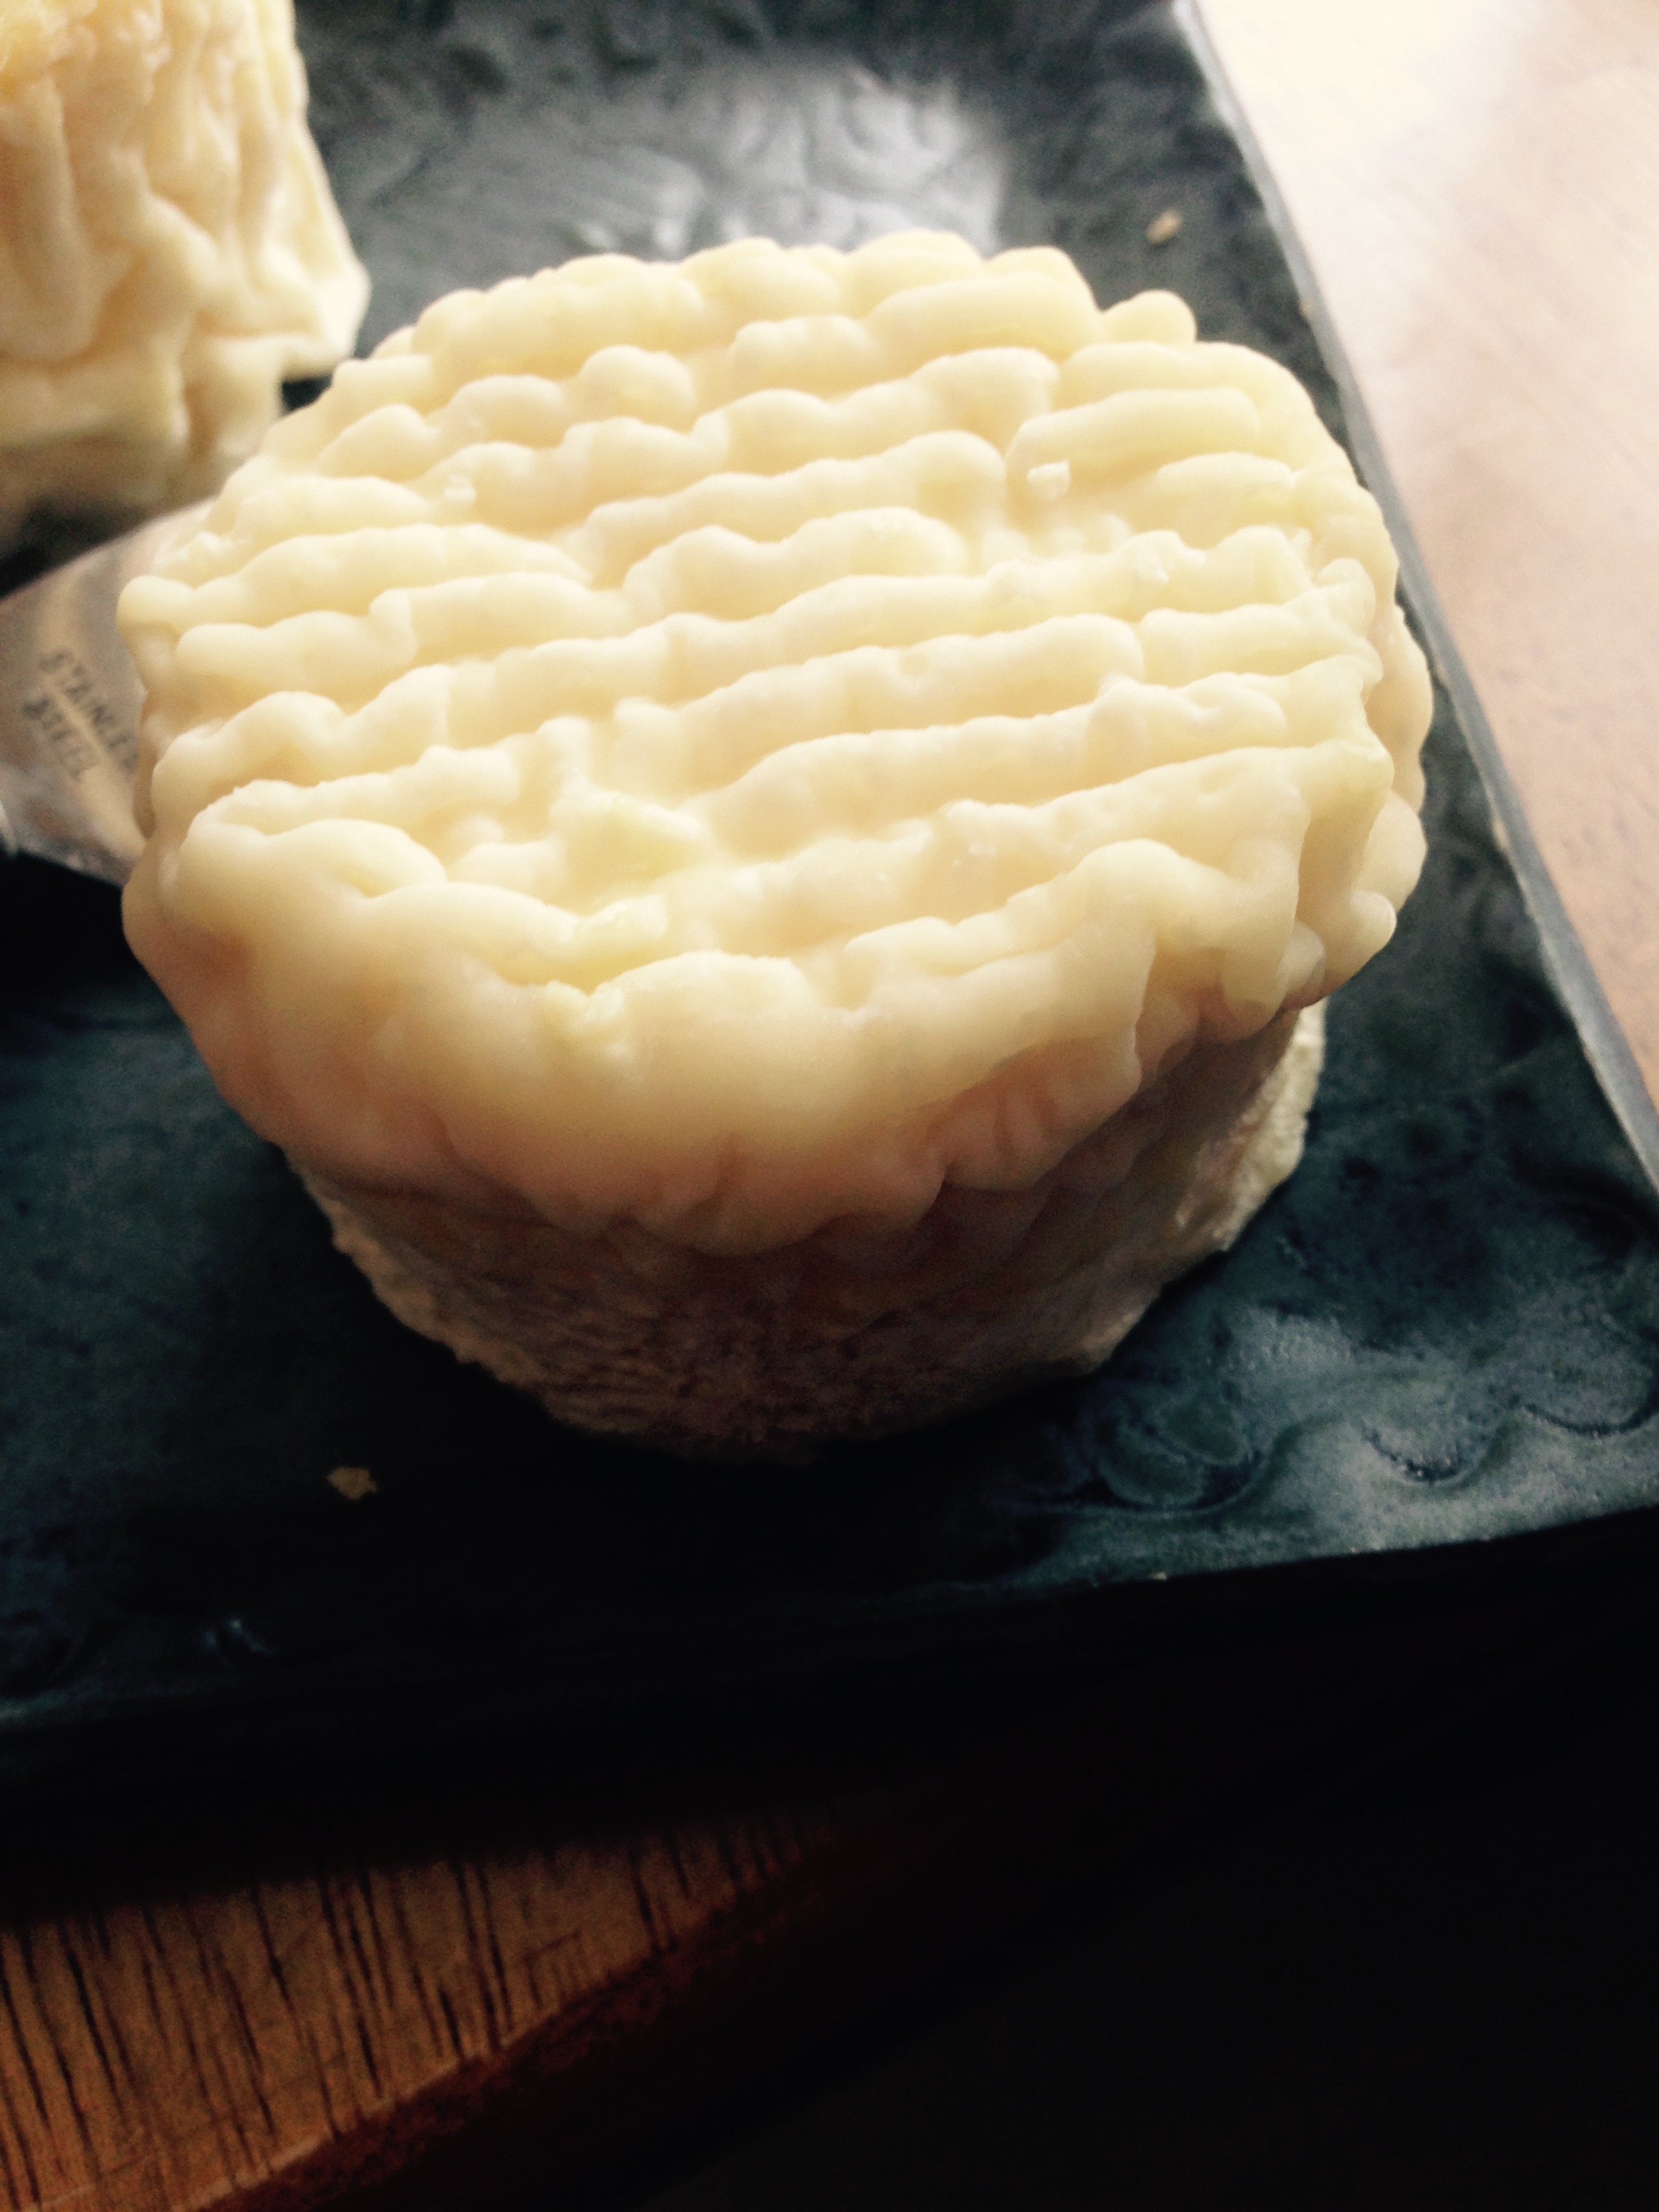
You can read more about this particular cheese make here Crottin Ramblings or at my original post about Crottin called Goat Droppings.
My final contribution was a piece of 28 month old Caerphilly that I helped make at a now defunct local formagerie. This was a special recipe that Ian helped them develop.

This was an amazing cheese which also keeps getting better. The date on the sign is wrong, it was actually 2012. It has notes of toffee and caramel, buttery; you just wanted to suck on a piece like candy.
So there you have it a round up of the first meeting of 2015 for The League of Yeg Home Cheese Makers.
We will be meeting again in about 2 months where we will share surface ripened cheeses. The plan is to meet every 2 months or so. We also plan on making our own cloth bound cheddars to share at next January’s meeting.
Take care and make some cheese!!
Crottin Ramblings
The plan for this post was originally to do a head to head test comparing two brands of goat milk – by making one of my favourite goat cheeses- Crottin. The plan was to make the two batches of cheese simultaneously and where everything was duplicated except for the milk. But sometimes the best laid plans go astray as you shall see.
For these makes I used the following cultures:
Flora Danica
This (mesophilic type) culture adds a buttery taste to any soft cheese such as Havarti, Gouda, Edam, Camembert, Brie, Feta, Blue, Buttermilk, Sour Cream, Cream cheese, Creme Fraiche and Cultured Butter. The culture will also produce a small amount of carbon dioxide gas and is therefore a good culture choice when a lighter texture cheese is desired. This culture contains s. lactis, s. cremoris, s. lactis biovar diacetylactis and m.s. cremoris.
Penicillium Candidum
PC-ABL is a traditional strain of Penicillium Candidum. Great for thin rinds in Brie and Camemberts, as well as the very thin rinds required for Loire style goat cheeses such as Crottin, Valençay and Sainte Maure, or Northern Italian styles such as bloomy Robiolas. Use PC-ABL on its own, or combined with other Penicillium Candidum strains whenever a more complete spectrum of characteristics is desired. It is a common practice amongst French and Italian makers of bloomy cheeses to blend 2-3 strains of PC together.
Features:
- Medium whiteness
- Thin – low with medium-low density
- Very low proteolysis
- Medium-high lipolysis
- Fast-growing
- Special traits: Strong aromas of alcohol and methylketones
ARN
ARN is an exciting ripening blend from Danisco which is made from selected strains of French Normandie cheeses to replicate their flavor, texture, aroma and presentation. It will boost up the authentic characteristics of any Camembert, Brie, or Coulommiers as it works with P.Candidum and P.Album and develop complex aromas and good coloring underneath the white rind. This is the ultimate rind wash culture for making authentic Pont L’Évêque and Livarot. For interesting and creative combinations, try it with Crottin, Chaource, Saint Marcellin, Cantal or Reblochon.
ARN contains both the cream color and orange color B.Linens, as well as surface-ripening Micrococcaceae and G. Candidium. To use , simply replace the G. Candidum portion in the recipe with ARN. There is no need to add any G.Candidum or B.Linens beyond that; however other yeast types, P.Candidum and P.Album can be added and combined.
(Culture descriptions from Artisan Geek)
Additional Additions:
Kid Rennet
Calcium Chloride
Salt
For this make you heat the cheese to effectively room temperature or 21 degC.
Add the calcium chloride and stir, then sprinkle on the cultures allowing them to rehydrate and then stir in for 2 minutes.
Cultures happily hydrating!
Add the rennet and stir once again. Next, cover the pot and allow the curds to form over 18 to 20 hours.
Check for a clean break.

After 24 hours of ripening Cheese A has pulled nicely away from the pot edge.
Hmmm but Cheese B has not pulled away.
The foreshadowing begins. The curds should have begun pulling away in both pots. All variables were identical except for the milk.
And that’s when the plan went awry…..
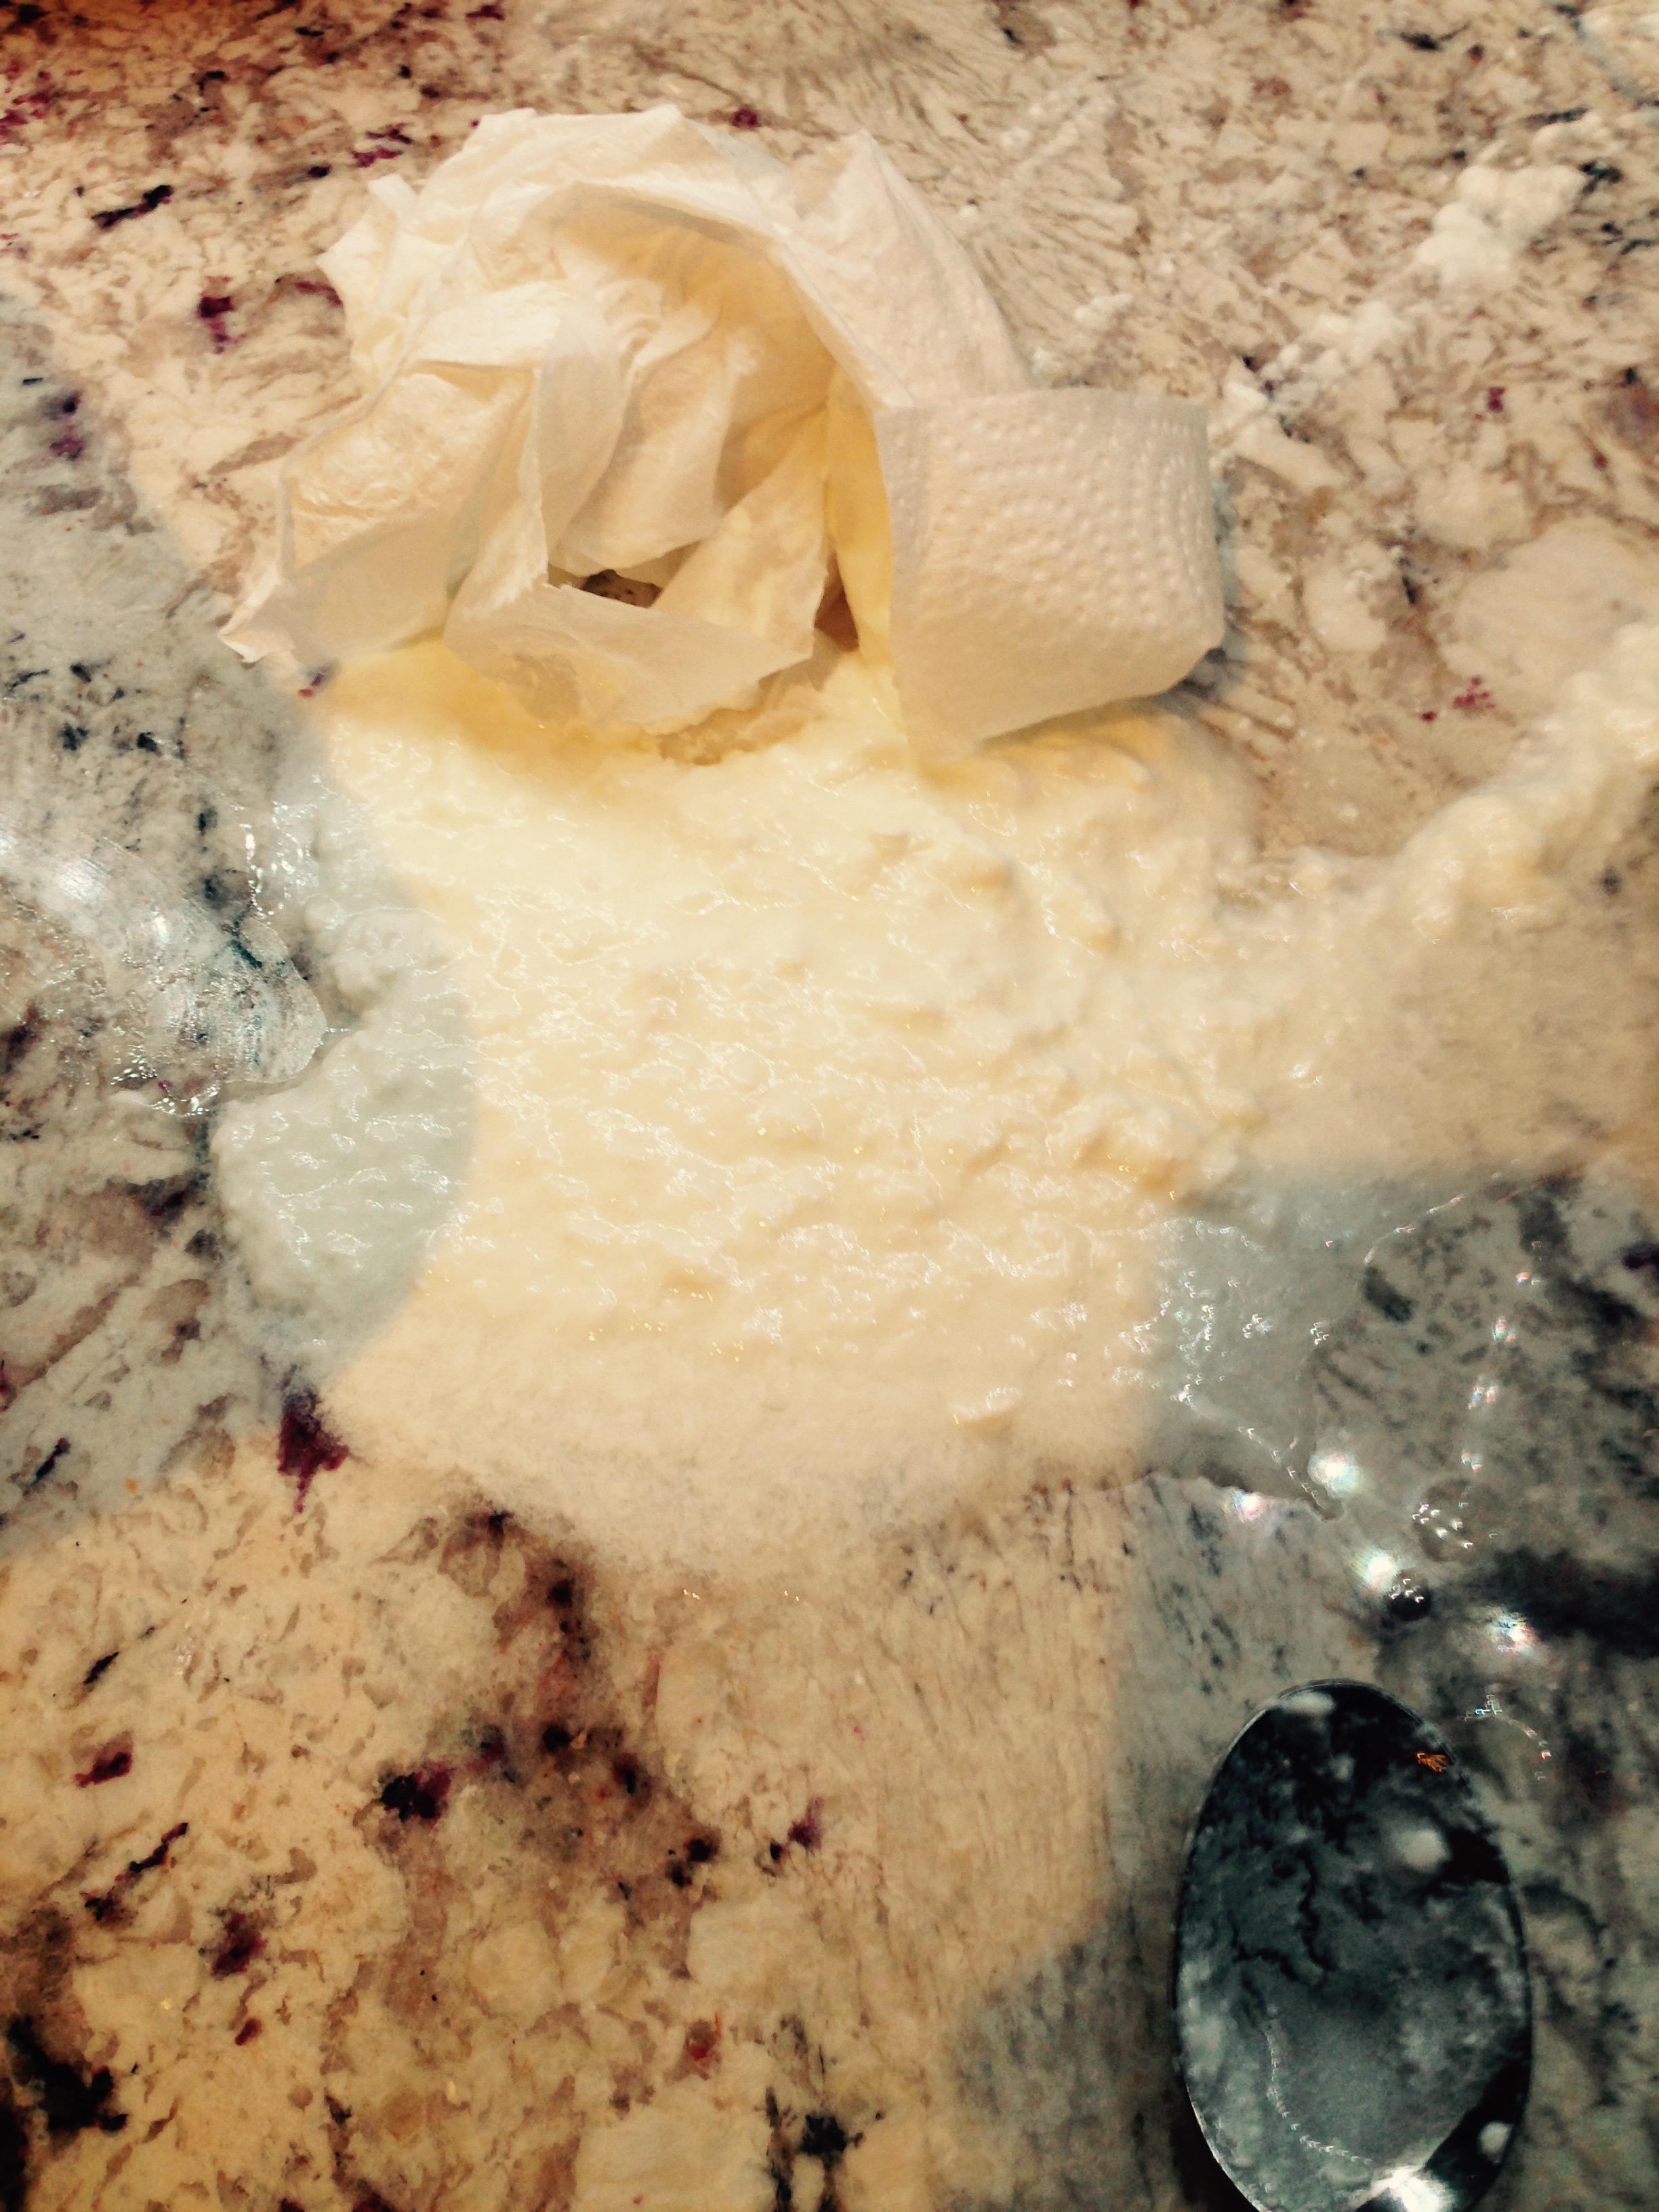
It was Sunday evening, I was just finished the Halloumi make and I was leaving on a multi-day business trip in the morning. I attempted to put Cheese B curds into the moulds but they were just too soft. I ended up ladling the curds into cheese cloth to drain overnight so that I could hopefully get the curds into the moulds before I headed off on my trip.

Curds draining overnight.

Ladle the curds directly into the Crottin moulds.

As the whey drains off, keep topping up the moulds with curd.
But wait the train wreck hasn’t stopped yet!!
While moving a draining rack of full moulds I bobbled and tipped them over into the draining container and onto the counter; effectively loosing half of one make.
The last of the train wreck.
Allow them to drain 24 hours until the curds pull away from the sides of the moulds. Then de-mould the cheeses placing them in a ripening box at 14 degC. Remove the cheeses and flip every other day, removing excess moisture from the box.
Early the next morning the Crottins made with the remains of the dumped make are looking good….the soft curd make is well….still really soft but I’m pressed for time and decide to load up the Crottin moulds. Lucky for me Sailor Girl was ready to step in and run the Sailor Rick Formagerie while I was gone.
She kept a careful eye on the Crottins and kept them covered with cheesecloth flipping them as needed. I returned two and a half days later and the soft curd Crottins had still not pulled away from the edges of the moulds. Once again I made the executive descision to unmould the the Crottins. These were the softest Crottins I had ever made.
The Crottins were all placed into ripening boxes and placed in a 12 degC cave.
The cheeses should bloom in about two weeks.
Now for the real world of the Sailor Rick Train Wreck Crottins.

The cheesecloth drained Crottin at 1 week. Showing some blooming activity; both yeast and candidium.
 Still soft and creamy! Hmmm

The firmer Crottin at 2 weeks, the Geo is growing.

Characteristic ‘Brainy’ look of the Geo.
So for the sake of fairness I have decided to hold off with the head to head Crottin challenge for another day when I can allow the proper ripening times allowing each of the milks to show their true colours…..and I promise not to make another immature mistake like bobbling the filled Crottin moulds.
Oh and keep an eye out for updates on these Crottins as they mature.
First Crottin Update
Well I didn’t get the original post put up quick enough so here is the first update. Today was the first meeting of the year of the League of YEG Home Cheese Makers. BTW we are looking for new members!
I pulled out a few cheeses for the meeting include some of the Crottins; although I think they still need some age.

Crottin A – 21 days, this was the most pungent of the two
but also received the most favourable comments
Crottin ‘B’ at 21 days, beautiful brainy top
milder flavour but still very goaty.
Both cheeses are still very soft although I was find Cheese ‘B’ still too soft so I left the lid of the aging box ajar hoping to firm them up a bit. Once again I was away on a business trip for 4 days and when I returned they may have dried a bit too much….time will tell.
If you would like to learn more about Crottin read my post Goat Droppings.
Thanks For Reading!!!
Stilmonton Update #2
Well the Stilmonton has been aging at 12 degC for 21 days.
As a reminder, the cheese was placed on a damp cedar plank, placed in an aging box and covered with damp cheese cloth.
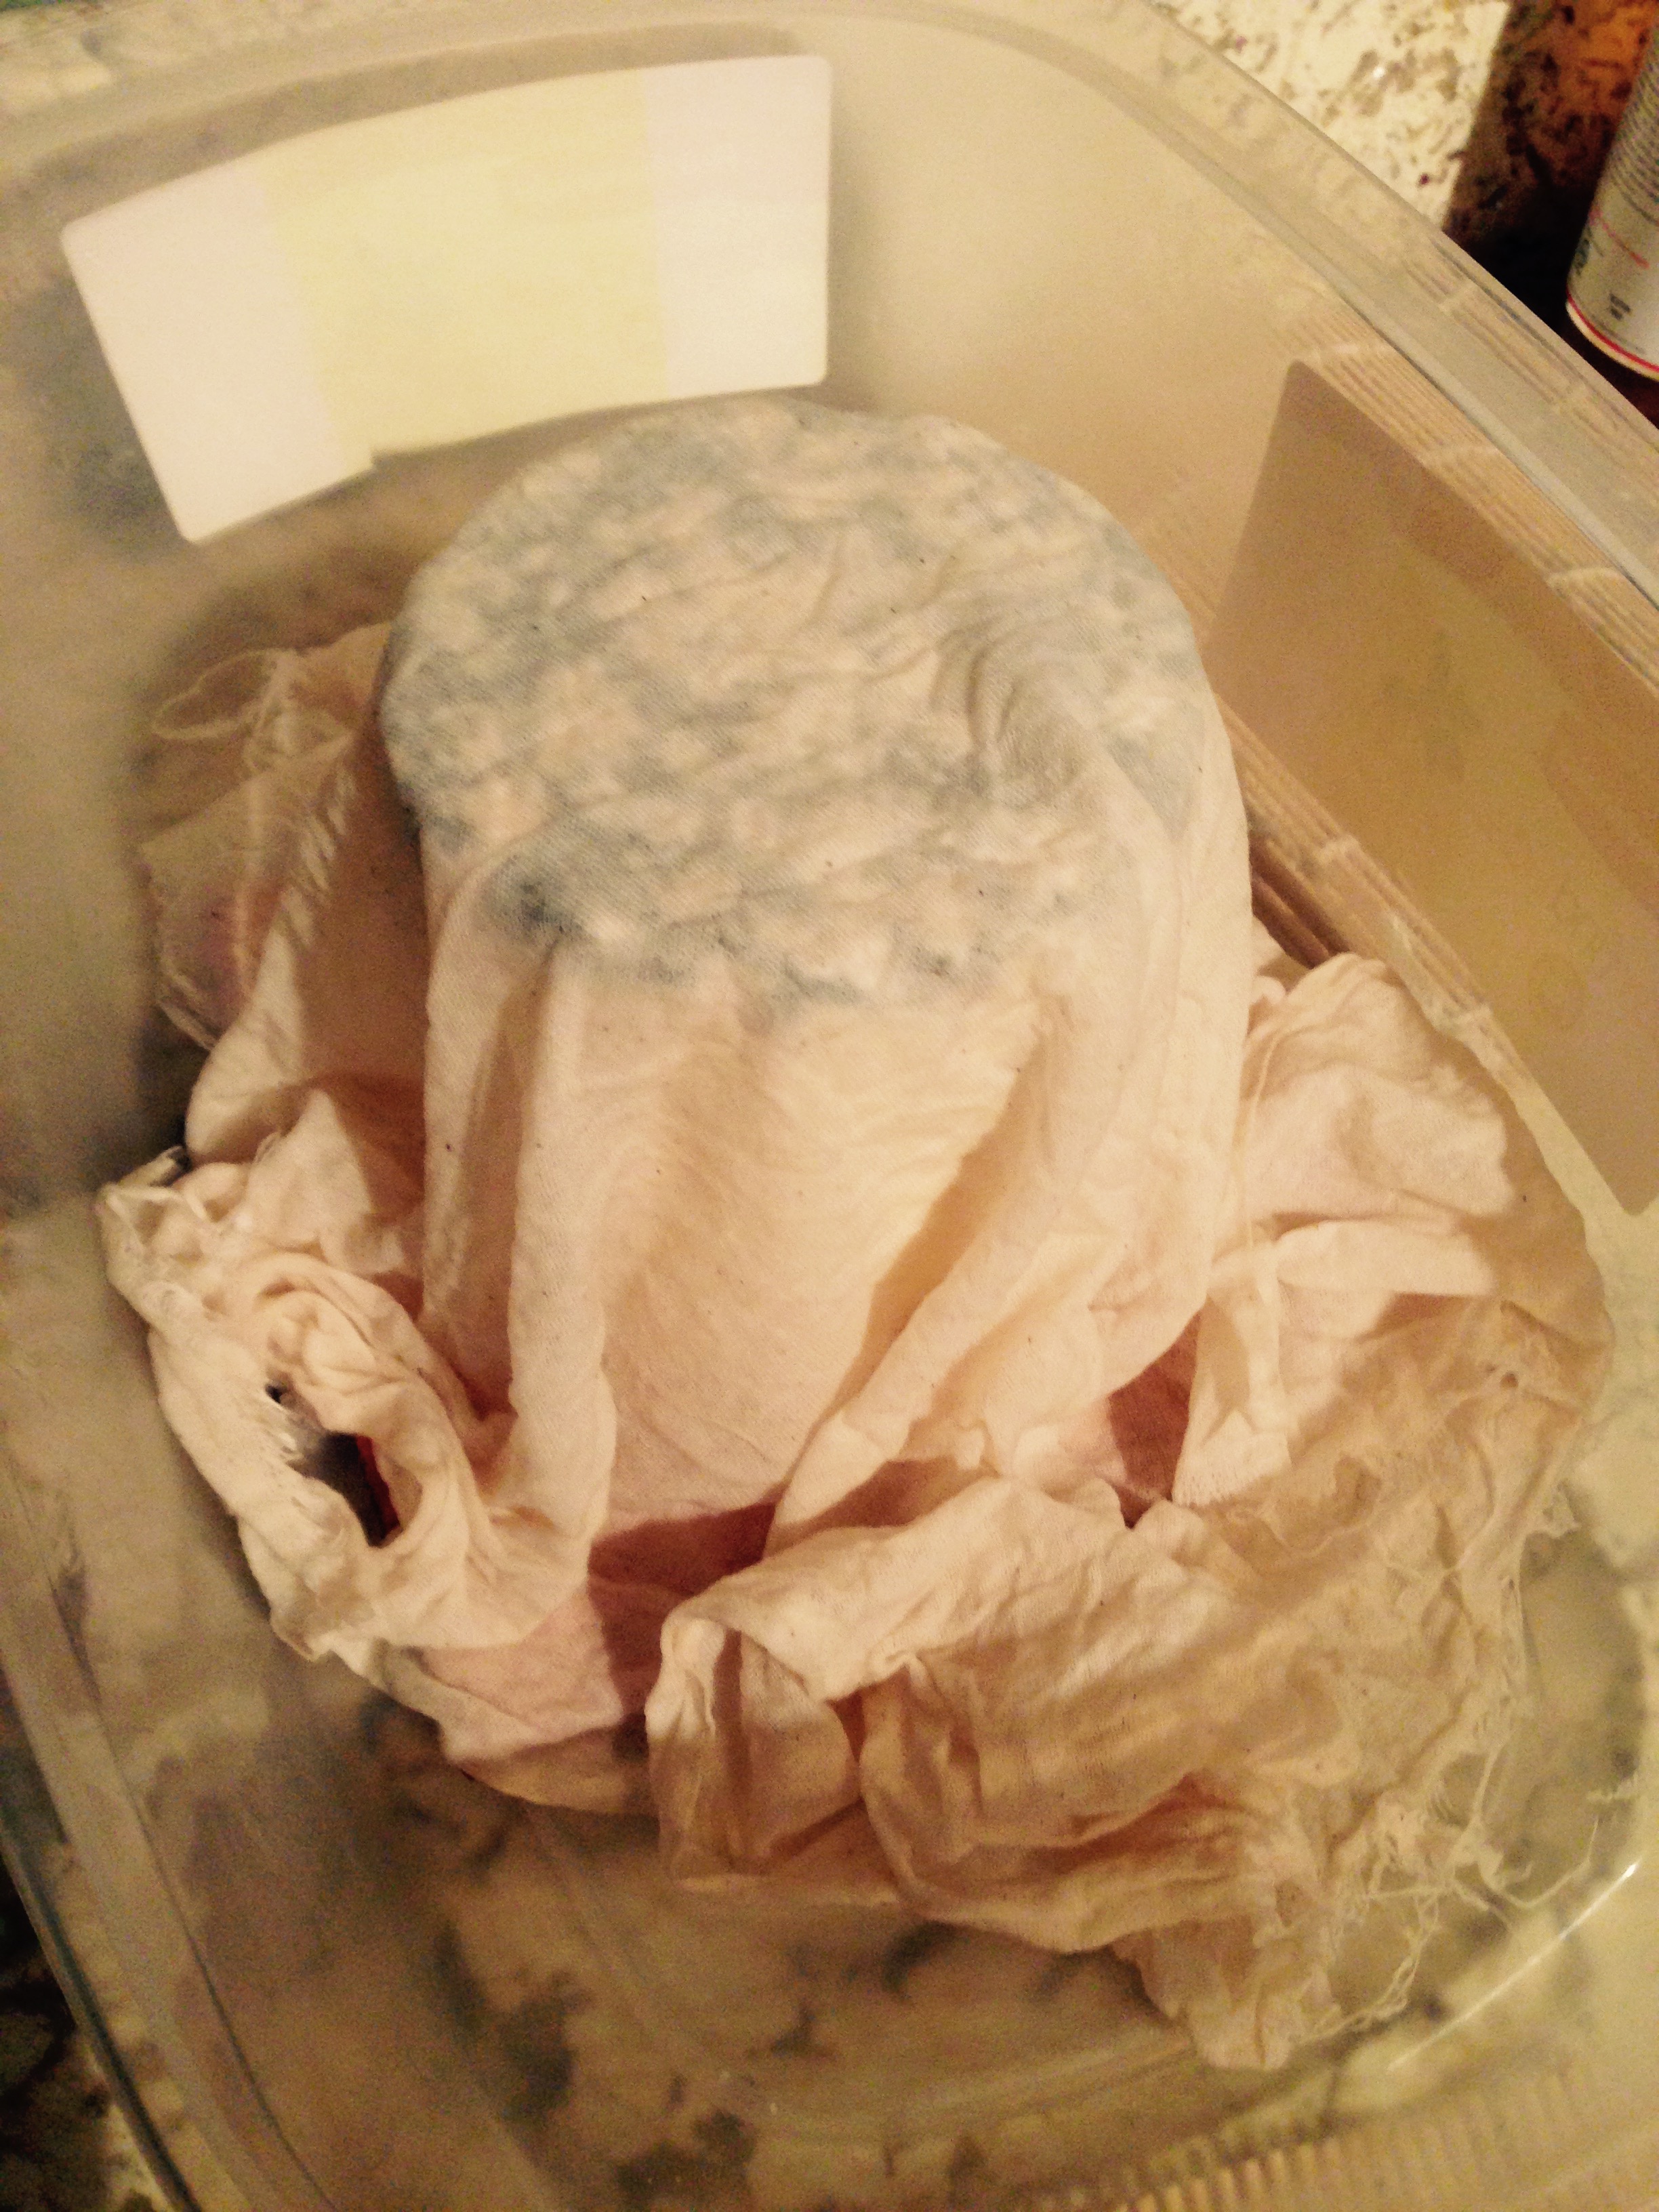
Cheese Flashback (21 days ago)
and now today
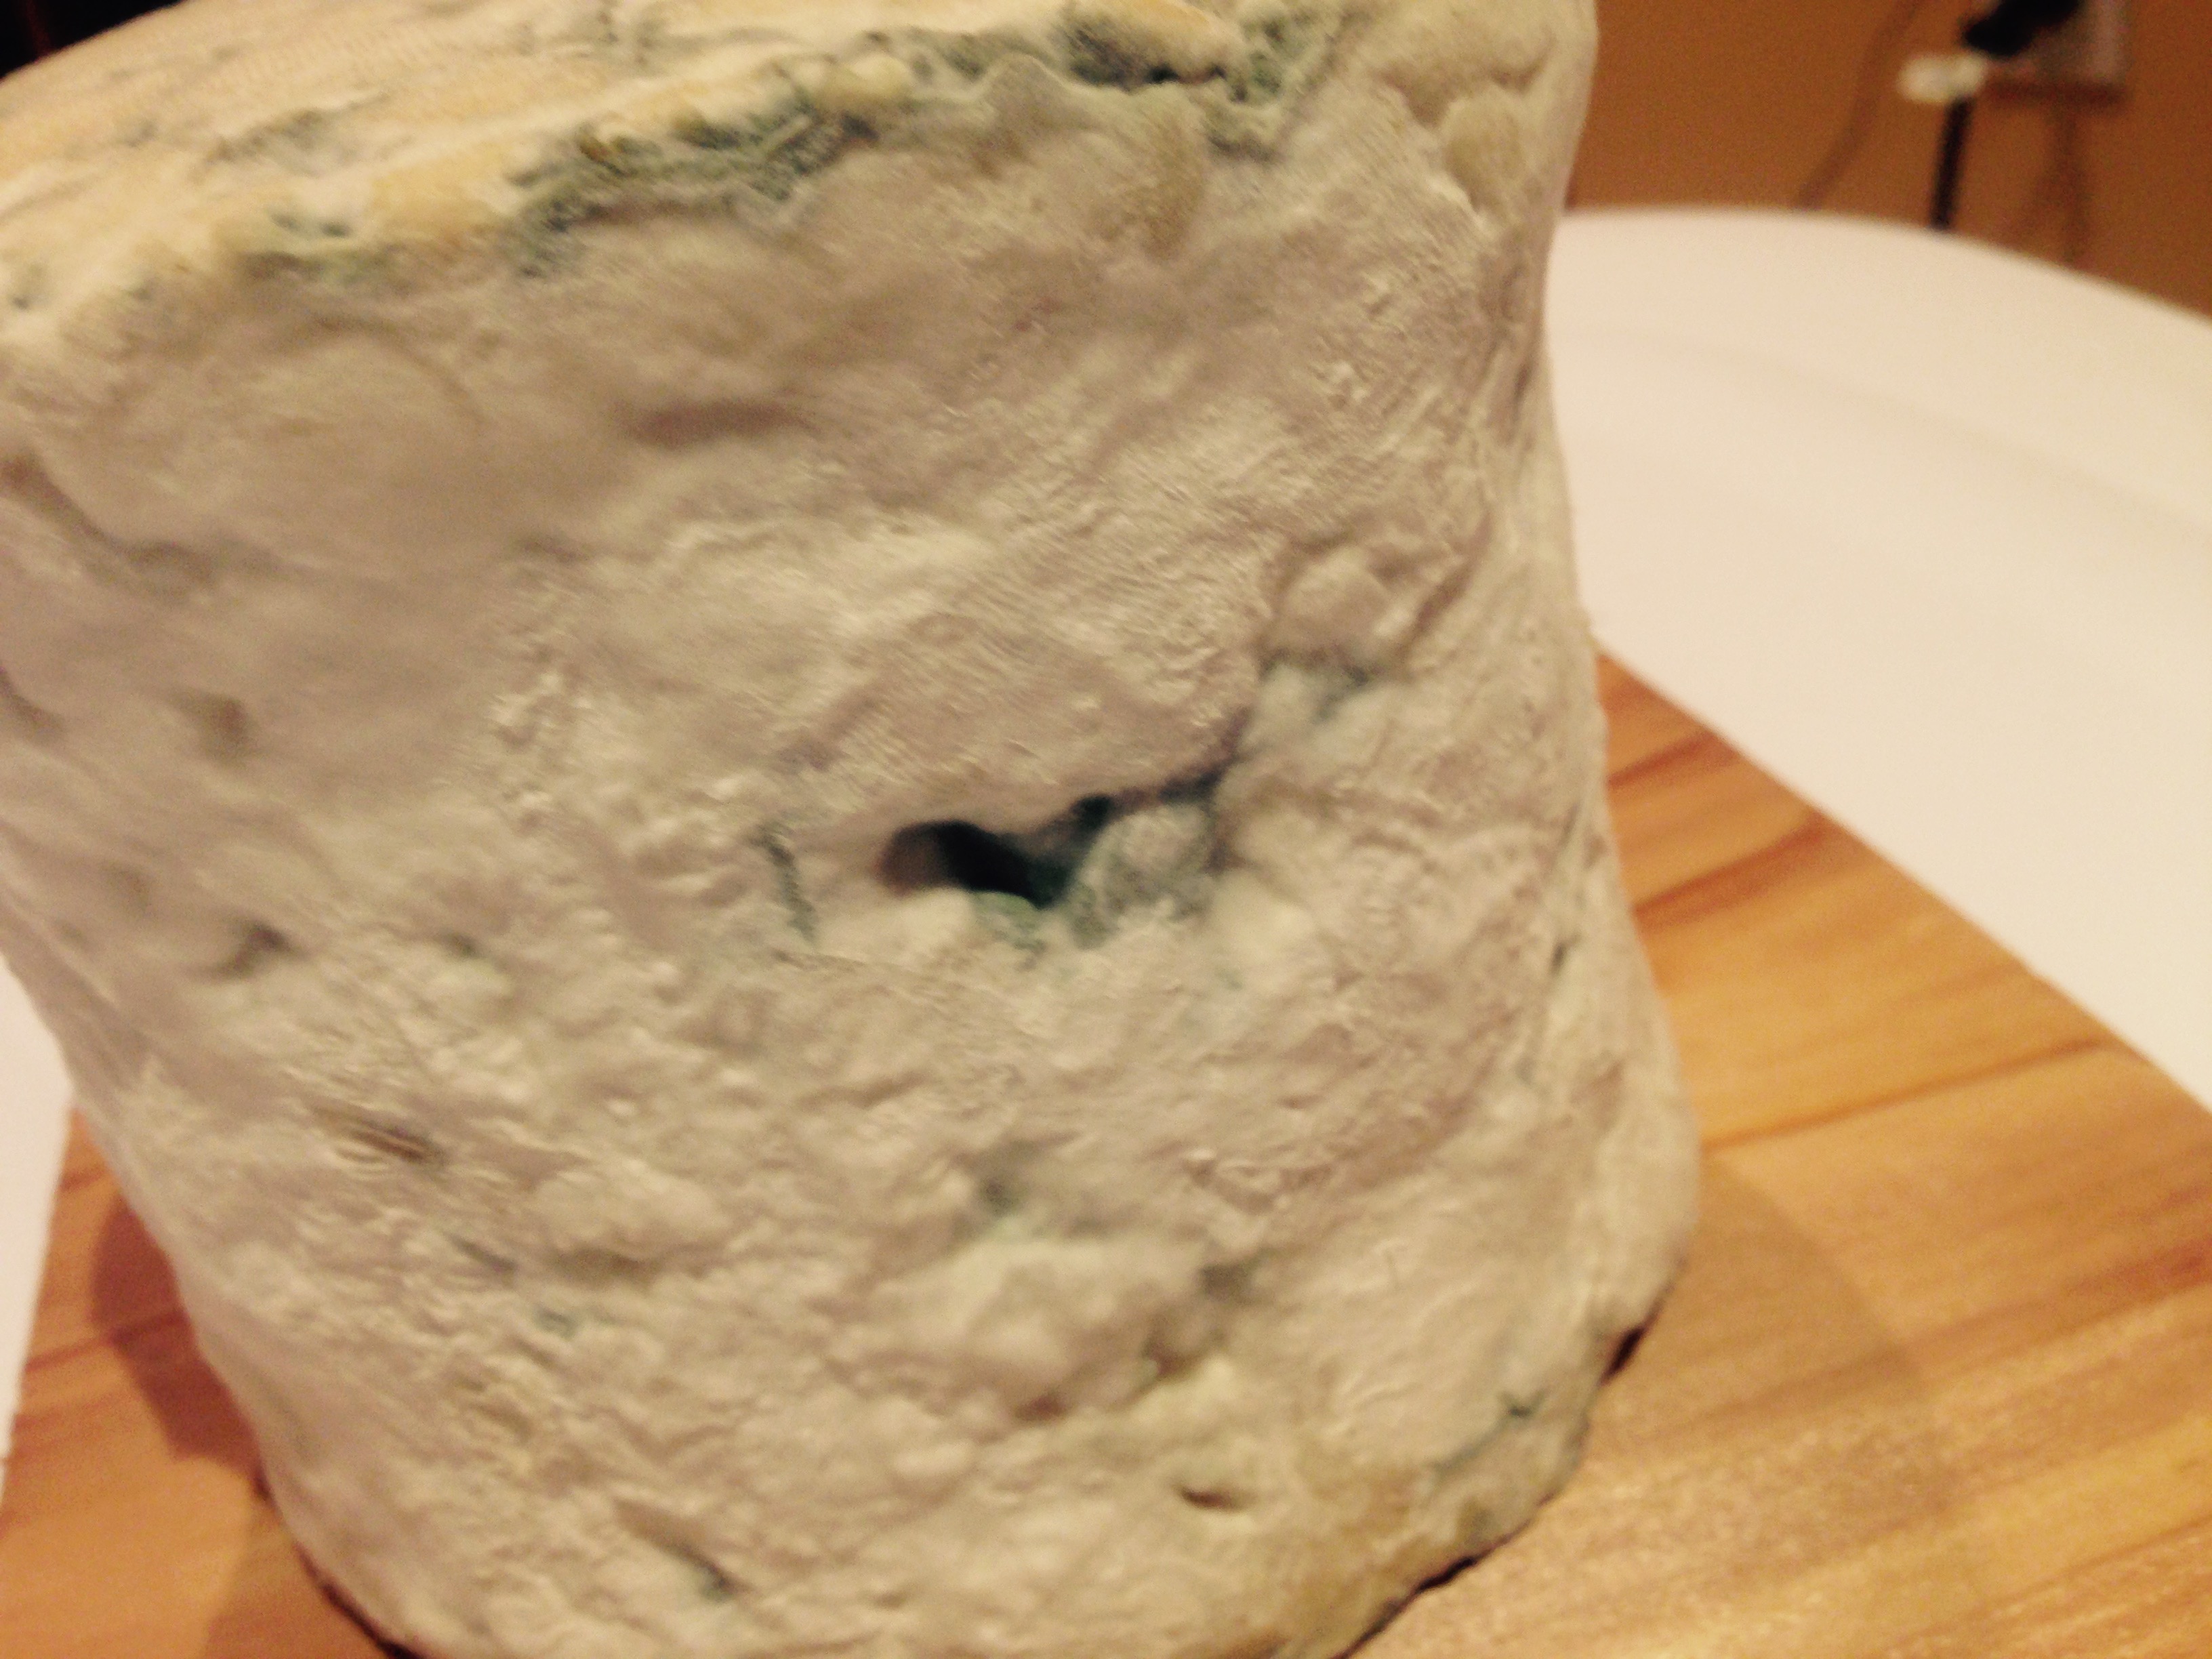
Getting some nice bluing in the crevices along the sides.
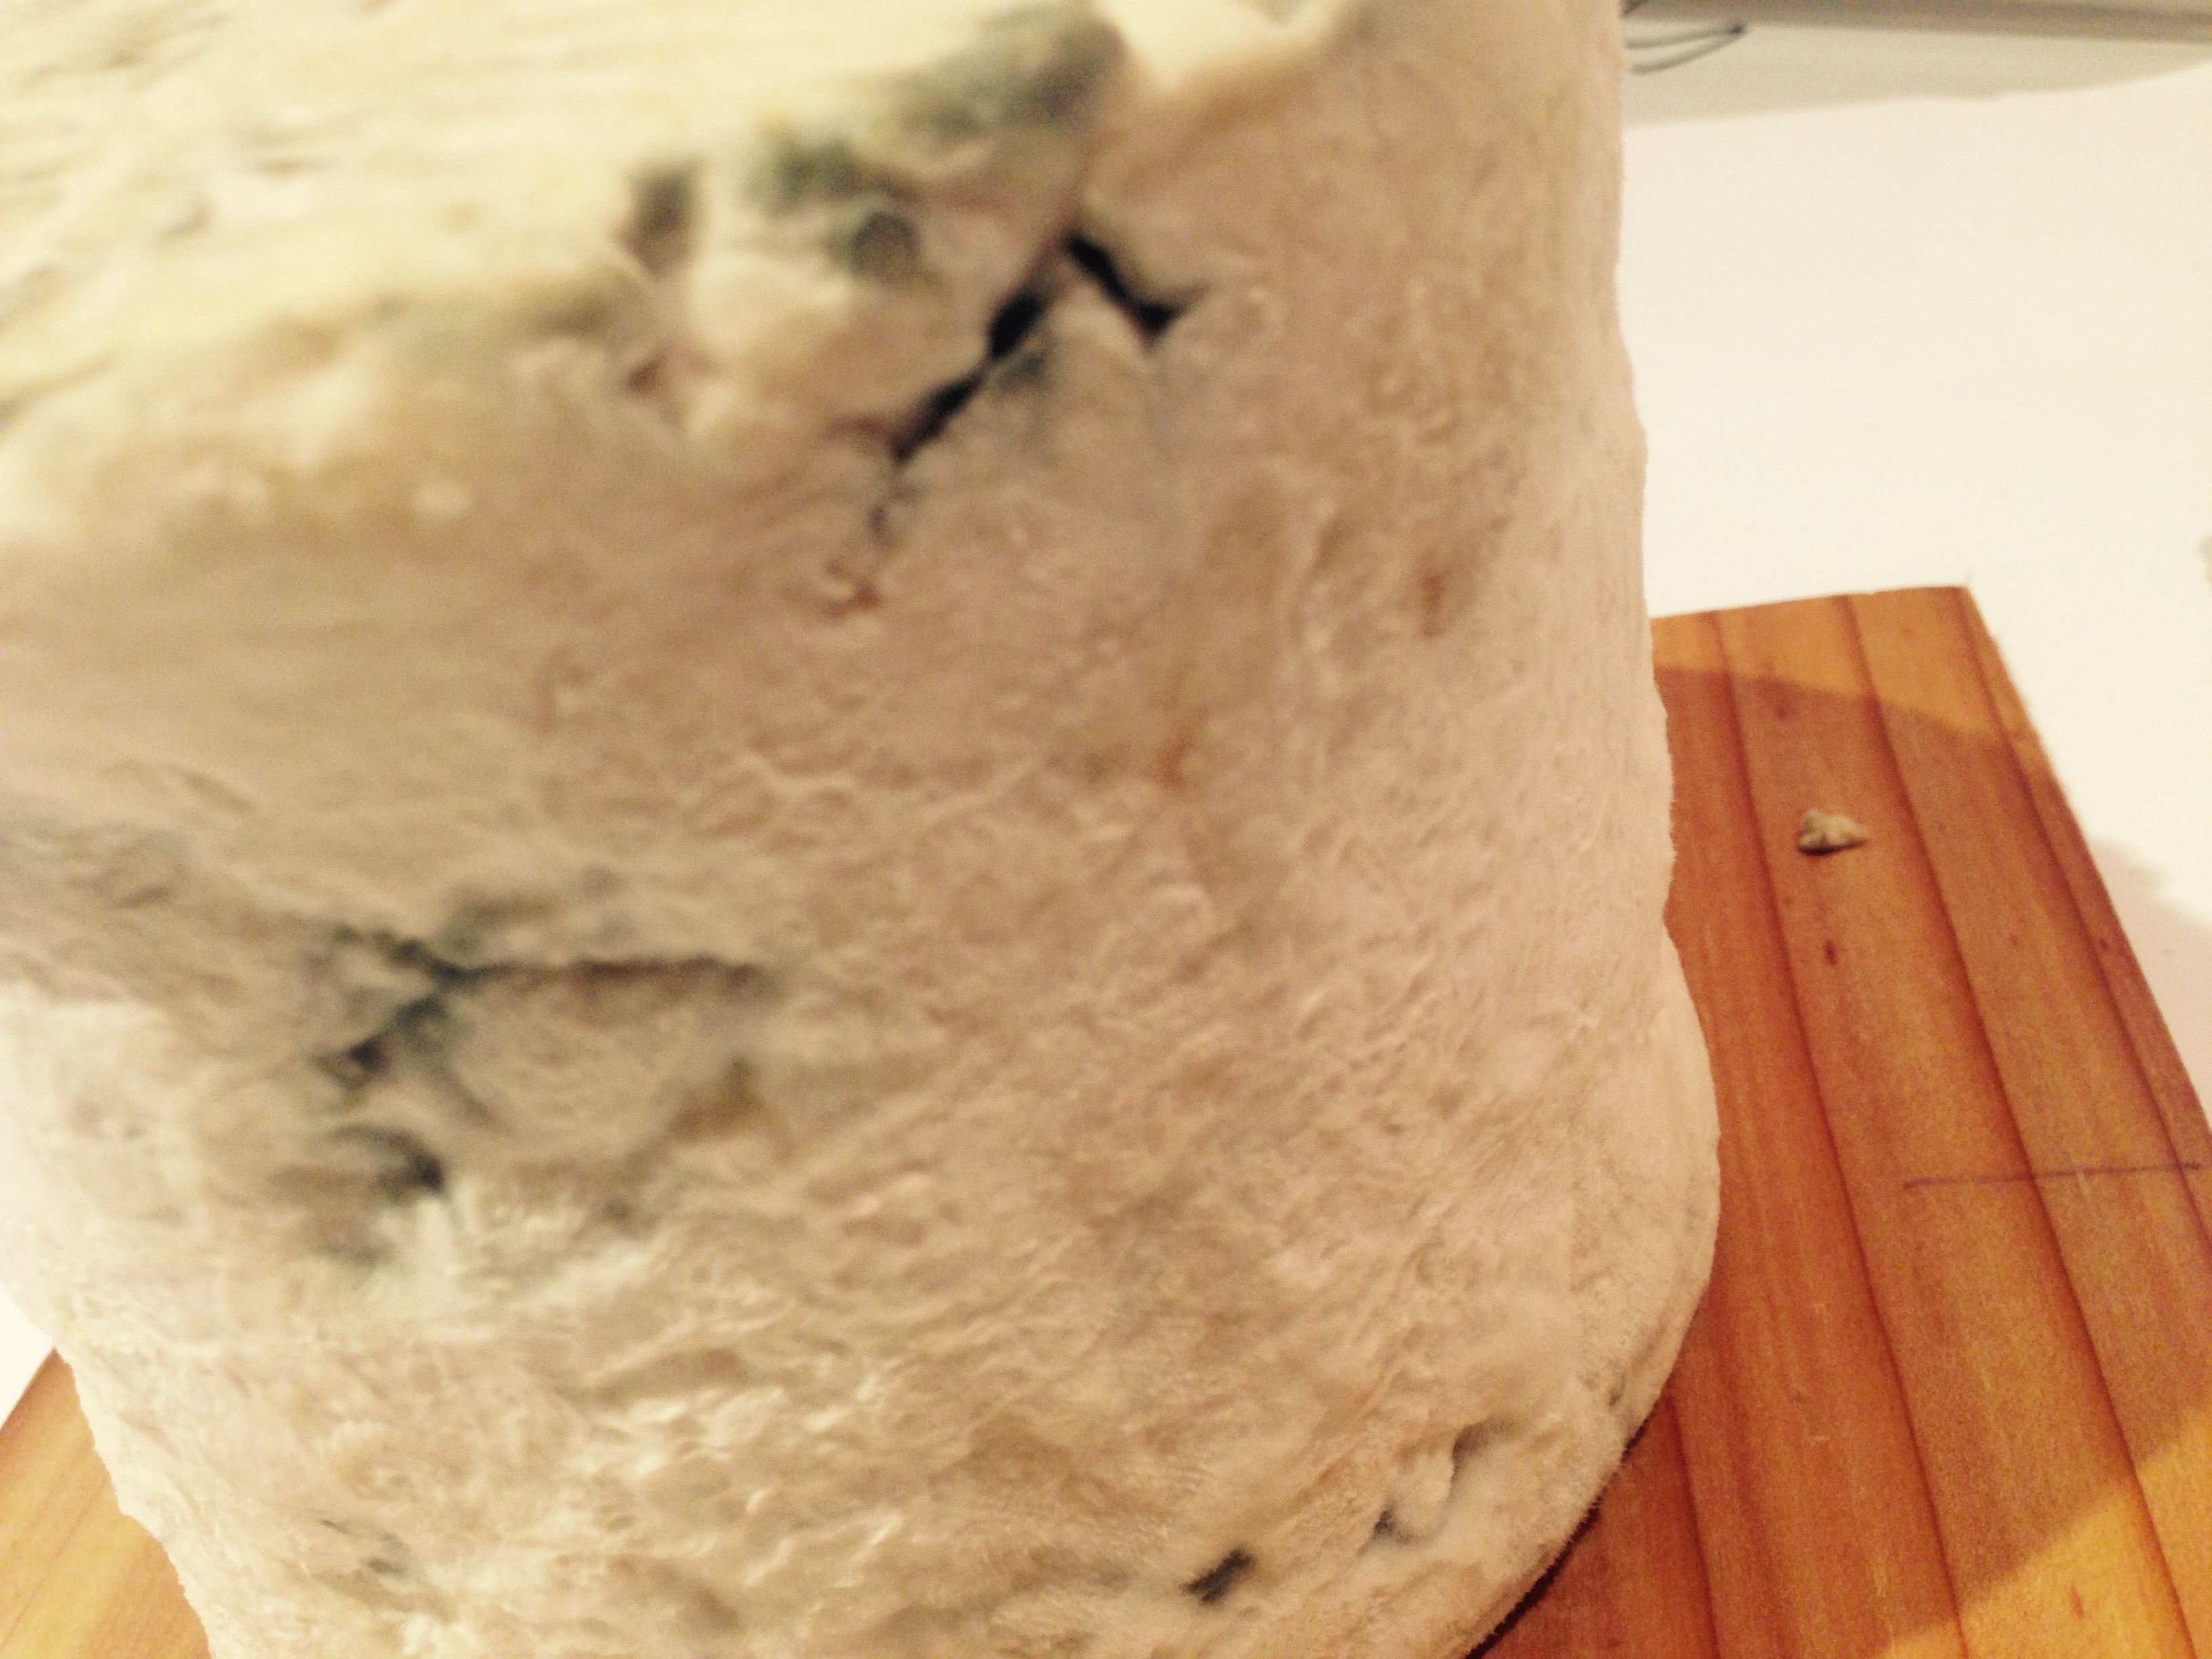
Getting a nice Geo bloom on the sides.
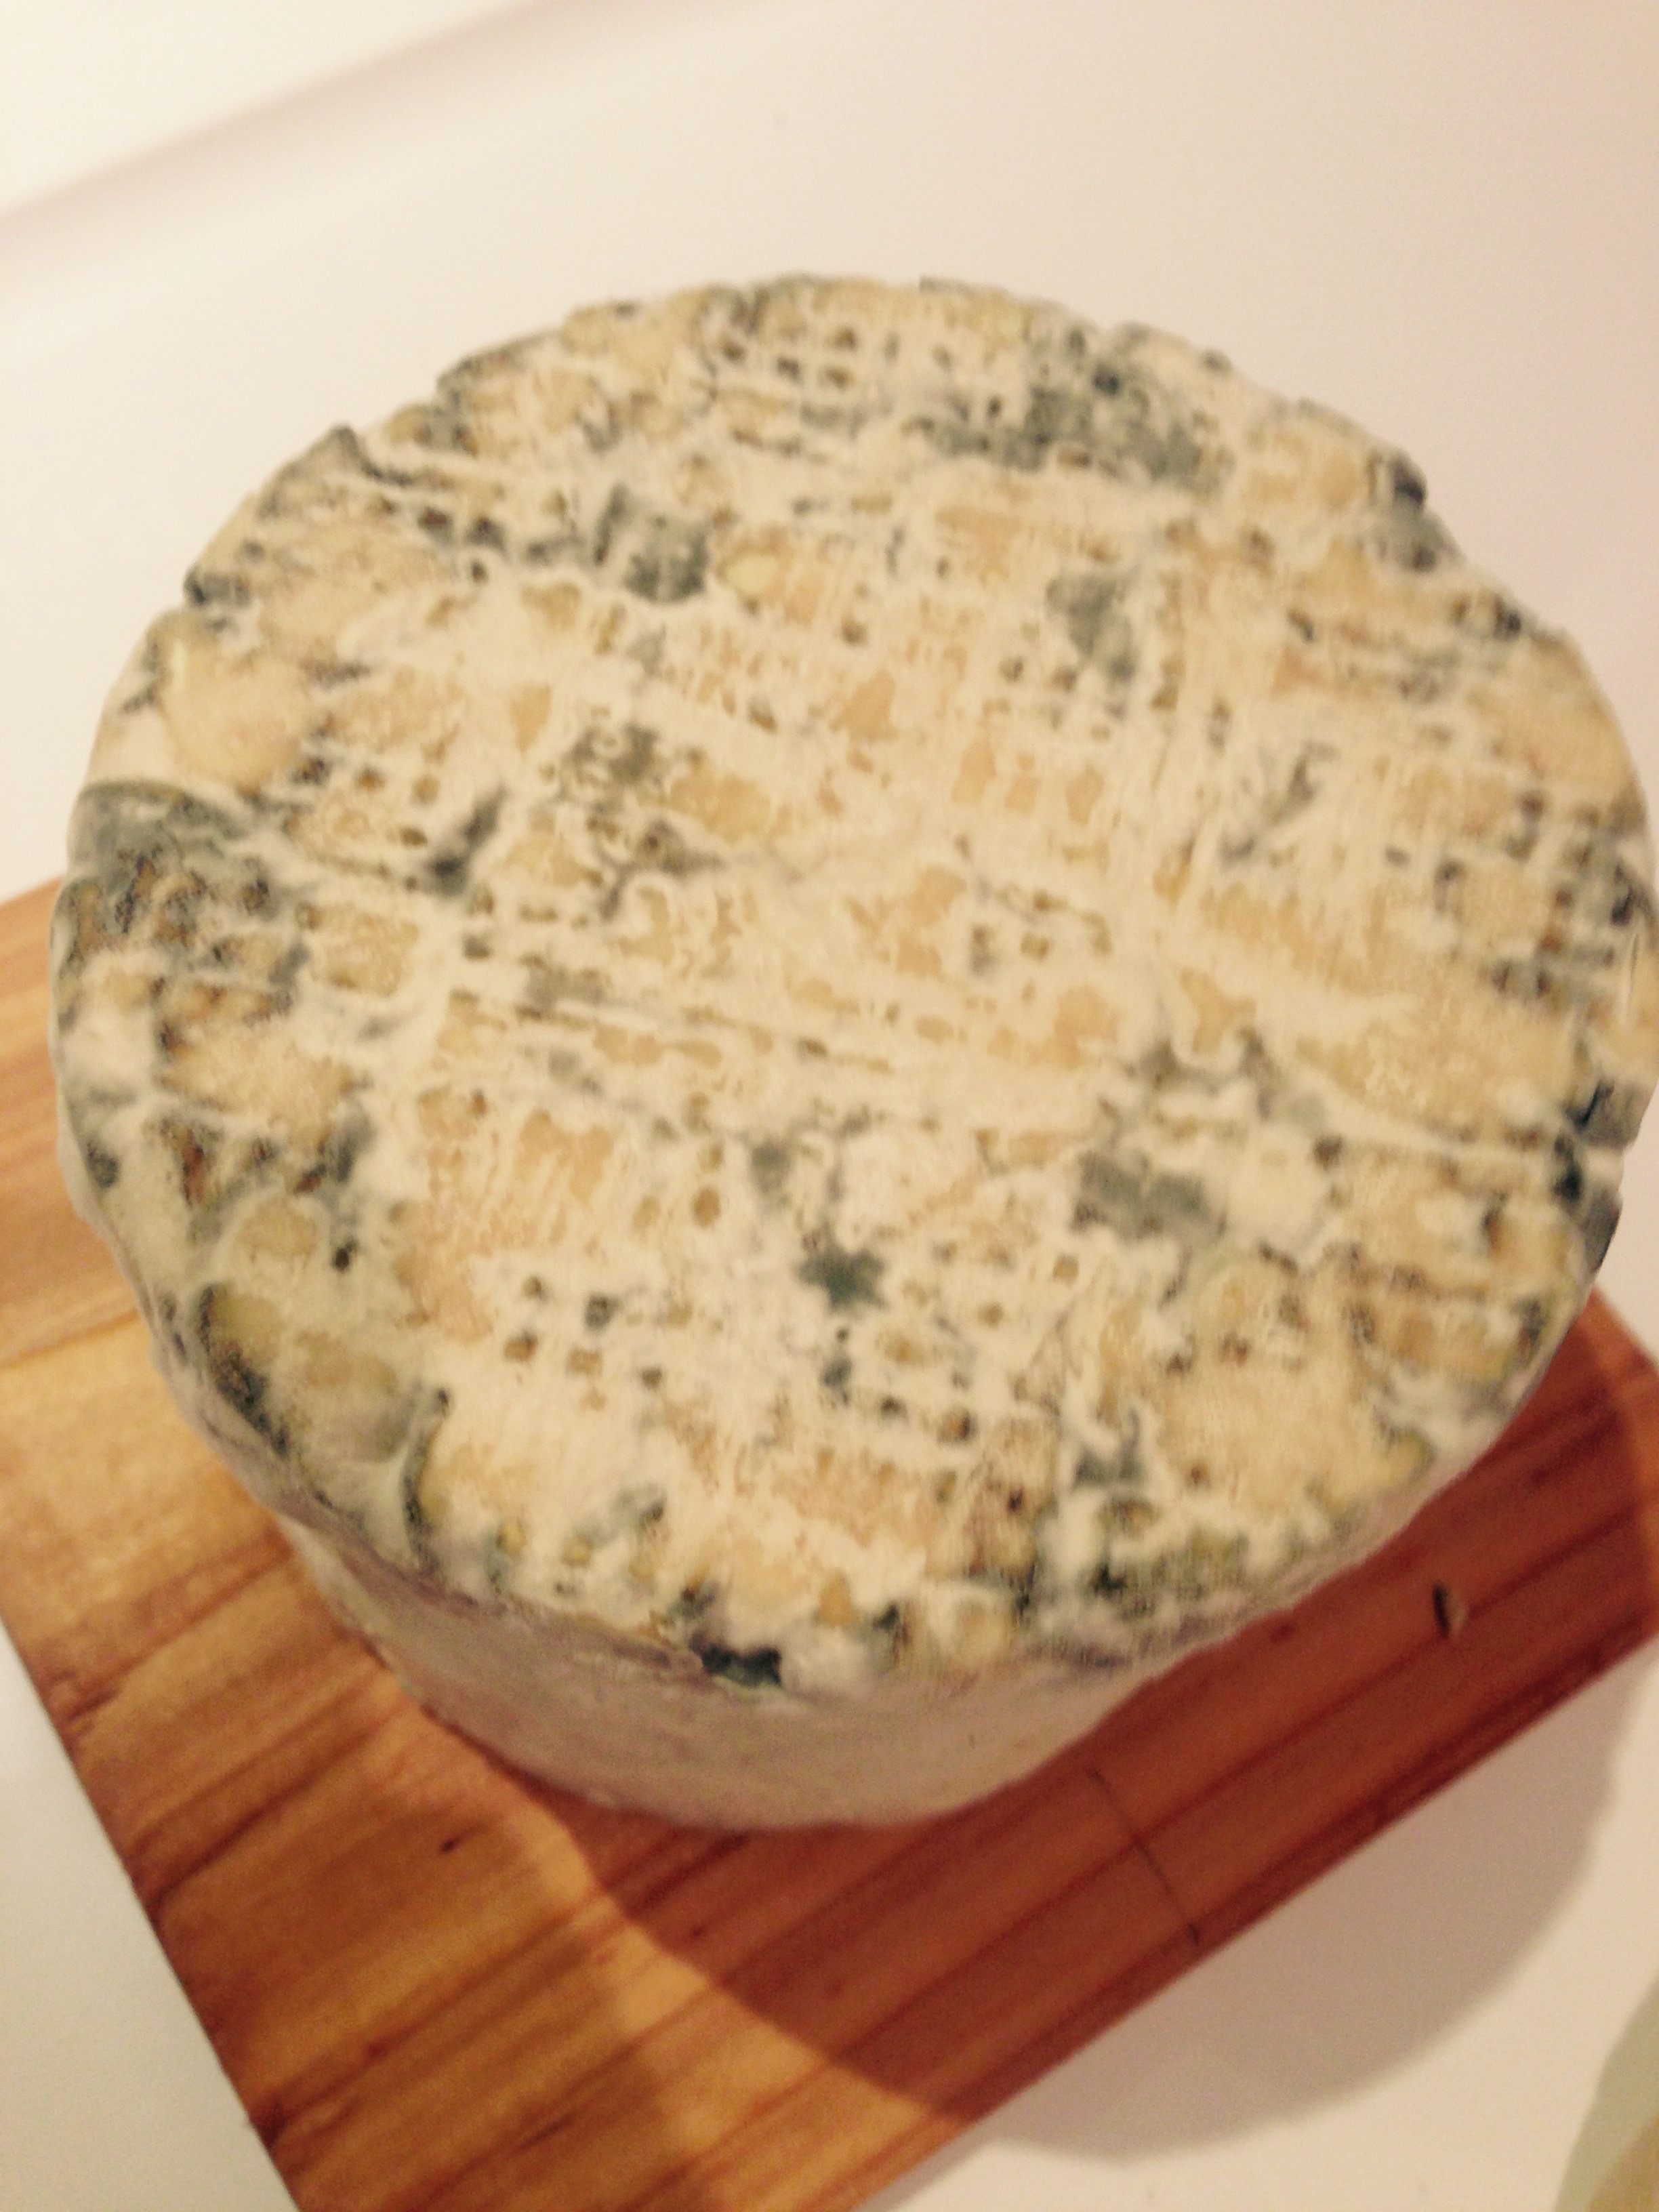
The plank has discoloured the cheese slightly but adds a nice rustic looking touch.

Conclusion
I like how this cheese is developing. I love the rustic looks of the sides.
I know Ian’s, which is a week older than mine has a huge Roqueforti bloom on all sides; but I’m hoping that because I didn’t smooth the exterior of my cheese the P. Roqueforti is thriving in the nooks and crannies.
Only time will tell. Watch for future updates!
A Special Request!
I had a special request for homemade cheese this past week!
If I have this blogging thing sorted out this post will magically appear while Sailor girl and I are at dinner party with our wine tasting friends. This is a noteworthy event because our single friend Hari who lives in a condo on his own is hosting! These dinner parties have evolved over the years and I do mean years….11+ years. It all started with 4 couples and Hari, a recent transplant to our city; and on occasion a single lady who we all hoped that chemistry would strike and we would have five couples. But alas we are much better wine tasters and chefs than matchmakers. One couple moved away to New York a few years ago and we’ve finally replaced them with one of the couple’s daughter and her now fiance. We have literally watched our kids grow up at these parties.
Man I do go off on a tangent sometimes but this party is significant because Hari has finally got up the courage to be the host for a full blown dinner party. Not only is he hosting but he is supplying all the wine, food and Ouzo. Hari definitely has courage looking after all of this! Hari made one request though and here we are; he asked for some homemade cheese.
This is a Greek dinner party, Greek food, wine and Ouzo. So that leads to today’s post, Halloumi! A cheese from Cyprus that is distinctive in that it does not melt when it is cooked.
FACTS & HISTORY
Halloumi has a long and storied history on Cyprus and was originally made using the milk of the Mouflon sheep that were introduced to the island during the Neolithic period. These sheep were isolated from the others on the mainland for thousands of years and have developed into a distinct subspecies. Cyprus Mouflon sheep are now an endangered species. Halloumi is now made using a combination of goat, sheep and sometimes with cows milk during the winter when the sheep and goats aren’t producing milk. The original breed from the mainland is a popular game farm hunting animal around the world.

(From Google Images)
From Wikipedia, the free encyclopedia:
Halloumi or hallumi /həˈluːmi/ (Greek: χαλλούμι; Turkish: hellim; Arabic: ḥallūm /ħalˈluːm/) is a Cypriot semi-hard, unripened brined cheese made from a mixture of goat‘s and sheep’s milk, and sometimes also cow’s milk. It has a high melting point and so can easily be fried or grilled. Halloumi is set with rennet and is unusual in that no acid or acid-producing bacterium is used in its preparation.
Halloumi is popular in Cyprus, Greece, Turkey and the Levant. It has recently become very popular in the United Kingdom.
Halloumi cheese originated in Cyprus and was initially made during the Medieval Byzantine period (AD 395 – 1191), subsequently gaining popularity throughout the Middle East region.
The cheese is white, with a distinctive layered texture, similar to mozzarella and has a salty flavour. It is stored in its natural juices with salt-water and can keep for up to a year if frozen below −18 °C (0 °F) and defrosted to +4 °C (39 °F) before sale. It is often garnished with mint to add to the taste. Traditionally, the mint leaves were used as a preservative, this practice arising from the serendipitous discovery that halloumi kept better and was fresher and more flavoursome when wrapped with mint leaves. In accordance with this tradition, many packages of halloumi contain fragments of mint leaves on the surface of the cheese.
The cheese is often used in cooking and can be fried until brown without melting, owing to its higher-than-normal melting point. This makes it an excellent cheese for frying or grilling (e.g. in saganaki) or fried and served with vegetables, or as an ingredient in salads. Cypriots like eating halloumi with watermelon in the warm months, and as halloumi and lountza – a combination of halloumi cheese and either a slice of smoked pork, or a soft lamb sausage.
The resistance to melting comes from the fresh curd being heated before being shaped and placed in brine. Traditional halloumi is a semicircular shape, about the size of a large wallet, weighing 220–270 g. The fat content is approximately 25% wet weight, 47% dry weight with about 17% protein. Its firm texture when cooked causes it to squeak on the teeth when being chewed.
Traditional halloumi is made from unpasteurised sheep and goat milk. Many people also like halloumi that has been aged; kept in its own brine, it is much drier, much stronger and much saltier. This cheese is very different from the milder halloumi that Western chefs use as an ingredient.
Halloumi is registered as a protected Cypriot product within the United States (since the 1990s) but not yet in the European Union. The delay in registering the name halloumi with the EU has been largely due to a conflict between dairy producers and sheep and goat farmers as to whether registered halloumi will contain cow’s milk or not and if so, at what ratios with sheep and goat’s milk. Most Cypriots agree that, traditionally, halloumi was made from sheep and goat milk, since there were few cows on the island until they were brought over by the British in the 20th century. But as demand grew, industrial cheese-makers began pouring more of the cheaper and more-plentiful cow’s milk into their caldrons. If it is registered as a PDO (Protected designation of origin), it would receive similar status as 600 or so other agricultural products such as feta and Parmesan cheese.
Etymology
The name “halloumi” is probably derived from an Egyptian Arabic loanword from Coptic halum meaning “cheese”, and it is believed to have been eaten in ancient Egypt. In modern Egypt, hâlûmi, which is similar to Cypriot “halloumi” but is essentially a different cheese, is eaten either fresh or brined and spiced.
What makes Halloumi so delicious and unique is what happens when the cheese is cooked. It should be cooked in a dry pan as oil will seal it. As the cheese heats lactose or milk sugar escapes to the exterior of the cheese where it is caramelized resulting in a cheese that is both sweet and salty.
Time to Make Cheese!
I followed Gianaclis Caldwell’s recipe in “Mastering Artisan Cheese Making” for this make. This is a relatively straight forward cheese to make although it does have a few twists!
Ingredients
2 litres Cows Milk
2 litres Goats Milk
MA 4000
Lipase
Calcium Chloride
Rennet
Salt
Dried Mint
The Make
Heat the milk to 30 degC to 34 degC and maintain this temperature until you need to increase the temperature (ok this step is unique; we just pasteurized the milk!).

Gee 4 litres doesn’t fill the pot very full!
Add the culture; the culture is not used in the traditional version but will add enzymes for aging (mine will only be one week old when consumed).
Next add the Lipase (I used Kid Lipase which I hope will give the cheese a stronger more traditional flavour).
Next add the rennet; i used Lamb Rennet Paste, again hoping for a more traditional flavour. As you might have noticed I used goat lipase and lamb rennet, again hoping for a sharper more traditional flavour since I used some cow’s milk for the make.
Let the curd set for about 40 minutes.
When you get a clean break cut the curd into 2-4 cm cubes and rest.

Clean Break (might be a bit soft)

Stir gently while increasing the temperature to 38 degC – 42 degC over 20 to 30 minutes. Hold for 20 minutes while continuing to stir. Then settle.

I deviated from the recipe at this step. you are supposed to press the curd into the bottom of the pan forming a mass, then drain the whey into another pot. Next cut the curd into quarters and press into the molds.
I couldn’t get my curds to press into a mass so I scooped them directly into the molds.
Next you hand press the curd in the molds to expel whey, you can also stack the molds for more weight. The curd should be knit together when the whey draining is complete.

While you are pressing the cheese, heat the reserved whey to 85 degC – 91 degC, skim any milk proteins that float to the top.

Skimmed Proteins aka Ricotta
Unmold the cheese and cut into 5 cm thick slices.


Place the slices into a colander or basket in the hot whey (so they don’t stick to the pot bottom).
DON”T BOIL!!
The curds are ready when they float to the top (just like a peroghy!).

Two Up! Four to Go!

That’s Six, All Accounted For!
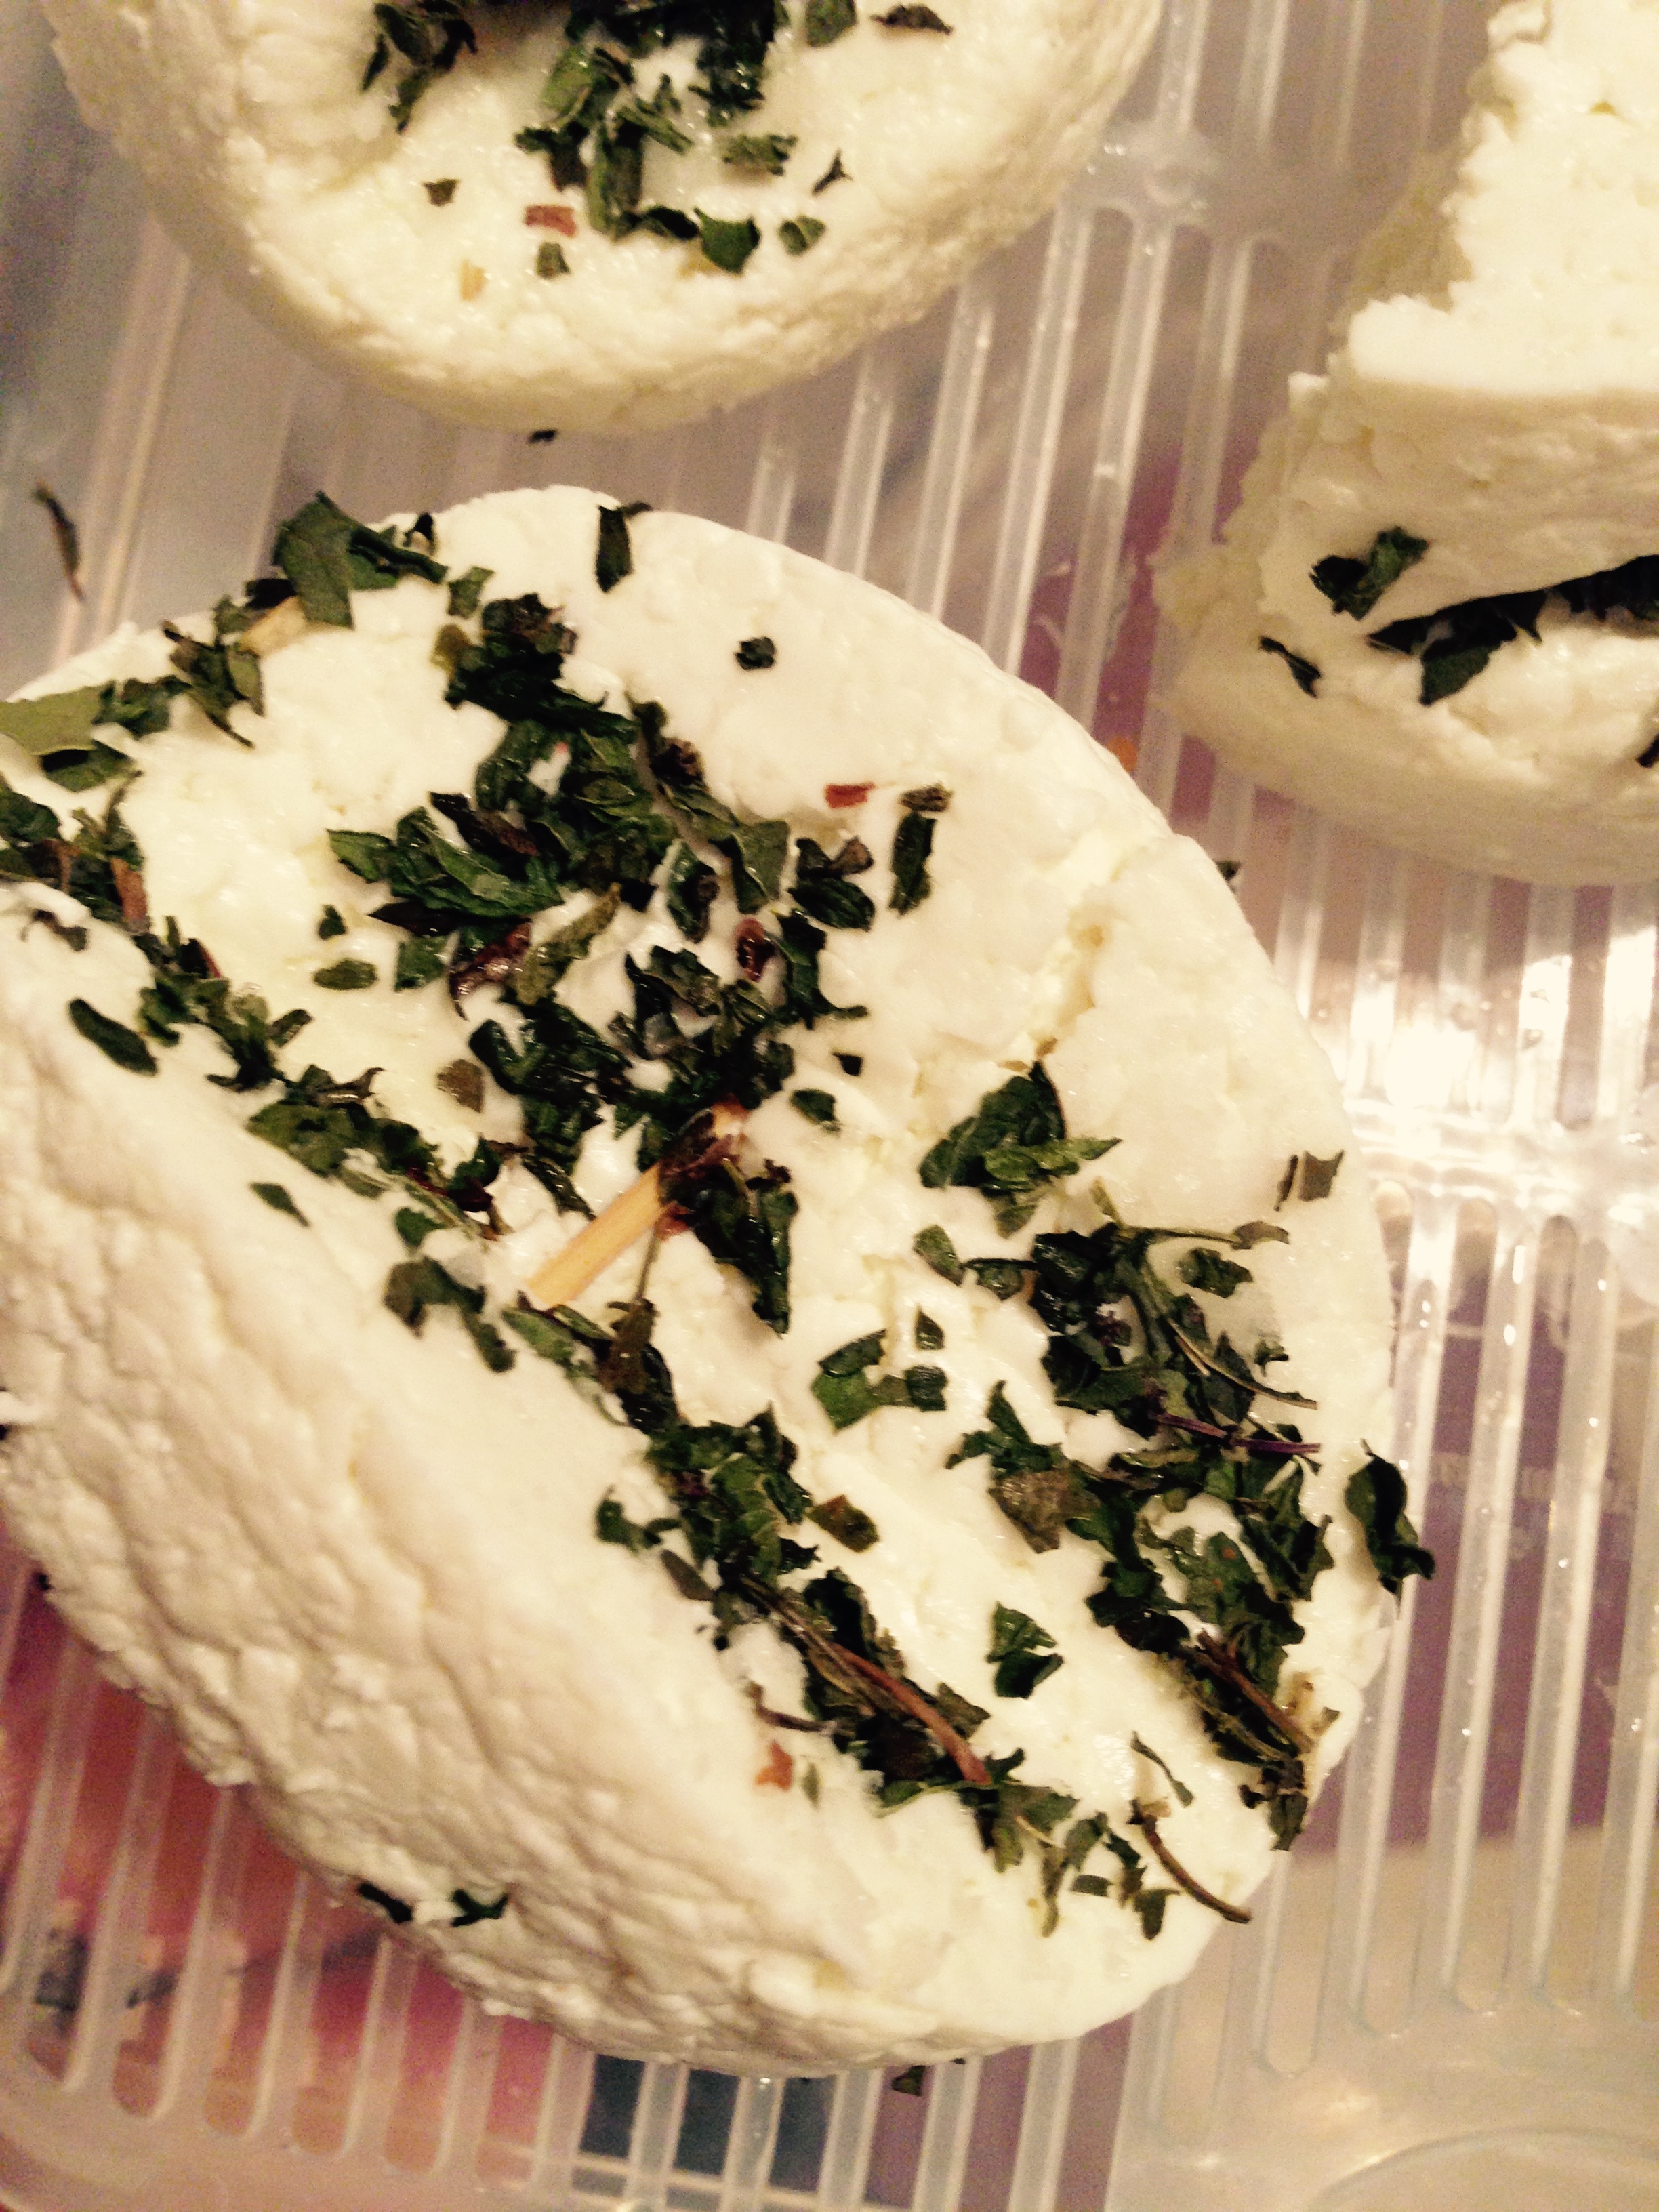
Spray the cheeses with cool water. I then dried them and salted them on both sides; followed by a healthy sprinkle of dried mint leaves.

Salted

Minted
Next fold them in half making a half moon shape.

Mine didn’t fold very well!
Leave cool for 2 to 3 hours
If aging pack the cheese into tubs and cover in 8 to 12 percent brine. They can be aged for months this way.
I kept mine in a cheese aging box in my cheese cave at 12 degC. They will be consumed 7 days after they were made.
So Hari my friend! This cheese is for you!! Hope you liked it!
And I hope our Baptism of Father Gunther went well as well (inside joke, need to know basis only)
It’s Niddy Noddy Time!!!
So this is a change of pace for me, a post that is not about something edible.
Well it’s time to make a Niddy Noddy today!! A wha?? Yep you read it right the first time. I’m making a Niddy Noddy (my apologies to those of you that are already in the know).
After visiting a number of wool shops, nooks, cooperatives and assorted stashes over the past few years so Sailor Girl could pad her yarn stash. Not to mention watching her turn out increasingly beautiful and more complicated knitted items I decided she was ready to move up to the big game.
For Christmas this year Sailor Rick decided to go big and bought Mrs. Sailor aka Sailor Girl aka SlightlyTwisted (on Ravelry) a brand new SPINNING WHEEL for Christmas.
After lots of online research and not meeting the final bid on a couple of Ebay bids I decided to go for new. I found a local online knitting shop here at home run by a friendly young woman who also happened to own and use the same spinning wheel I wanted to buy. It was a no-brainer after that discovery.
After the wheel arrived Sailor Girl and I went over to Andrea’s place (owner of Flannelberry Creek). Andrea (aka Aizlin) had the wheel set up and oiled and ready to go. She showed Sailor Girl a few basics and we stocked up on some additional fibre besides the starter pack Andrea had included, we were off to make some yarn; or rather Sailor Girl was off to make some yarn.
Here’s a picture of the little beauty from the Ashford website:

Now once you get spinning fibre into yarn it collects on a spool, but what do you do when the spool gets full? Now you have a problem! What do you do with the yarn and how do you know how much yarn you just made? Is it enough for your next project?
That’s where a Niddy Noddy comes into play. A Niddy Noddy is a simple device that you wind your newly spun yarn onto; by counting the wraps you actually measure the length of your yarn. When you slip the yarn off the Niddy Noddy you have a skein which you can then either braid to look pretty or transfer to your Swift from which you can proceed to roll the yarn into a ball; ready for your project!

Basic Wooden Kniddy Noddy (from Google Images)
So once Sailor Girl’s spools were full she started looking for a Niddy Noddy. For such a simple device they aren’t cheap; wooden ones start at $40 or more. She noticed a few posts where knitters had went the do it yourself route and had created them using PVC piping and fittings. By doing it this way you also get to decide how big your skeins will be.

PVC Kniddy Noddy (from Google Images)
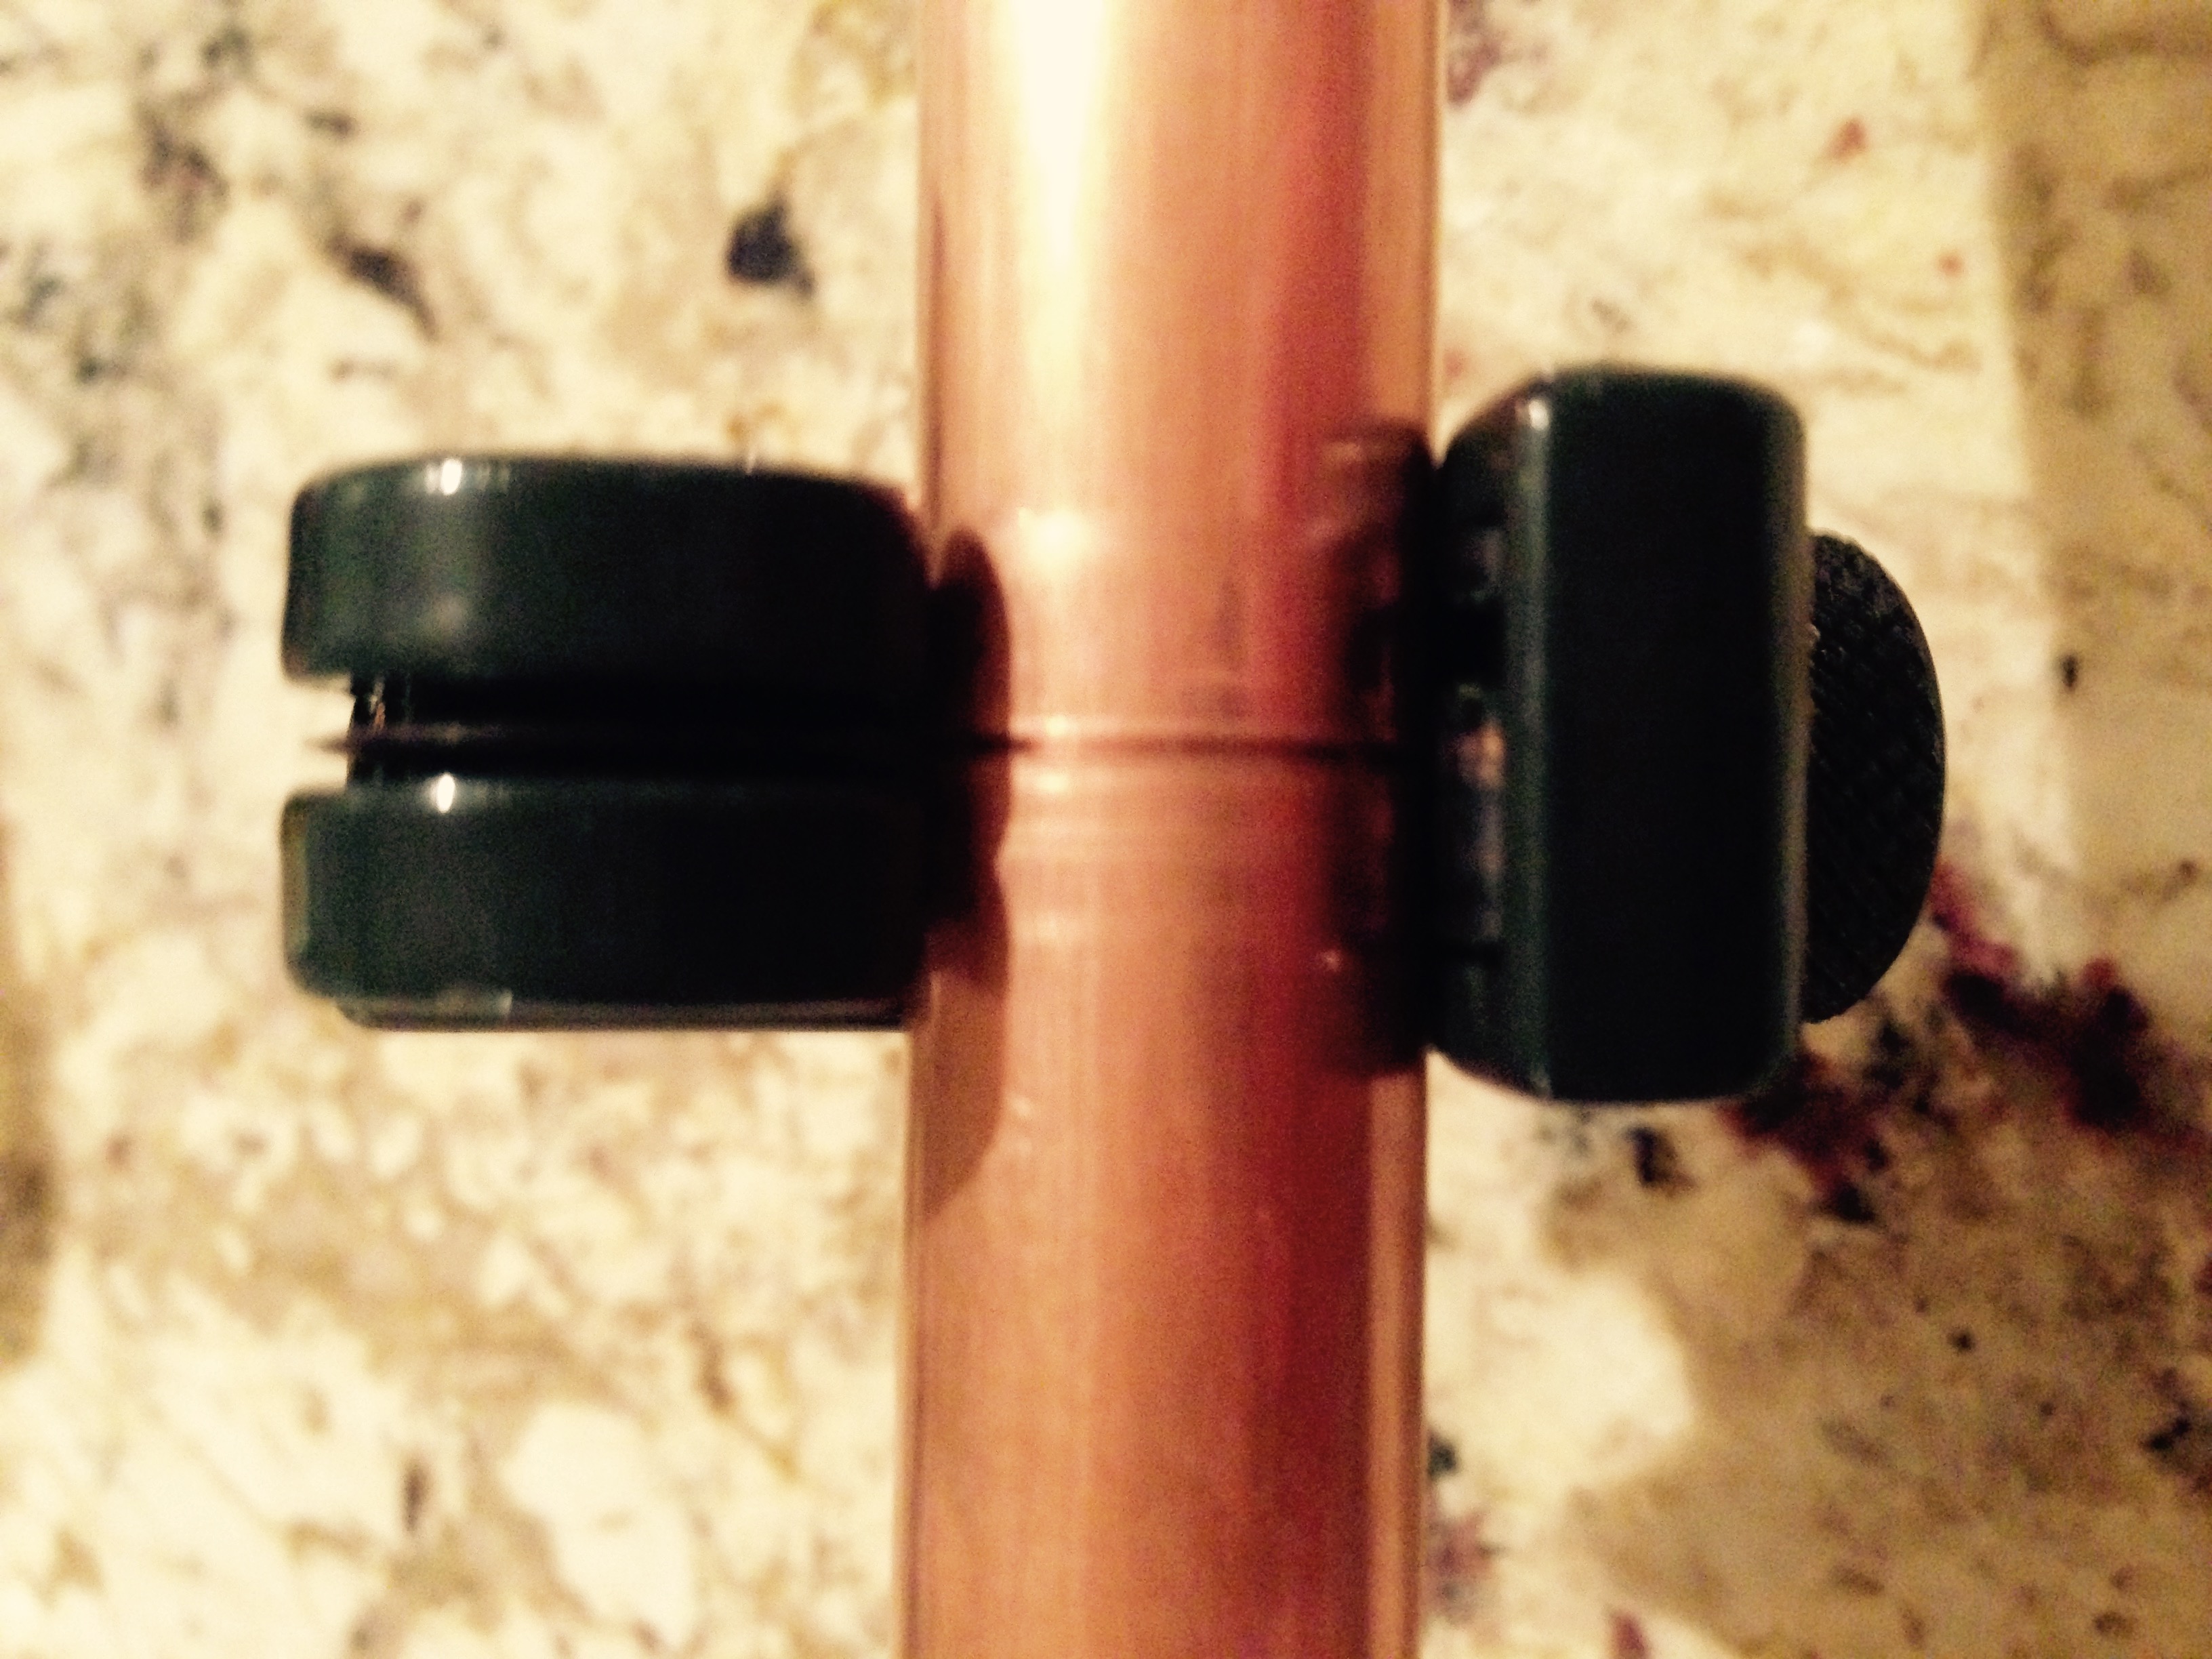
So that’s where I come in! She showed me a website with directions and measurements and asked if I could make her one (The Lost Pages). I took the challenge but it was tougher than I expected….I couldn’t find the fittings! Big Box stores don’t carry the fittings we needed. We needed to visit a specialty plumbing shop but it was Saturday and the specialty shops weren’t open until Monday. It was at this point I had a brainwave…what about copper? I have to admit when comparing a PVC Niddy Noddy with a wooden one the PVC version is definitely the ugly duckling of the pair.
I got the nod and began collecting the materials. The PVC version runs about $5 all in, my new copper version came to a total of $9.80. I think you will be pleasantly surprised with the results.
Sailor Girl requested a 1.5m Niddy Noddy so I needed the following supplies:

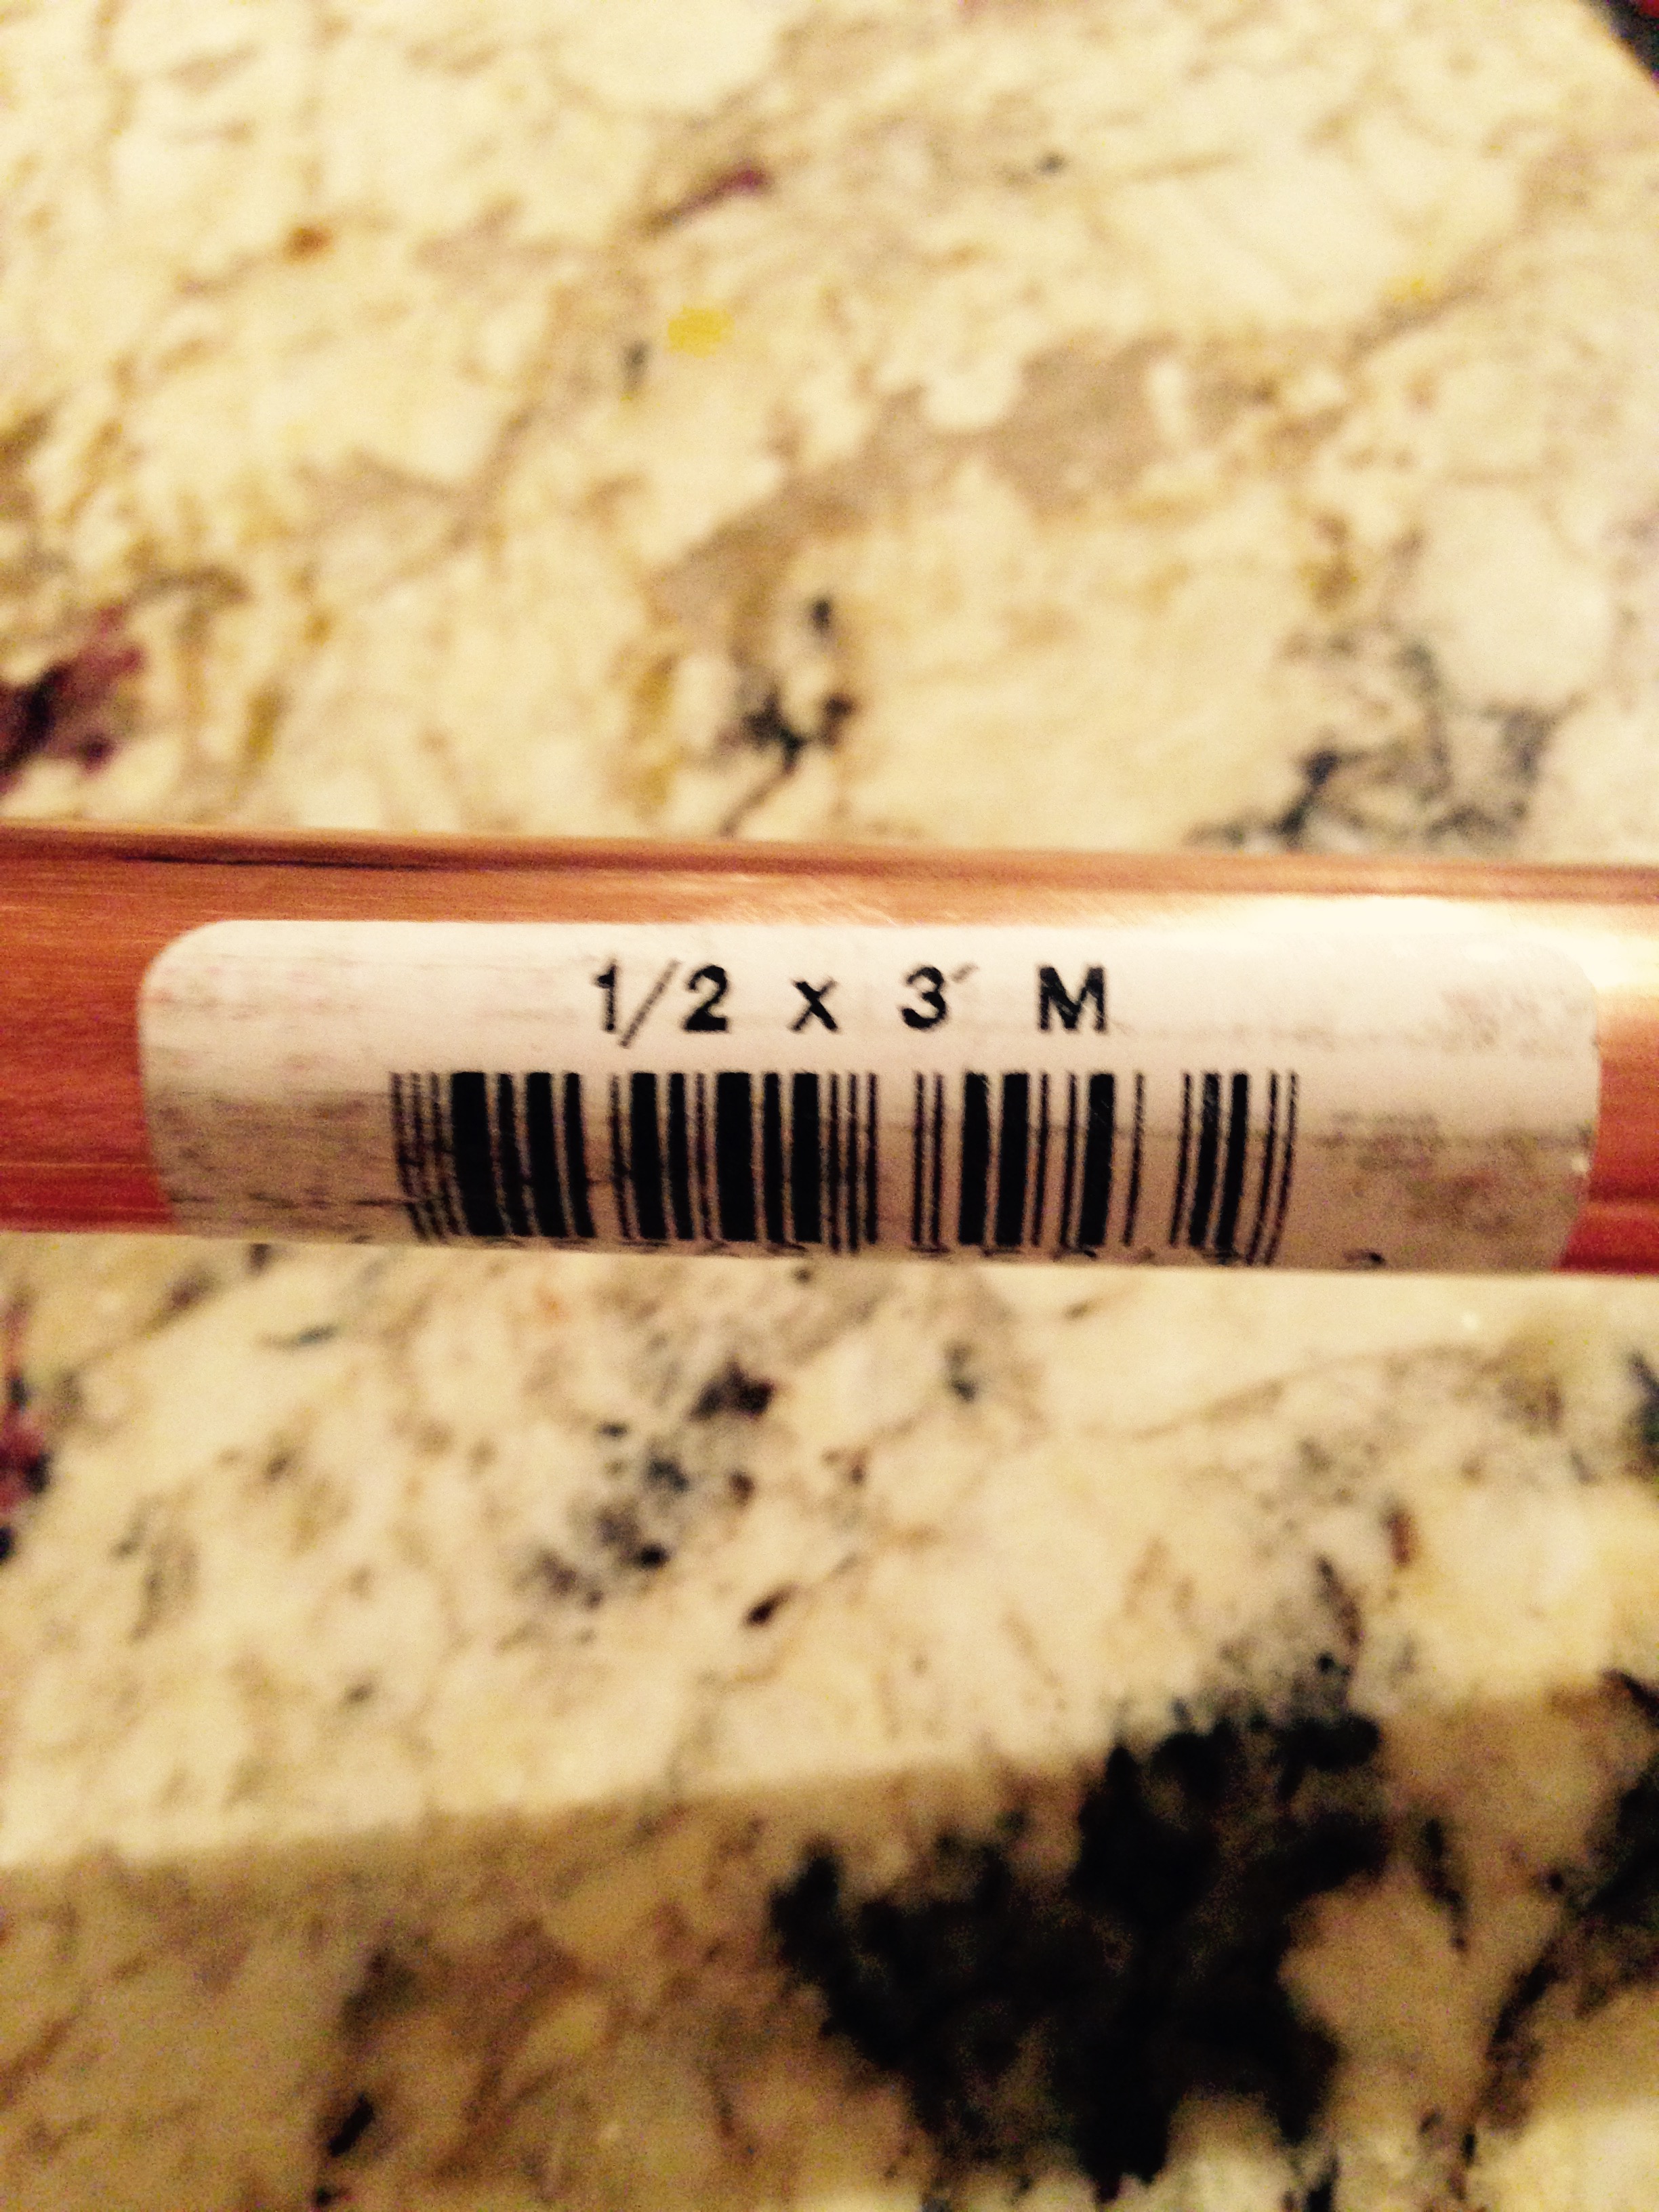
3 feet half inch copper pipe

2 ‘T’s

4 Caps
You will also need some glue, I used Lock Tite and a
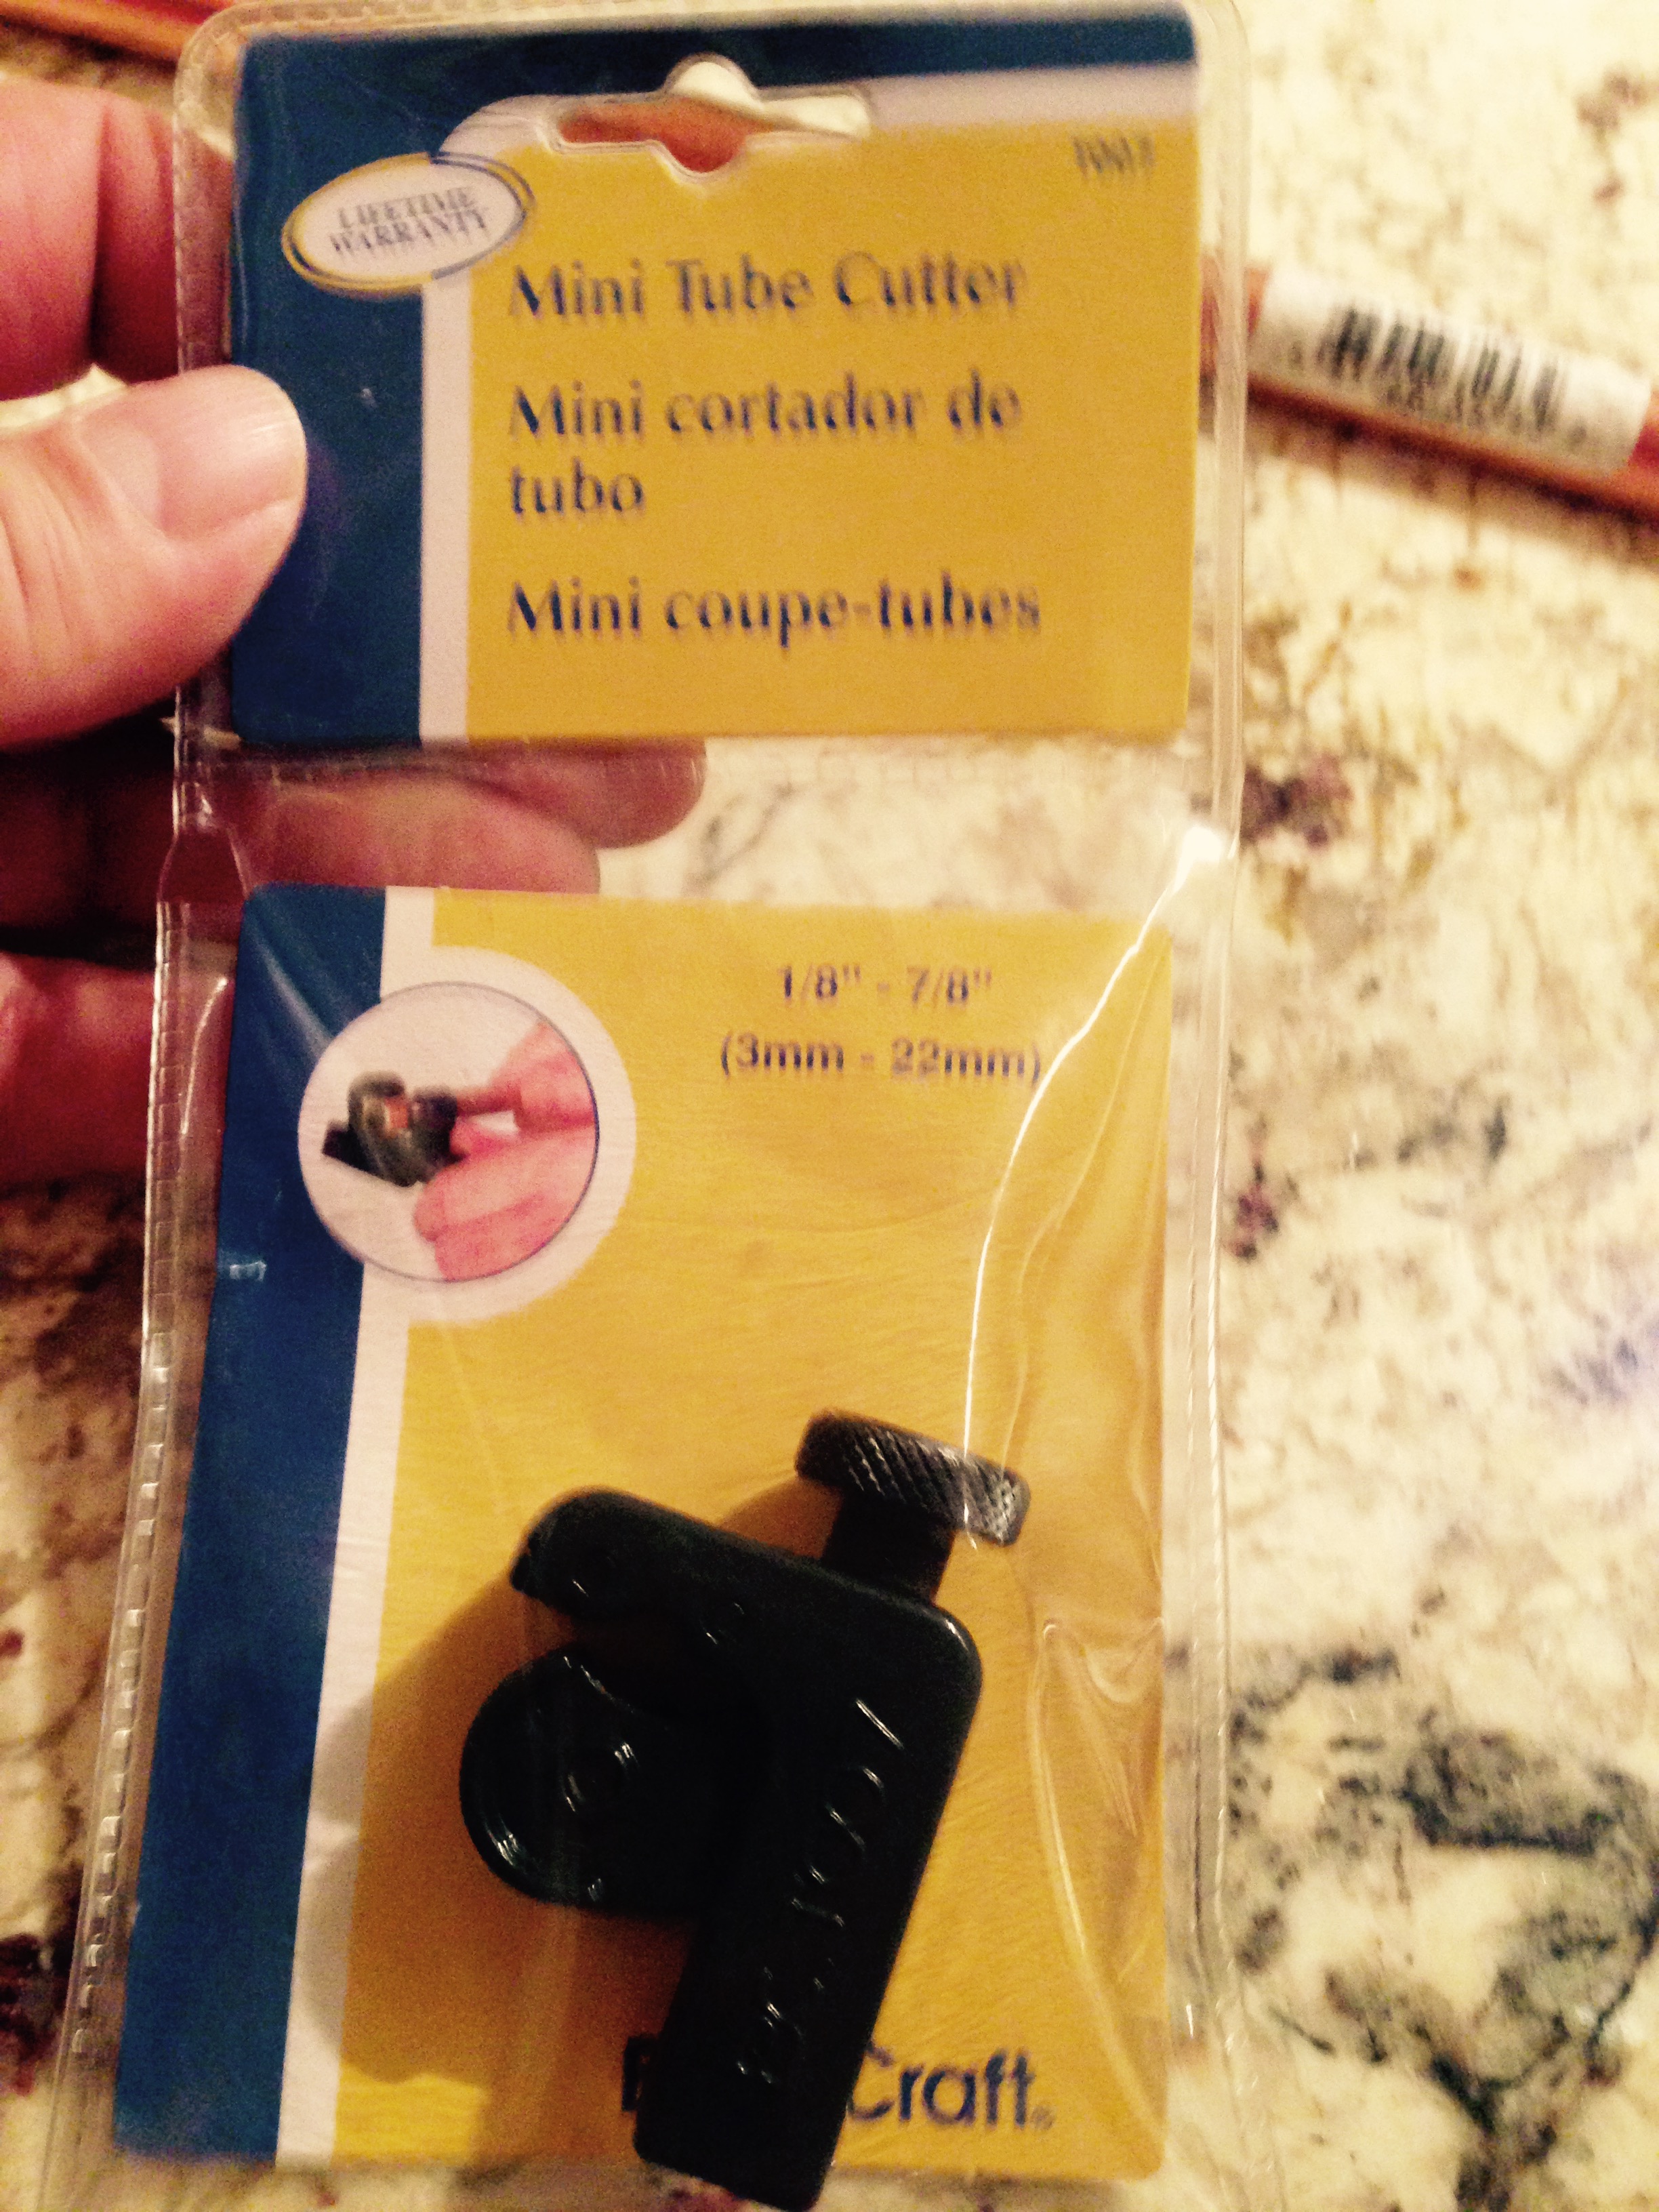
 Tubing Cutter (the store may be able to help you with the cuts if you don’t have one).
To use the tubing cutter:
1. Mark the pipe where you need to cut,
2. Open the cutter wide enough to insert the pipe,
3. Ensure the cutter wheel lines up with your mark and tighten the
wheel until it is snug,
4. Rotate the cutter around the pipe until the resistance decreases,
5. Tighten the wheel a quarter turn and repeat until the piece is cut free.
To make a 1.5 m Niddy Noddy you need to cut the pipe as follows:
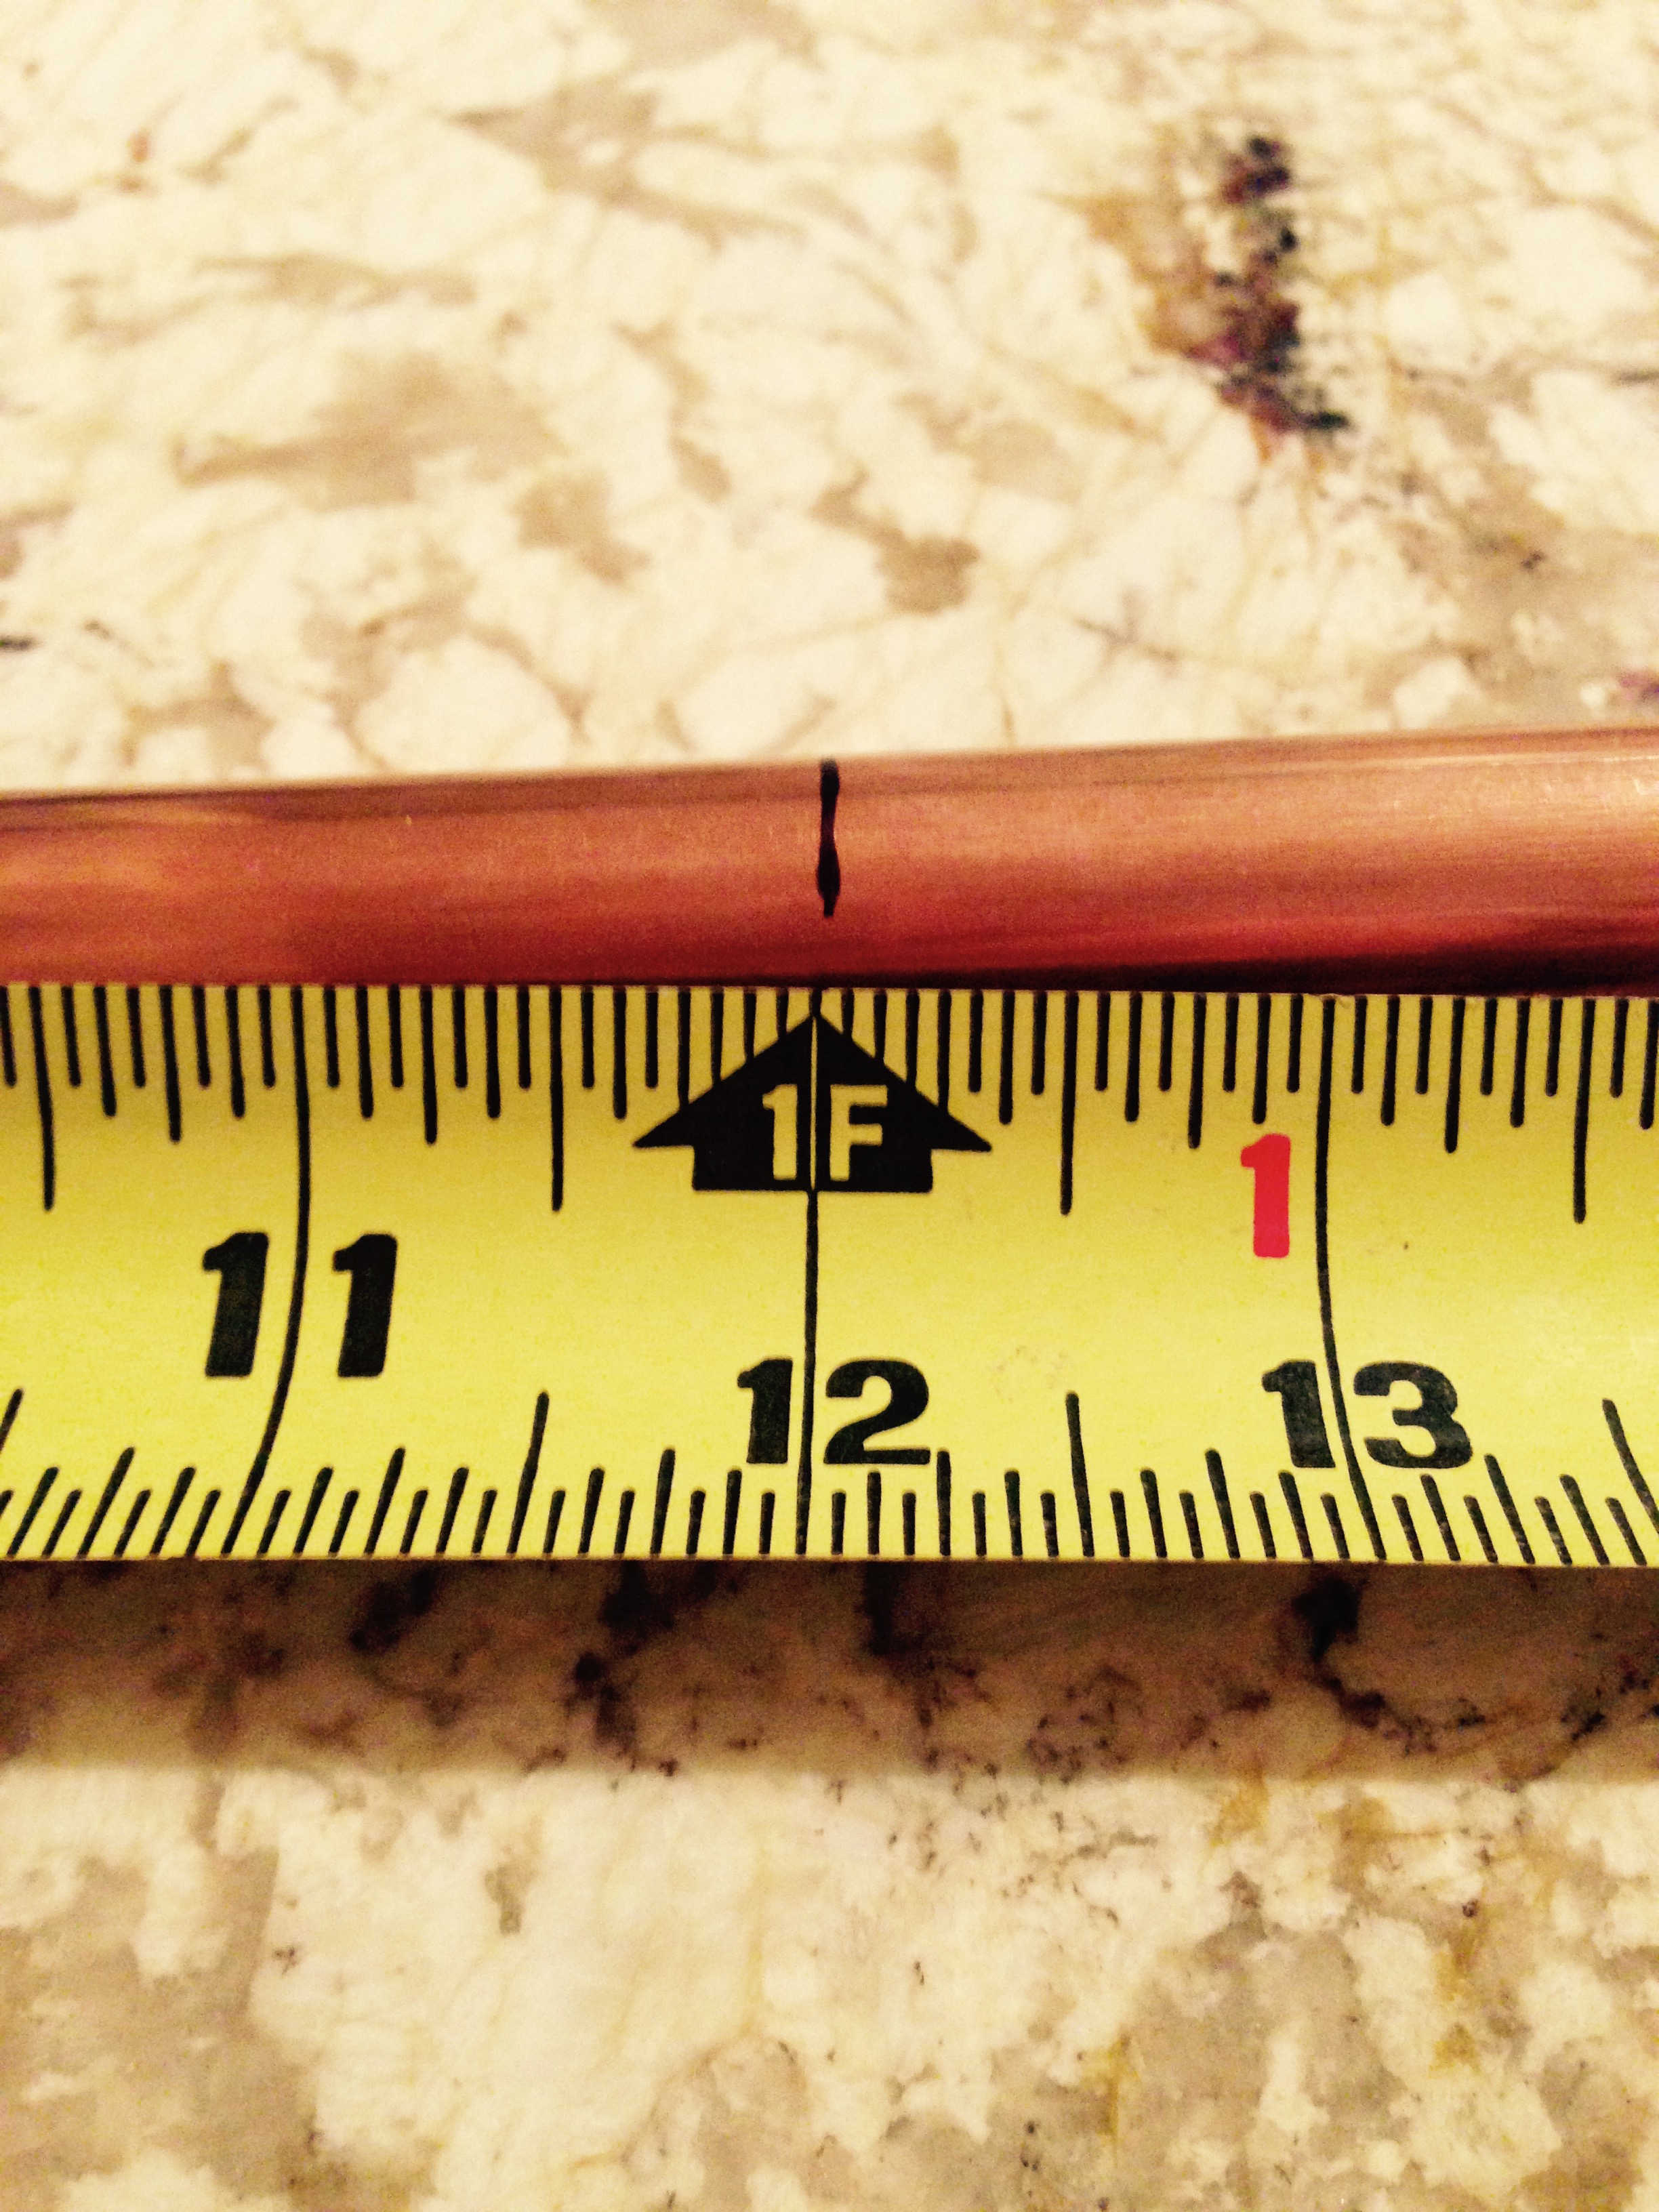
12 Inch Piece

4 x 4.5 Inch Pieces
Layout the pieces:

Assembly Steps:
- Dry fit the pieces for fit; if they won’t slip together you may need to sand the ends of the pipe.
- Once they fit together add a bit of glue to the caps and place on one end of each of the 4” pieces.
- Glue the 4” pieces into the ‘T’s.
- Next place the 12 inch piece into the end of the first T.
- Insert the 12 inch piece into the second T, you want to offset the T’s 90 degrees. I didn’t glue the 12” piece so the Niddy Noddy could be partly disassembled to put it in the spinning wheel bag for travel.


After winding just a couple skeins of yarn the copper has been polished to a lovely shine. I think the copper Niddy Noddy is actually a beautiful tool compared to the PVC version. Check it out for yourself!


“Yarn winding drives me nuts!!!!” – Mr. Morris, Le Chat
Man I’m starting to talk like a knitter and I’ve never even pearled (just kidding, I mean purled) or knit a stitch in my life.
Stay tuned I may need to create some more DIY Knitting Projects.
Now it is time to return to our regularly scheduled cheese and smoking projects.
Stilton Update #1
Well it has been 10 days since the Stilton make and this update covers the first 8 days after the make. I just haven’t had time to compile my thoughts and photos into a post.
After the make and moulding of the cheese I left the cheese at room temperature in a container that was 95% sealed to conserve moisture and hold the humidity. My room temperature is 21 degC for 9 hours a day and 18degC for the remainder.
I flipped the cheese daily but did not remove it from the mould when flipping it.
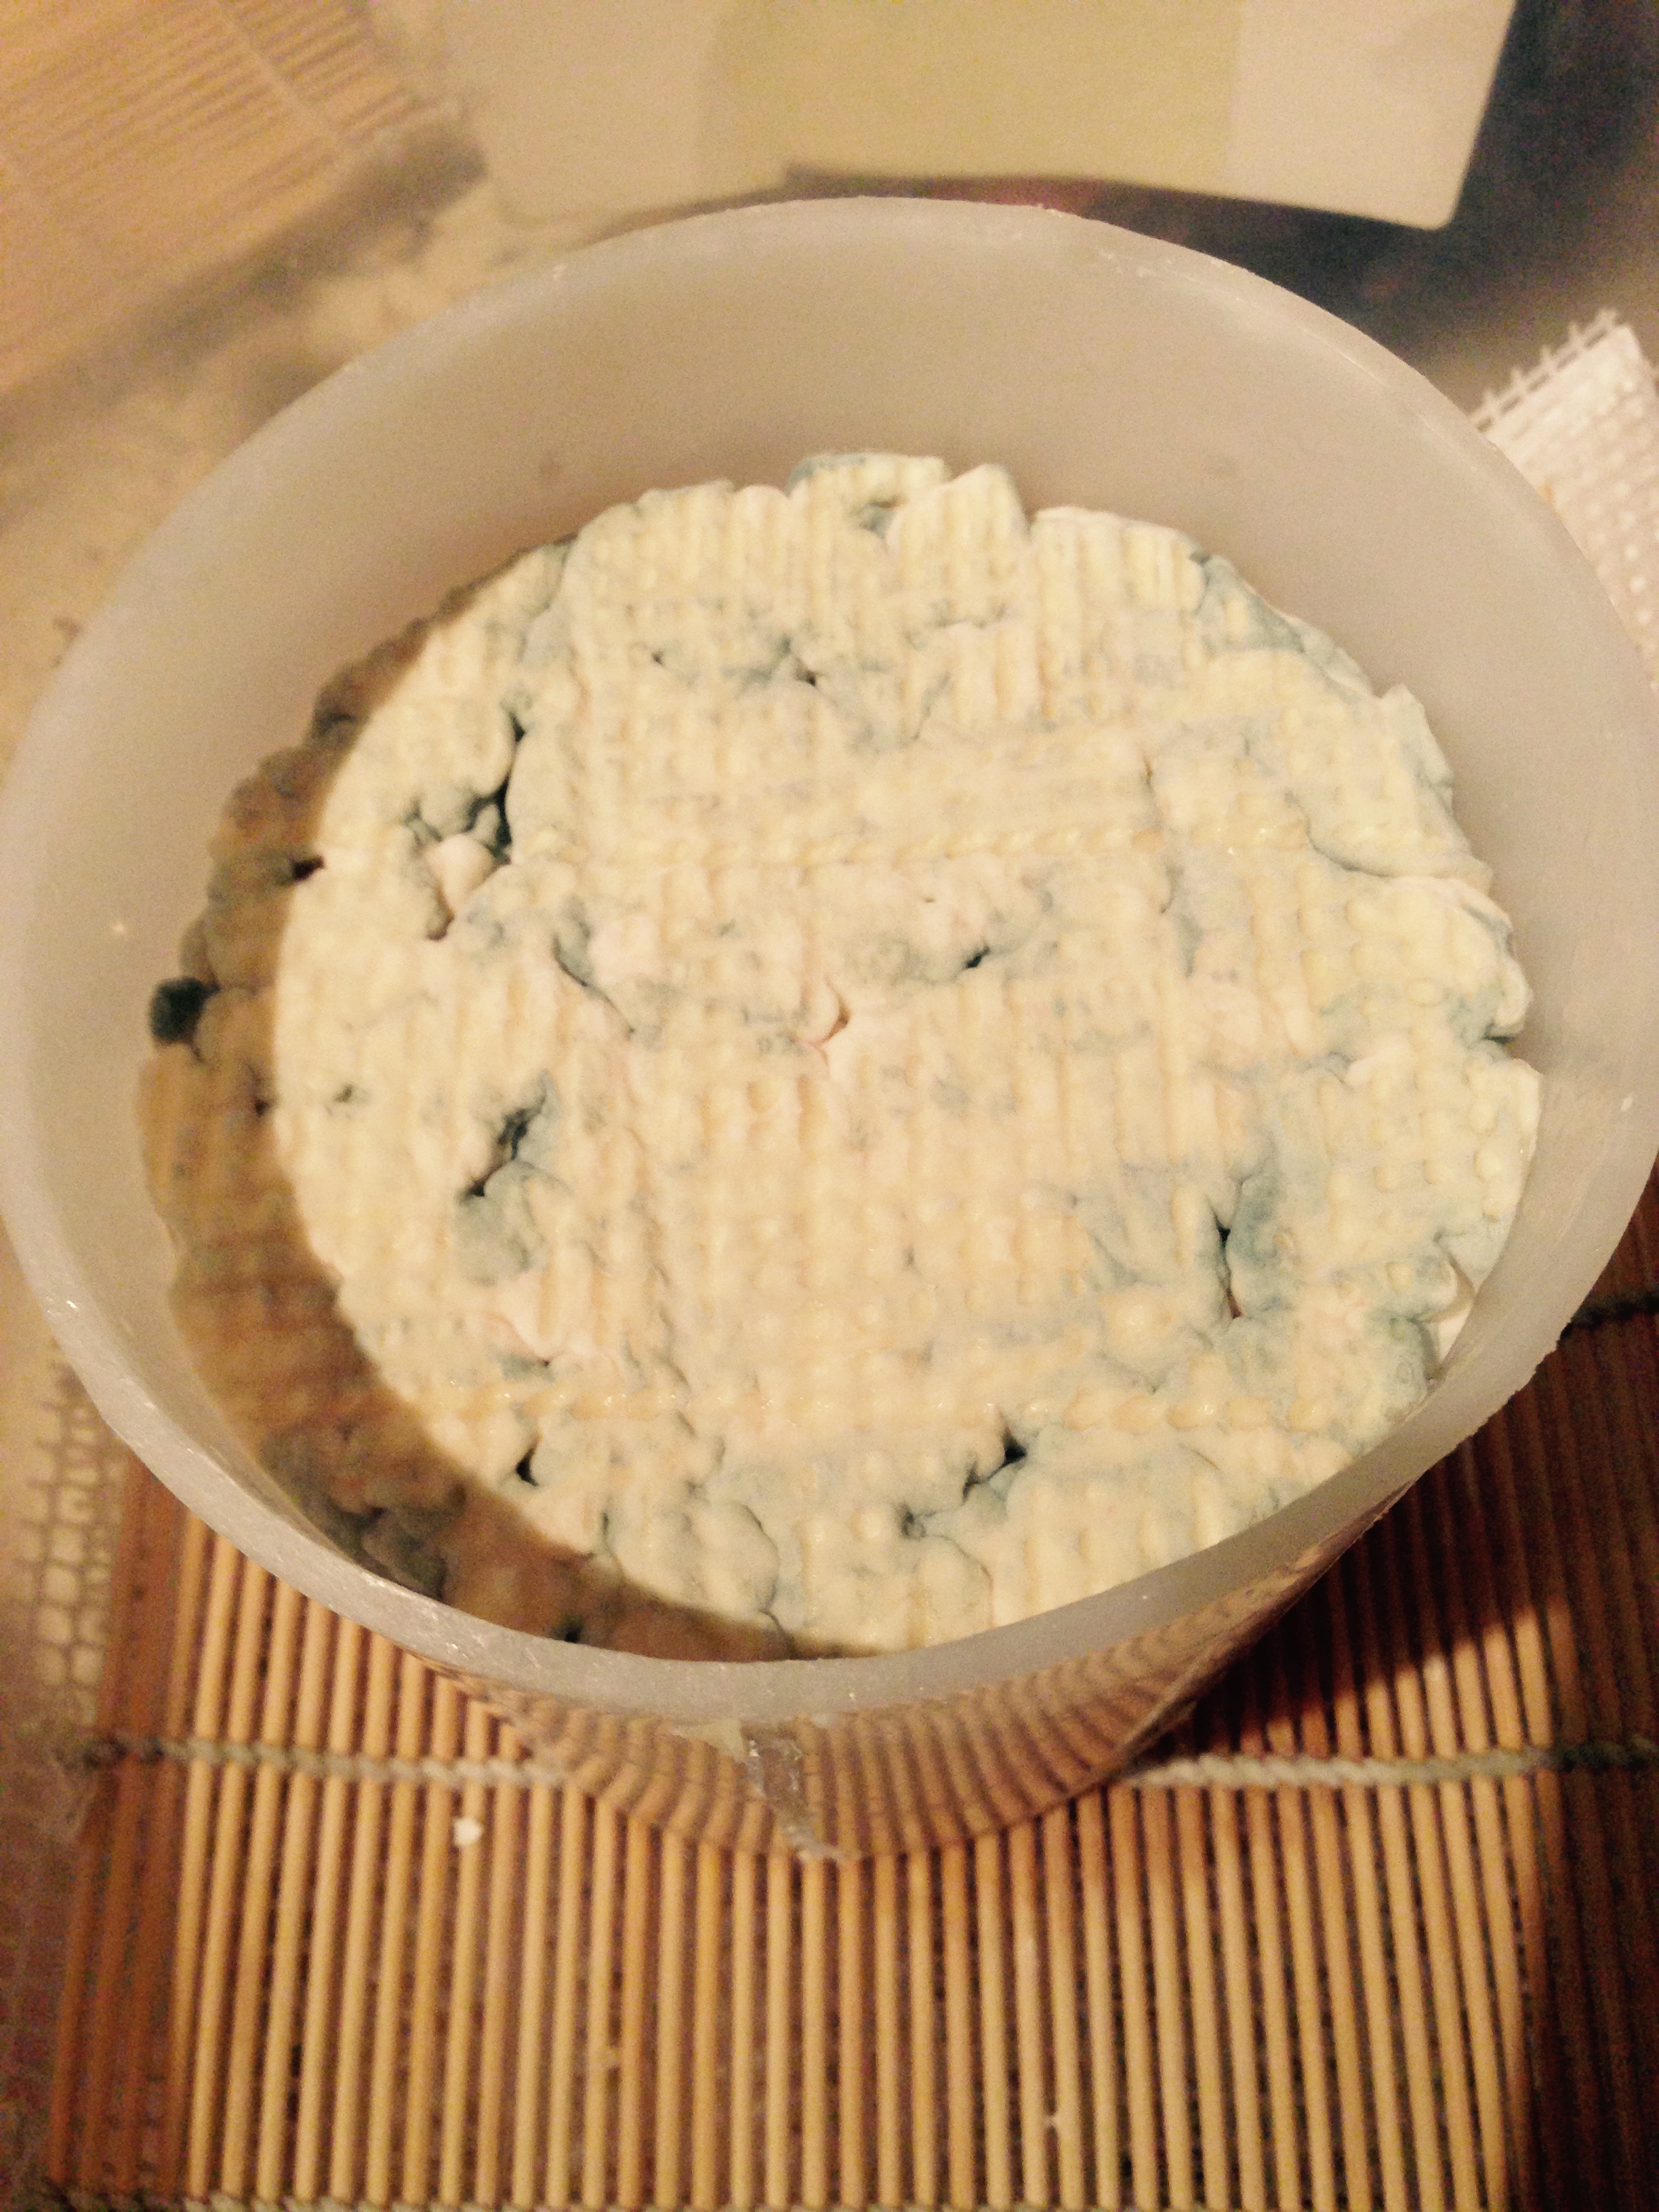
The P. Roqueforti began to show its presence on the fourth day.
Day 4
Each day the blue began to creep into more and more of the crevices on the ends; but because I didn’t remove it from the mould I couldn’t tell what was happening on the sides.
 Side A, Day 5
Side B, Day 5
I continued flipping daily until the great unveiling on day 8.

Day 8, Side A

Day 8, Side B
At this point there was a divergence in the various make recipes I have and I decided to deviate from the direction that Ian the ‘Cheese Yoda’ took where he smoothed the exterior surfaces of his cheese before placing it into the cool storage for longer aging. It is really awesome to have a couple of cheesemaking friends that I can bounce ideas off of and then we can compare and contrast our cheese makes which results in us all becoming better cheesemakers. I have another cheesemaking friend, Addie who I haven’t mentioned in these recent posts lately as he is off traveling the world and doing some cheesemaking consulting in India but he is also a great sounding board for ideas when he is here in Edmonton or has an internet connection.
Another difference I made was to place my cheese on a cedar plank that I had soaked in brine before use. I dried the exterior of the plank before placing the cheese on it. I then loosely covered the cheese with cheese cloth that was also damp with brine; placed it in a closed container and placed the container into my 12 degC aging cave 😉 for further aging.
 Walking The Plank To The Cave
Cheese Ready for Cool Aging
I will keep you posted on how this cheese progresses and I’m sure months from now Ian and I will compare our cheeses to see how they turned out so stay tuned!
Today’s Epilogue
First off in my initial post I wrote about how Stilton is an EU protected cheese; so with that in mind I have decided to name this cheese make so without further adieu
I give you:
* Stilmonton *
Side Note:
The League of YEG Home Cheese Makers
Both Ian and I are members of The League of YEG Home Cheese Makers a group of local cheese makers that we are trying to reinvigorate during 2015. The League has a Google+ presence as well.

Cheese Making Once Again!
As I mentioned in my previous post I have been away from cheese making for a considerable length of time; about 10 months.
In what is beginning to become an annual tradition (does 2 times make a tradition?) my friend Ian over at Much To Do About Cheese asked if I wanted to get together over the Christmas break to make cheese again. Last year we made Taleggio. This year we decided to make a blue cheese. Ian has recently discovered a, shall we call it love of good blue cheese…I suspect love may be too strong of a word though…how about infatuation? Only time will tell if this is true love or a fleeting infatuation. For me it is true love, I have loved the piquant flavours of blue cheese since I was about 13 or 14, starting with blue cheese dressing on iceberg lettuce; but I digress. Back to the make!
I was traveling with my daughter and her alpine ski team when Ian had available cheese time so Ian made his “Stiltonesque” while I was away and then volunteered to come over and help me with my “Stilton Style” cheese when I returned.

It was a Powder Day at Silver Star but at -20 degC and wind chill of about -35 degC it was chilly!!
This is the story of Sailor Rick and his magical wheel of Stilton. I will call it Stilton even though Stilton is an EU protected cheese. I’m sure the EU has more important things to worry about than one small wheel of cheese produced for home consumption.
Sailor Rick’s Condensed History of Stilton
I am a history buff, as is my whole family so pardon the short history lesson on the making of Stilton cheese; I hope you find it somewhat interesting.
In AD 45 the Romans established a military camp seventy miles north of Londinium first called Sticitone and then later Stilton. It is located in the east midlands of England. By AD 65 Stilton was a trading centre producing a soft cream cheese for local consumption; pressed cheese was exported as far as Rome. A ceramic Roman cheese mold was found near Stilton in 2006. The cheese was coagulated using nettles for rennet and was then wrapped in nettles for about 2 weeks until ready for consumption; a much different cream cheese than what we in North America consider as cream cheese.
By AD 585 the Romans had been gone for several hundred years, replaced by the Anglo-Saxons and later the Danes but a cream cheese was still produced from ewes milk. The climate in the region was hostile so the Danes introduced cattle to the area known as Red Lincolns; they were noted for both their size and heartiness. The milk was used to make cream cheese and pressed cheese.
In 1066 William I conquered England and it is believed that he required a blue-veined cheese to be produced as lastage (a type of rent paid by the local market). This lastage in one form or another was in place for over 300 years.
In 1430 Henry VI passed a law that less than a third of the weight of the cheese could be whey so all cheeses at this point were pressed to some degree. The producer could only consume unpressed cheese. By 1560 there was a considerable demand for unpressed cream cheese.
Throughout the 1600’s there are records of probated wills listing all types of cheese making equipment but not presses so it is suspected the immediate area had some form of exemption from the whey laws. The first confirmed forerunner of ‘Stilton’ style cheese produced was made in a dairy run by Elizabeth Scarborough at Quenby Hall; it was a lightly pressed cheese, coloured orange and as it aged developed blue veins.
1721 is the first documented proof of a cheese called Stilton Cheese but would have been a pressed cheese due to the laws regarding whey content at the time; however a soft blue veined cream cheese was available to a select few in Westminster and by 1734 cream cheese was allowed to be sold to the public. By 1742 Frances Pawlett (the mother of Stilton cheese) was producing ‘A Royal Cheese’. Frances was the first to force knitting needles into the sides of the cheeses to speed up development of the blue mould. Frances is considered the originator of modern Stilton cheese.
The town of Stilton had been on the stagecoach line and with the development of the railroad in 1845 which did not pass through Stilton, the town declined and the sale of Stilton had moved closer to the rail lines. The first Stilton cheese fair was held in a town called Melton Mowbray in September 1883. 12,672 cheeses were on hand. Cheese fairs were then held 3 times per year. The cheese buyers would walk from stall to stall sampling the cheeses and negotiating the price. All of the cheese would be sold before noon and then loaded into rail cars for distribution across England. Other markets were also held but this was the largest.
By 1940 the small farm dairies had been consolidated so there were 16 Stilton producing dairies but still numerous farmers producing Stilton casually and especially for Christmas. Stilton production was banned in 1940 by the War Office as being a luxury item and unclean. Dairies were only allowed to make a type of Cheddar after that point. On a side note annatto the dye used for orange coloured cheddar and Leicestershire was also banned as it was produced in Brazil and was considered an unwarranted import.
By 1947 Stilton cheese dairies were reopening. The dairies all installed pasteurisers to heat the milk to kill any bacteria present. The last factory dairy (Colston Bassett) to produce Stilton using unpasteurized milk switched over in 1989.
In 2007 Joe Schneider began producing Stichelton cheese using a farmhouse cheese recipe and unpasteurized milk but because of EU rules it cannot be called Stilton.
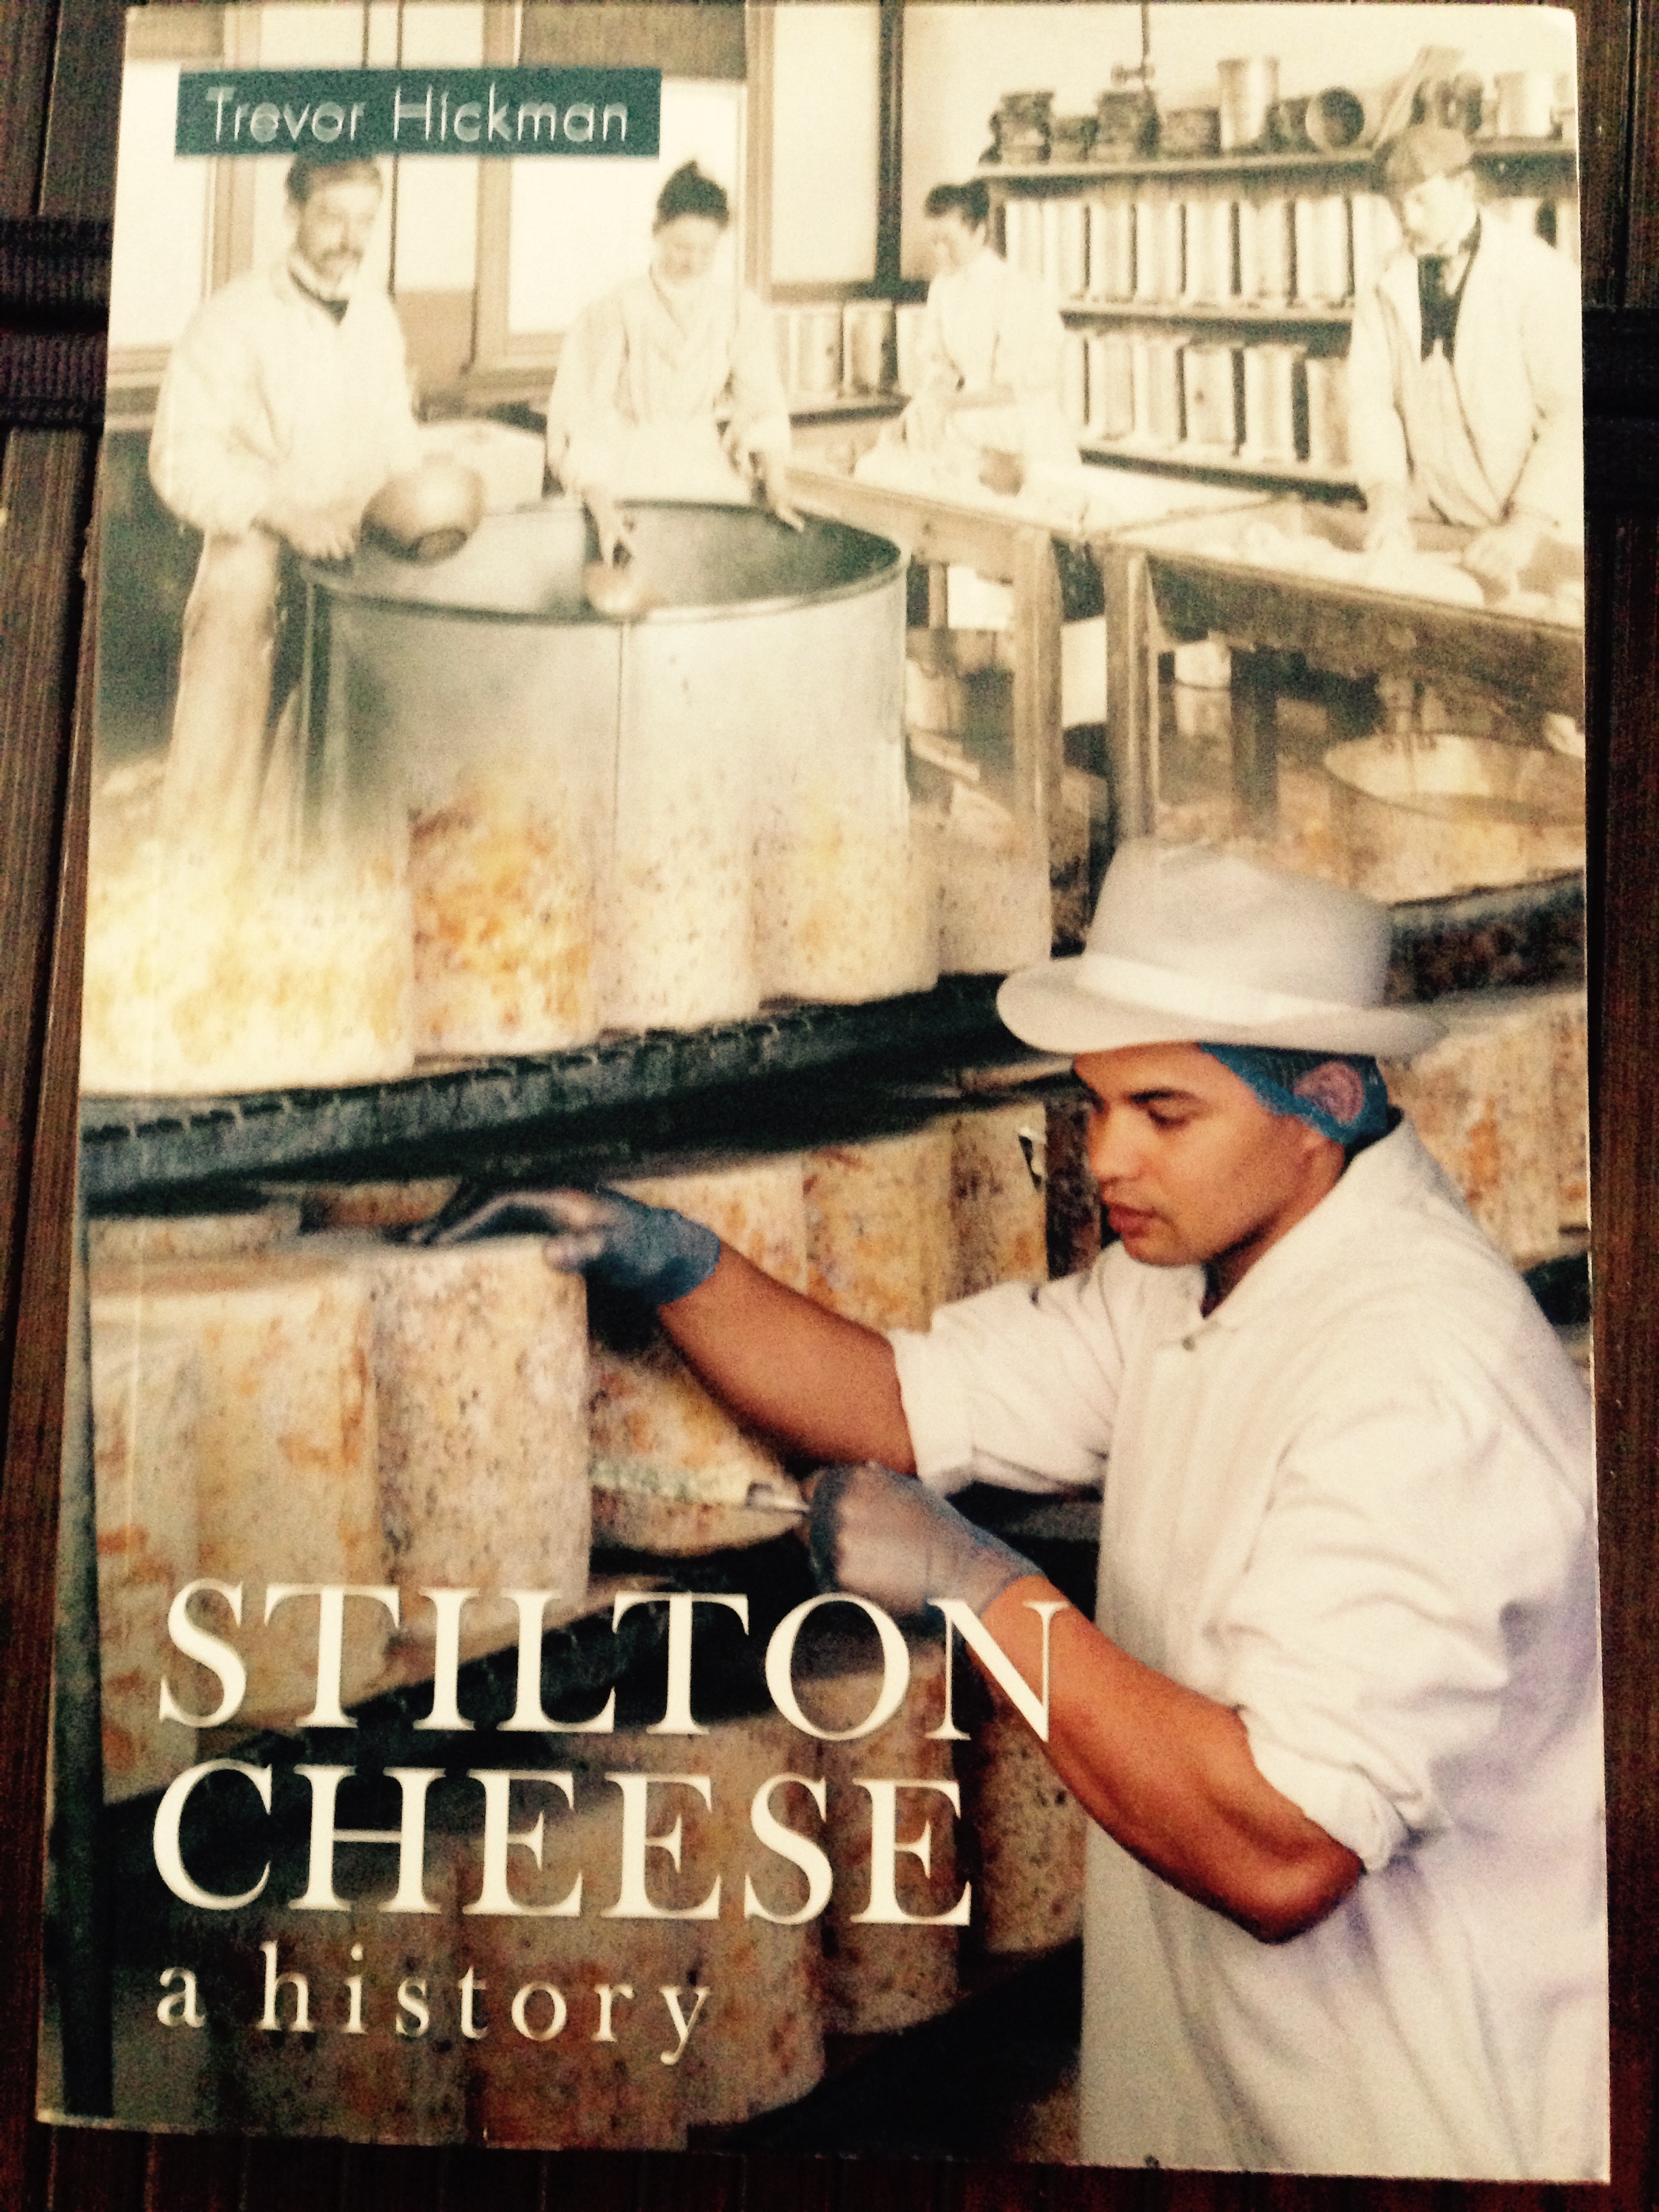
[Gleaned from the pages of “Stilton Cheese a history” by Trevor Hickman] which was a gift from my greatest cheese nibbling fan (my Sailor Girl) last Christmas.
The Stilton Make
After reviewing my multiple cheese making tomes and conferring with my Cheese Yoda I decided to follow the basic recipe found in “Mastering Artisan Cheesemaking” by Gianaclis Caldwell. Ian the Cheese Yoda had followed this recipe during his make the week before as well.
In her book Gianaclis recommends using the following cultures:
MA4000
Farmhouse cultures combine mesophilic and thermophilic strains to make up a wide flavor and texture range with a single product. Choozit MA 4000 from Danisco has been one of the most popular farmhouse blends on the market for many years: It is an all-around great starter for anything from buttermilk to soft, semi-soft, or semi-hard cheeses; Continental or New World styles. It is reliable and predictable. Its balanced flavor makes it an easy base culture to use with add-on adjuncts that can instantly turn it into a specialty culture.
Restrained citrate fermentation produces some gas for a slightly open texture with random small eyes (holes). Moderate Diacetyl production makes just enough butter notes to satisfy a Brie …but not to a level of overwhelming a Cheddar. The thermophilic component is a great way to stabilize bloomy cheese, giving it longer shelf life and less ammonia buildup and rendering it less runny or gooey. MA4000 is a classic choice for Tomme, Jack, and hundreds of other types of cheeses from any type of milk. It is especially beneficial for those who make several types of cheeses and would like to have a “go-to” culture blend for multiple types.
LM
As an example of LM: Danicso Choozit LM57 is a single strain adjunct culture of Leuconostoc mesenteroides ssp cremoris; a defined heterofermentative mesophilic with fast citrate fermentation and high gas production. It is especially beneficial in soft or moist blue cheeses where the eyes make a more stable air supplier to the blue than a needle piercing, The crevices created by this culture contributes to vein creation well beyond the needle piercing. LM57 us also fun and beneficial in cheeses such as Havarti and can create fluffier texture and small eyes and notes of butter in other cheeses.
P. Roqueforti
Penicillium Roqueforti a blue-green mould.
In the end I decided to use:
KAZU
Choozit KAZU from Danisco is a specialty farmhouse starter blend, formulated for traditional Dutch, Alpine, and Scandinavian cheeses such as Gouda, Edam and Havarti, but can be used in many other soft and semi-soft varieties for unique flavor. It has mesophilic properties much like those of MM100 or MA4000 with some gas production and open texture, but its thermophilic components create rich sweet, nutty and savory and milky notes that are the hallmarks of Dutch, Danish and Swiss varieties. Use it to replace other farmhouse blends such as Danisco Choozit MA 4000 and taste the difference!
LM
CHR Hansen Flora Danica (Mesophilic Aromatic Starter Blend)
P. Roqueforti
I borrowed Ian’s culture as I didn’t have any. PS is an all-around great useful blue mold strain of Penicillium Roqueforti. It features medium-fast growth speed, mild blue taste and a nice blue-green color. It retains a good amount of moisture and creaminess but not too much.
NOTE: Culture descriptors were taken from Artisan Geek.
I chose these specific cultures for a number of reasons including the opportunity to compare my cheese make with Ian’s so I used KAZU instead of MA4000 (which he used). I also used Flora Danica for my LM to use a different culture than Ian used. In the future I may use a stronger flavoured P. Roqueforti as I like a bold Stilton.
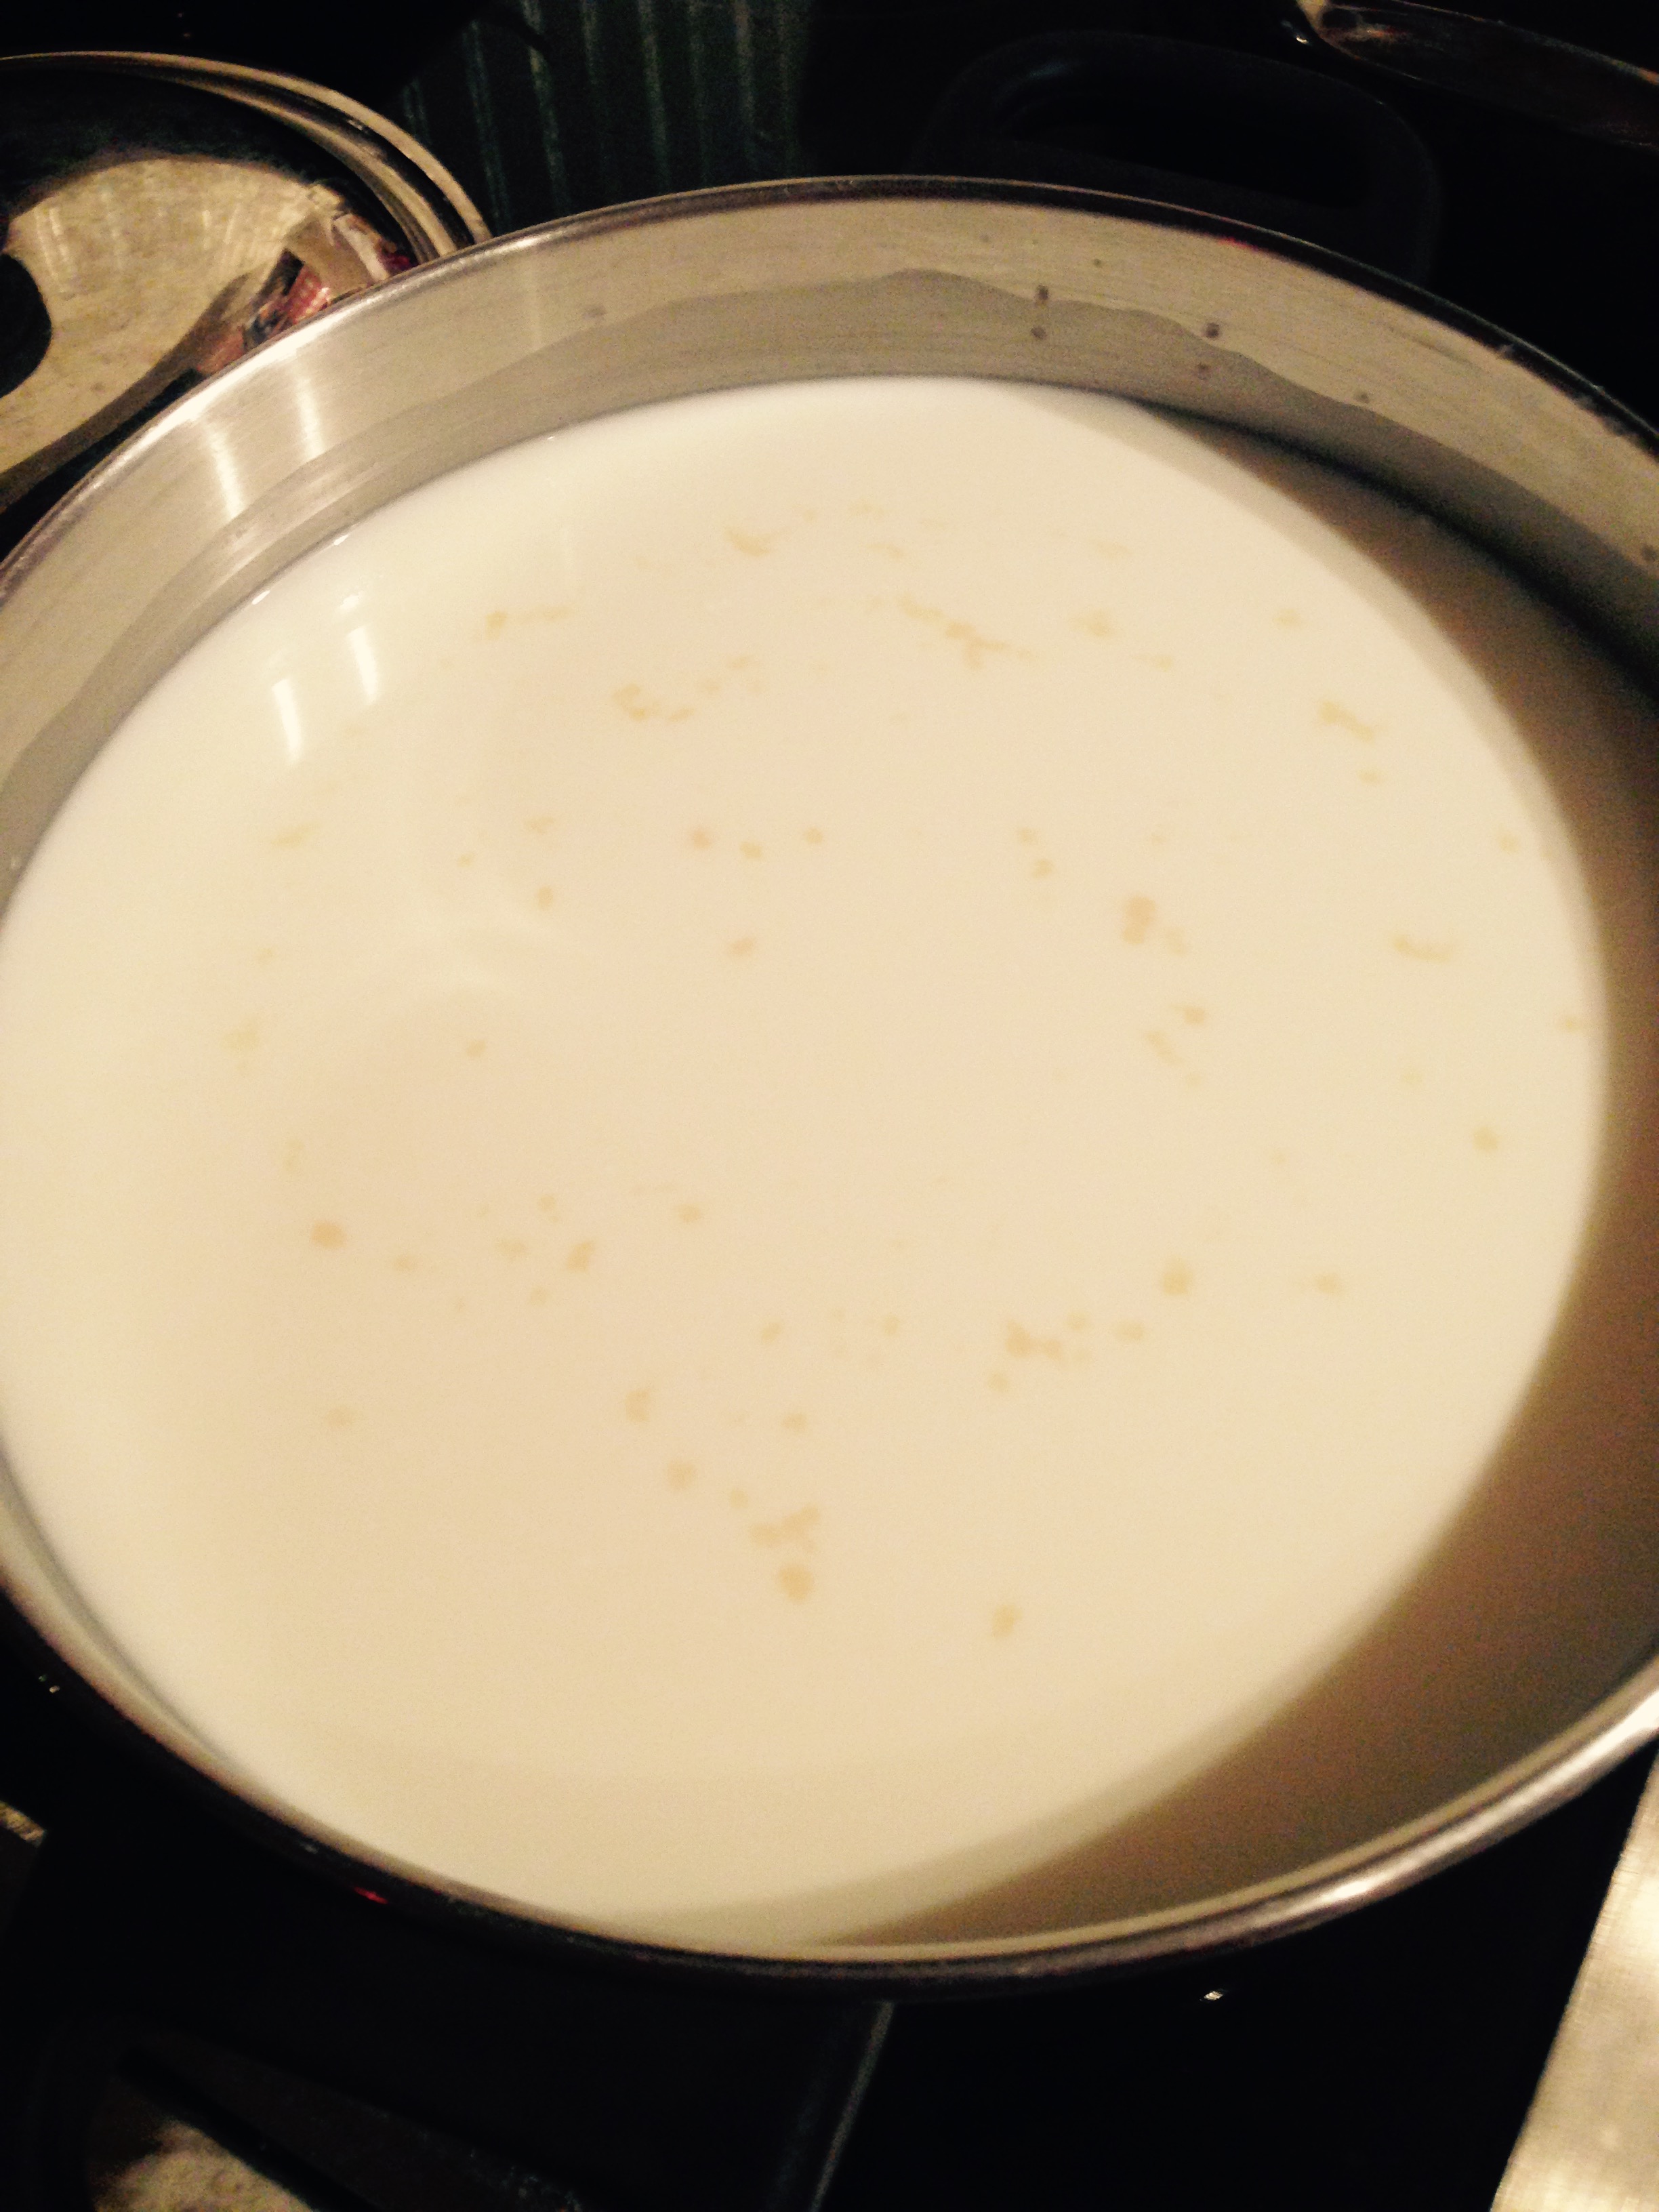
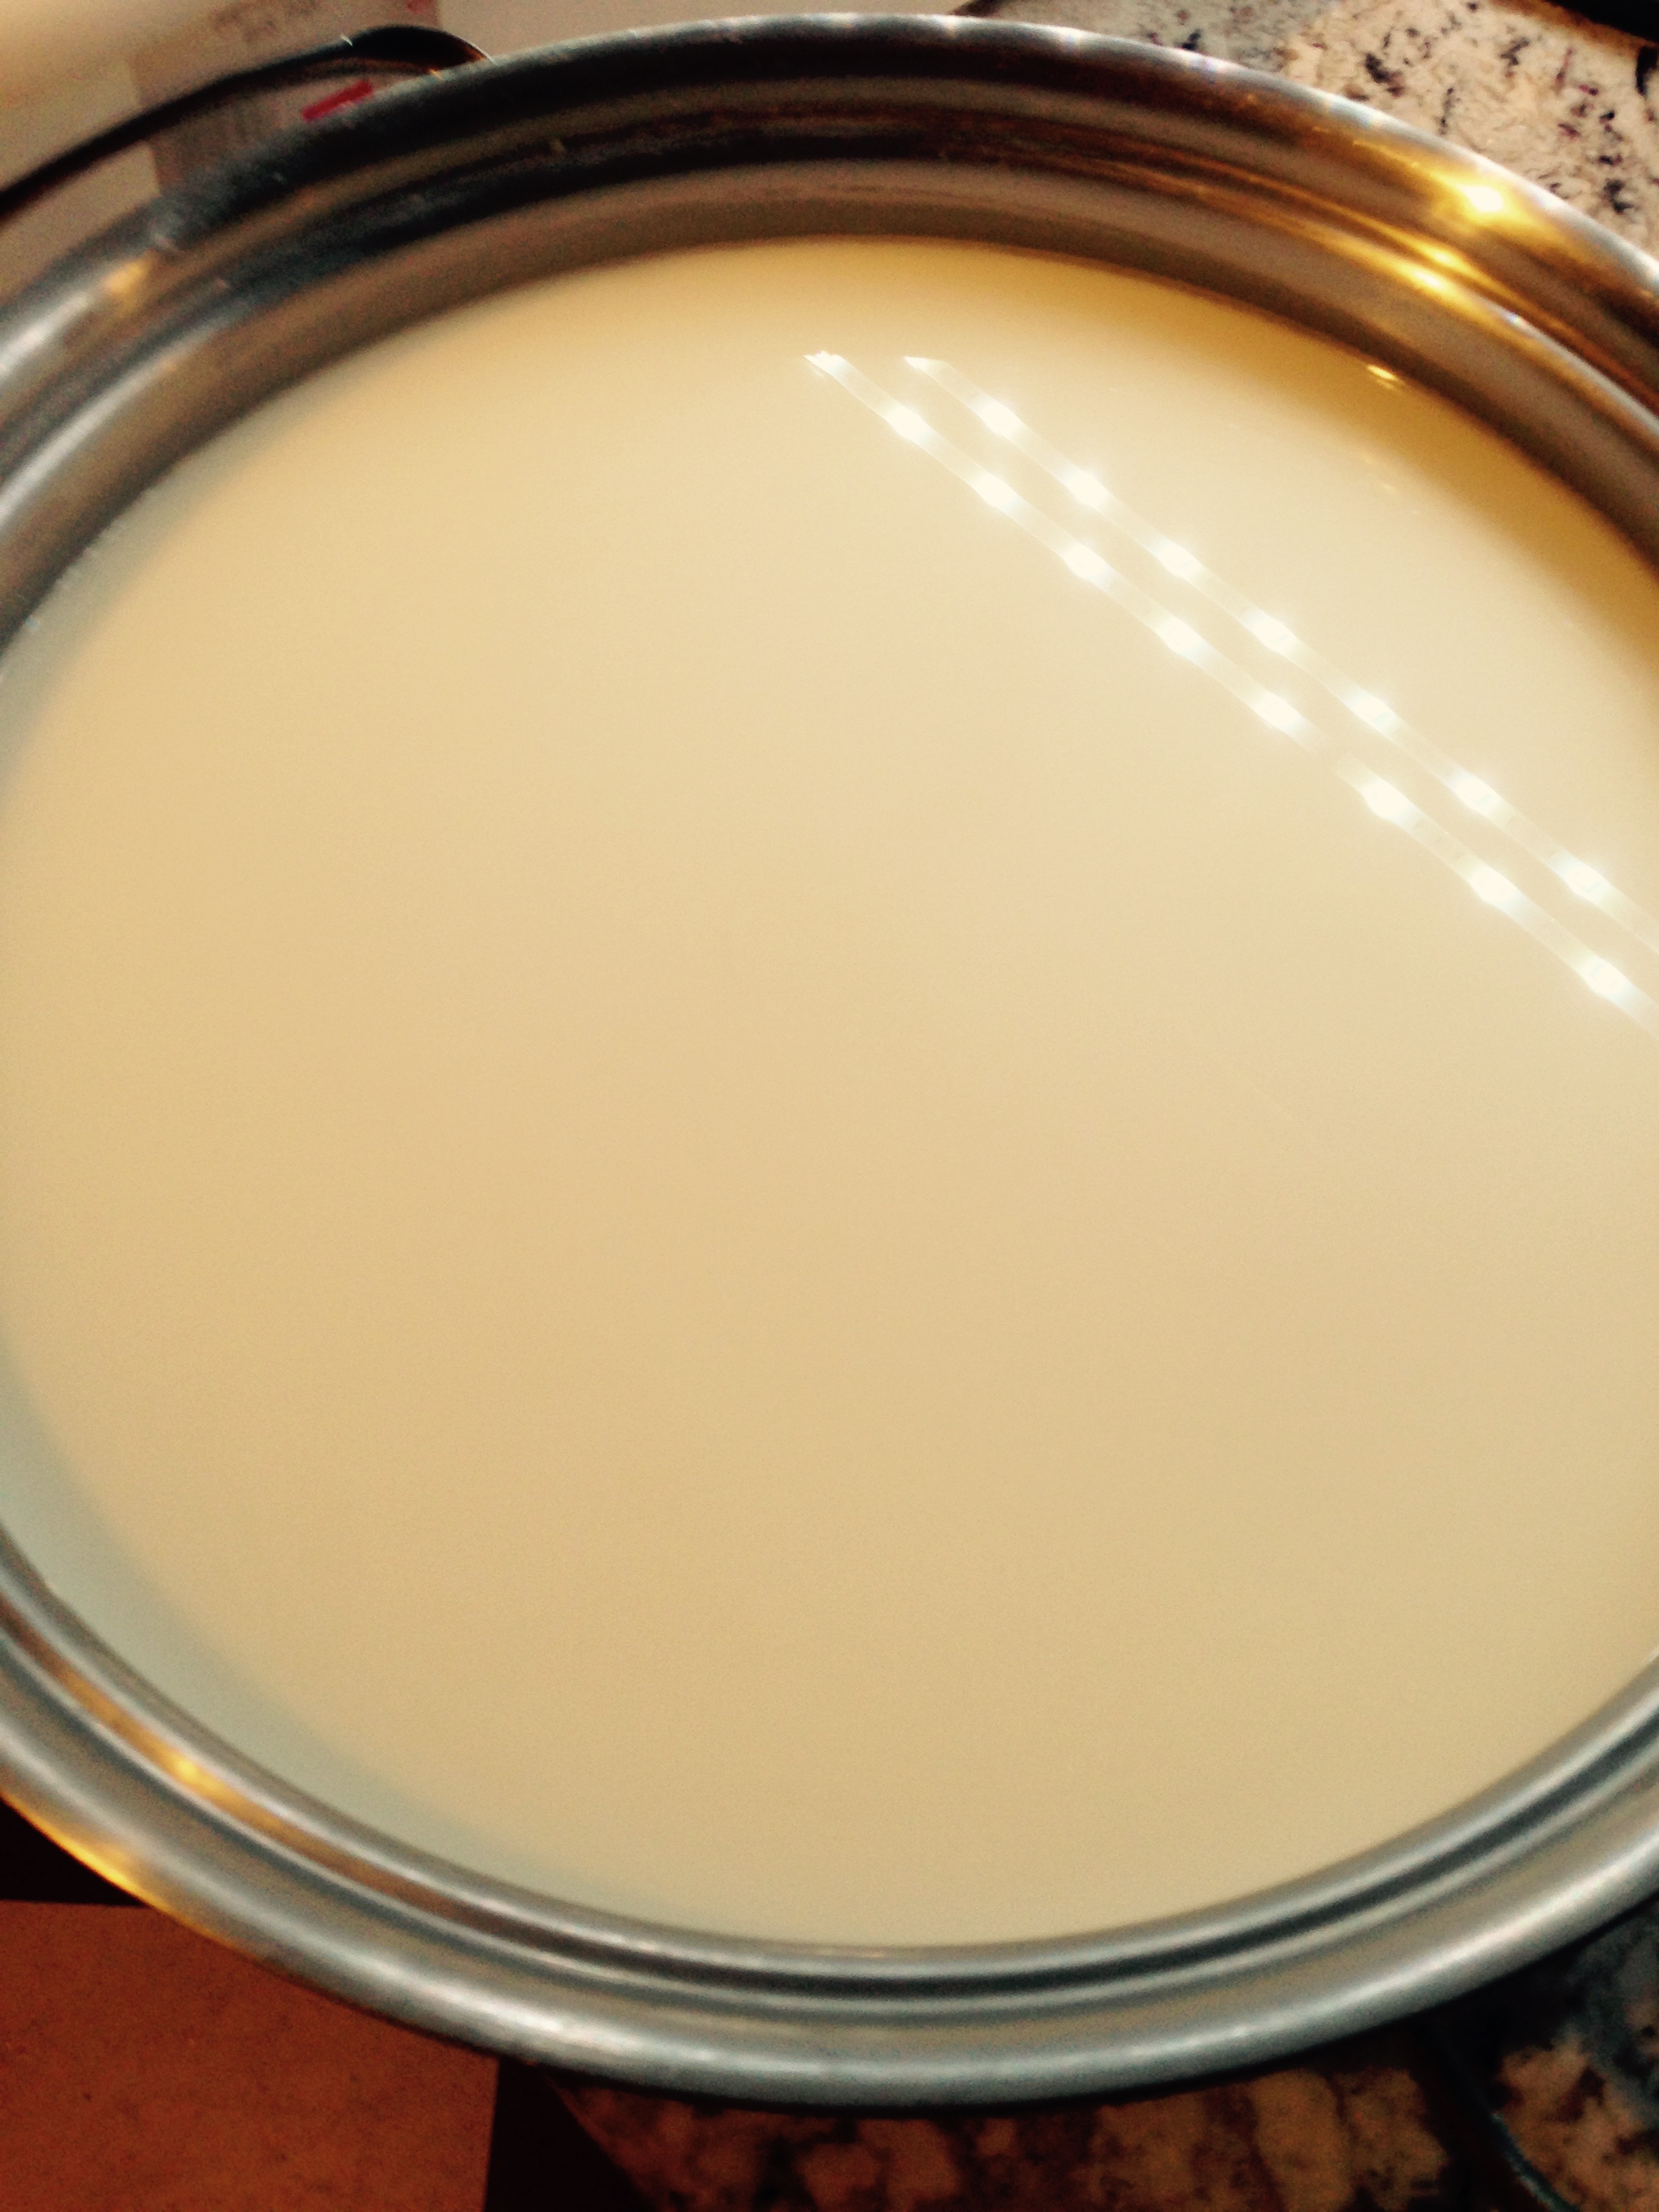
The original recipe calls for 8 litres of whole milk. Other recipes call for the addition of as much as 475 ml of cream as well. In the end I went with my ‘home maid’ milk which was composed of 8 litres of skim milk and 1 litre of 36% cream which puts me somewhere in the middle and a bit larger volume than the original recipe.
You may ask why ‘home maid’ milk; the reason is simple. Virtually all whole cows milk available (except for some very expensive brands) has been homogenized. Homogenization is a process that breaks down the fat in the milk/cream so that it stays suspended throughout the milk. Cows milk, fresh from the udder will eventually collect the cream on the top. ‘Home Maid’ milk attempts to recreate unhomogenized whole milk so the milk has the same characteristics found in farm fresh milk. I have used this technique numerous times and I think the end product cheese turns out better.
This recipe adds the cultures a bit early in the game and then ripens for an extended period.

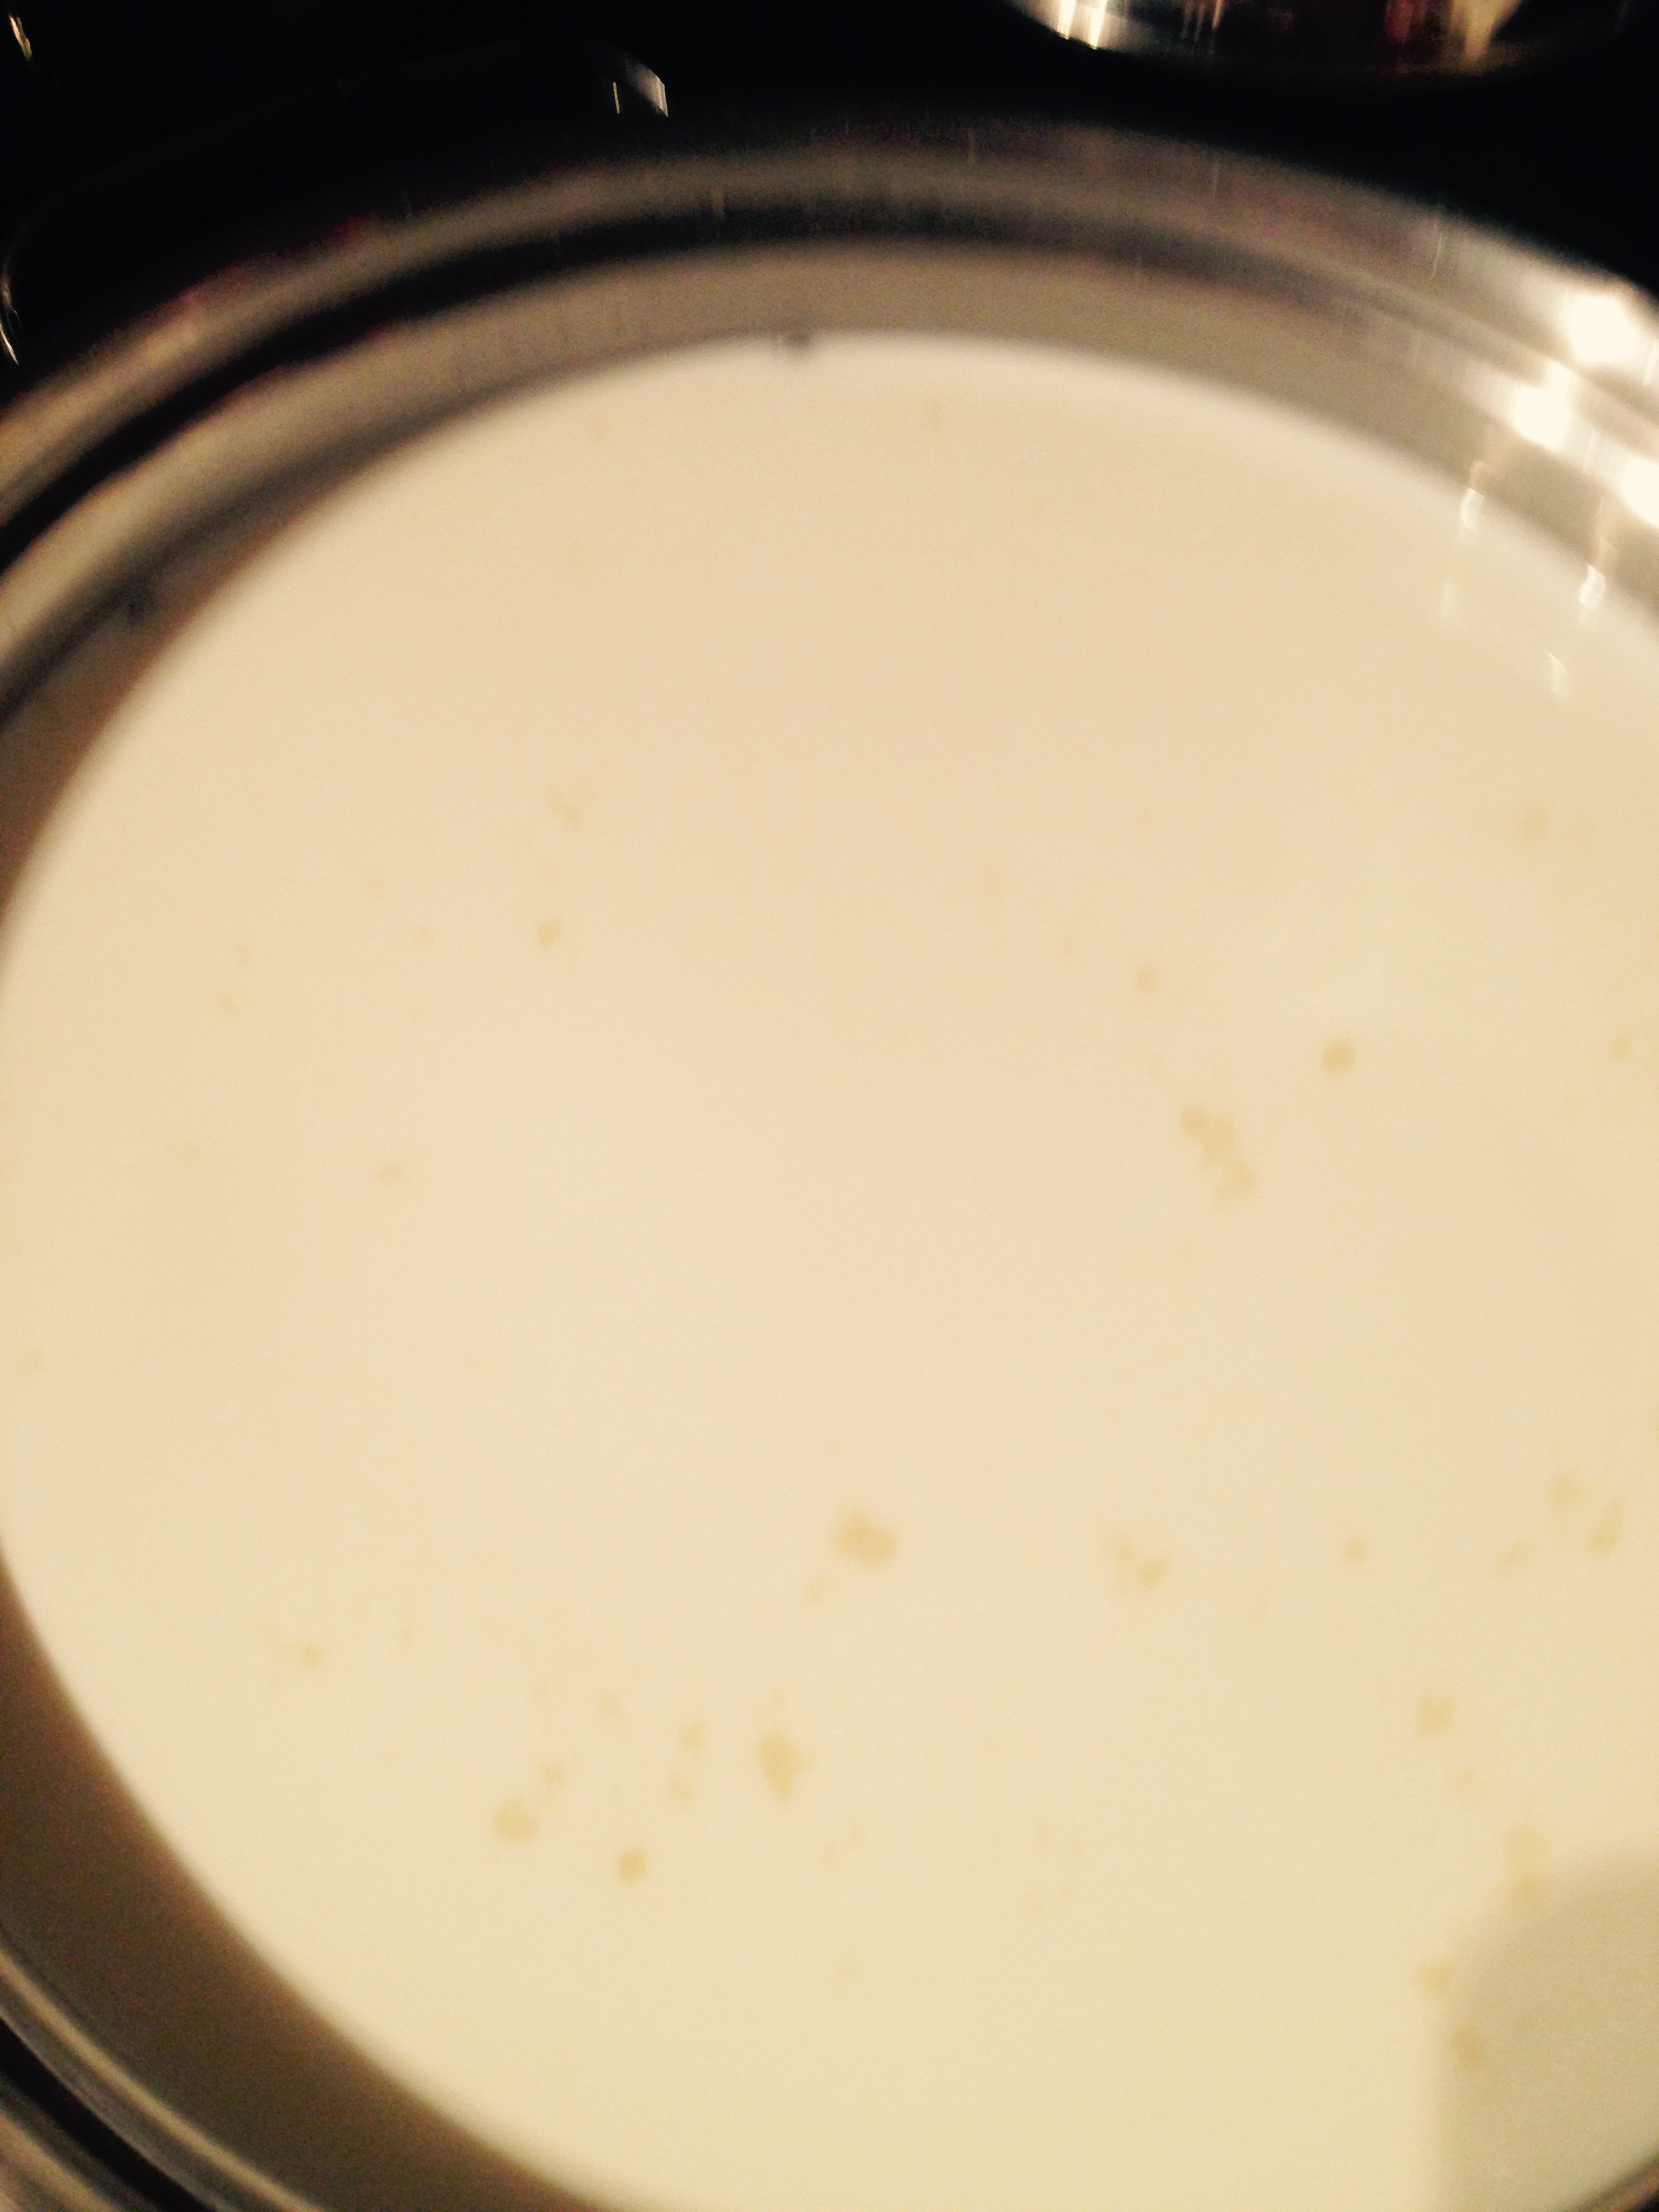
This is a new sight for me, the blue flecks in the milk from the p. roqueforti!
For this make I also used goat lipase (that is what I have) and calf rennet.
Artisan Geek describes the use of lipase as:
Lipases are enzymes which enable lipolysis –the breakdown of fats into shorter chain, free fatty acids, capable of binding with other elements to form flavor and aroma compounds. Lipolysis is a crucial in all cheese making. It can be powered by the natural presence of lipase in raw milk or rennet, or by the activity of many cultures. In many cases however lipase is added to increase or accelerate this activity, to enhance the flavor and aroma, and to render a sharp or piquant cheese. It is a time-honored staple in many traditional cheeses.
Once the coagulation is complete in about an hour you check for clean break which I have a very nice one here:

The curd is cut in rather large columns (about 2-3 cm) and unlike other cheese makes, horizontal cuts are not made.
Sorry I missed a photo of this step!
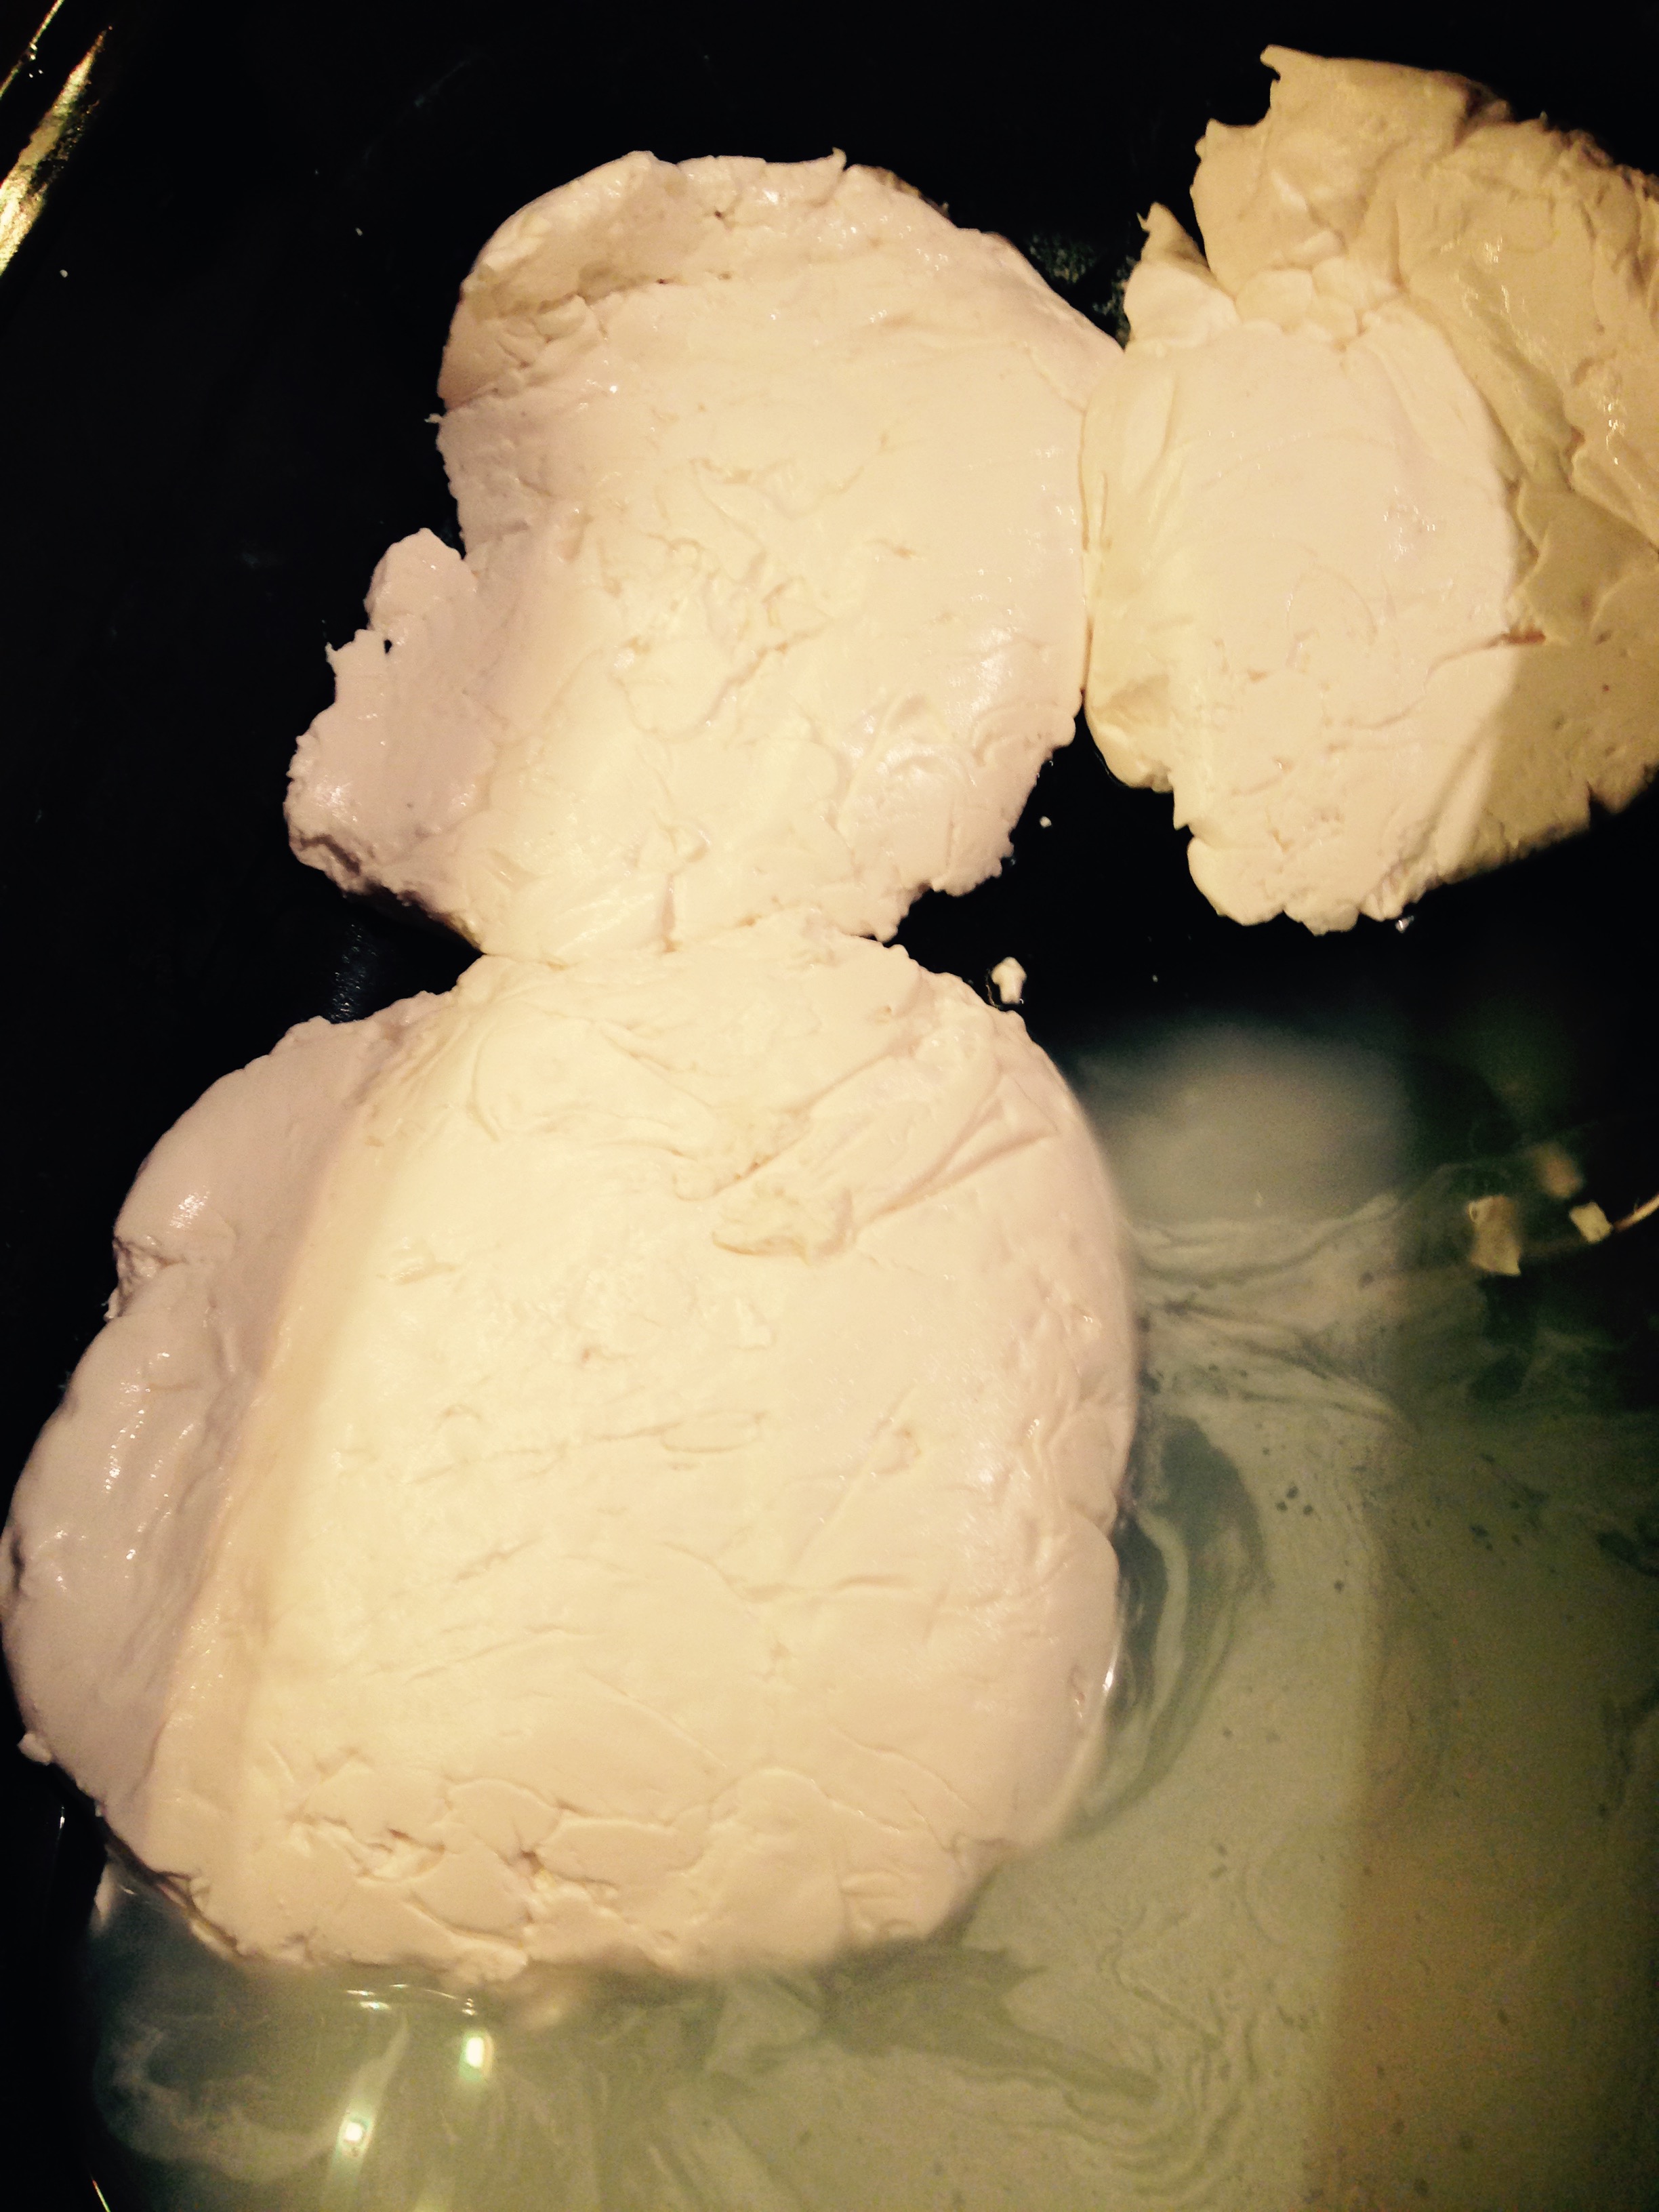
The curd is then rested for 10 minutes before being scoped gently into a cheesecloth lined colander. The cheesecloth is then gathered and tied with a Stilton Knot. The bundles are placed back in the vat to rest and the knots are tighetened in about an hour.

After 2 hours remove the bundles and drain the vat. Remove the curd from each bundle and place back into the vat to keep them warm. Turn the bundles every hour until the pH drops below 5.

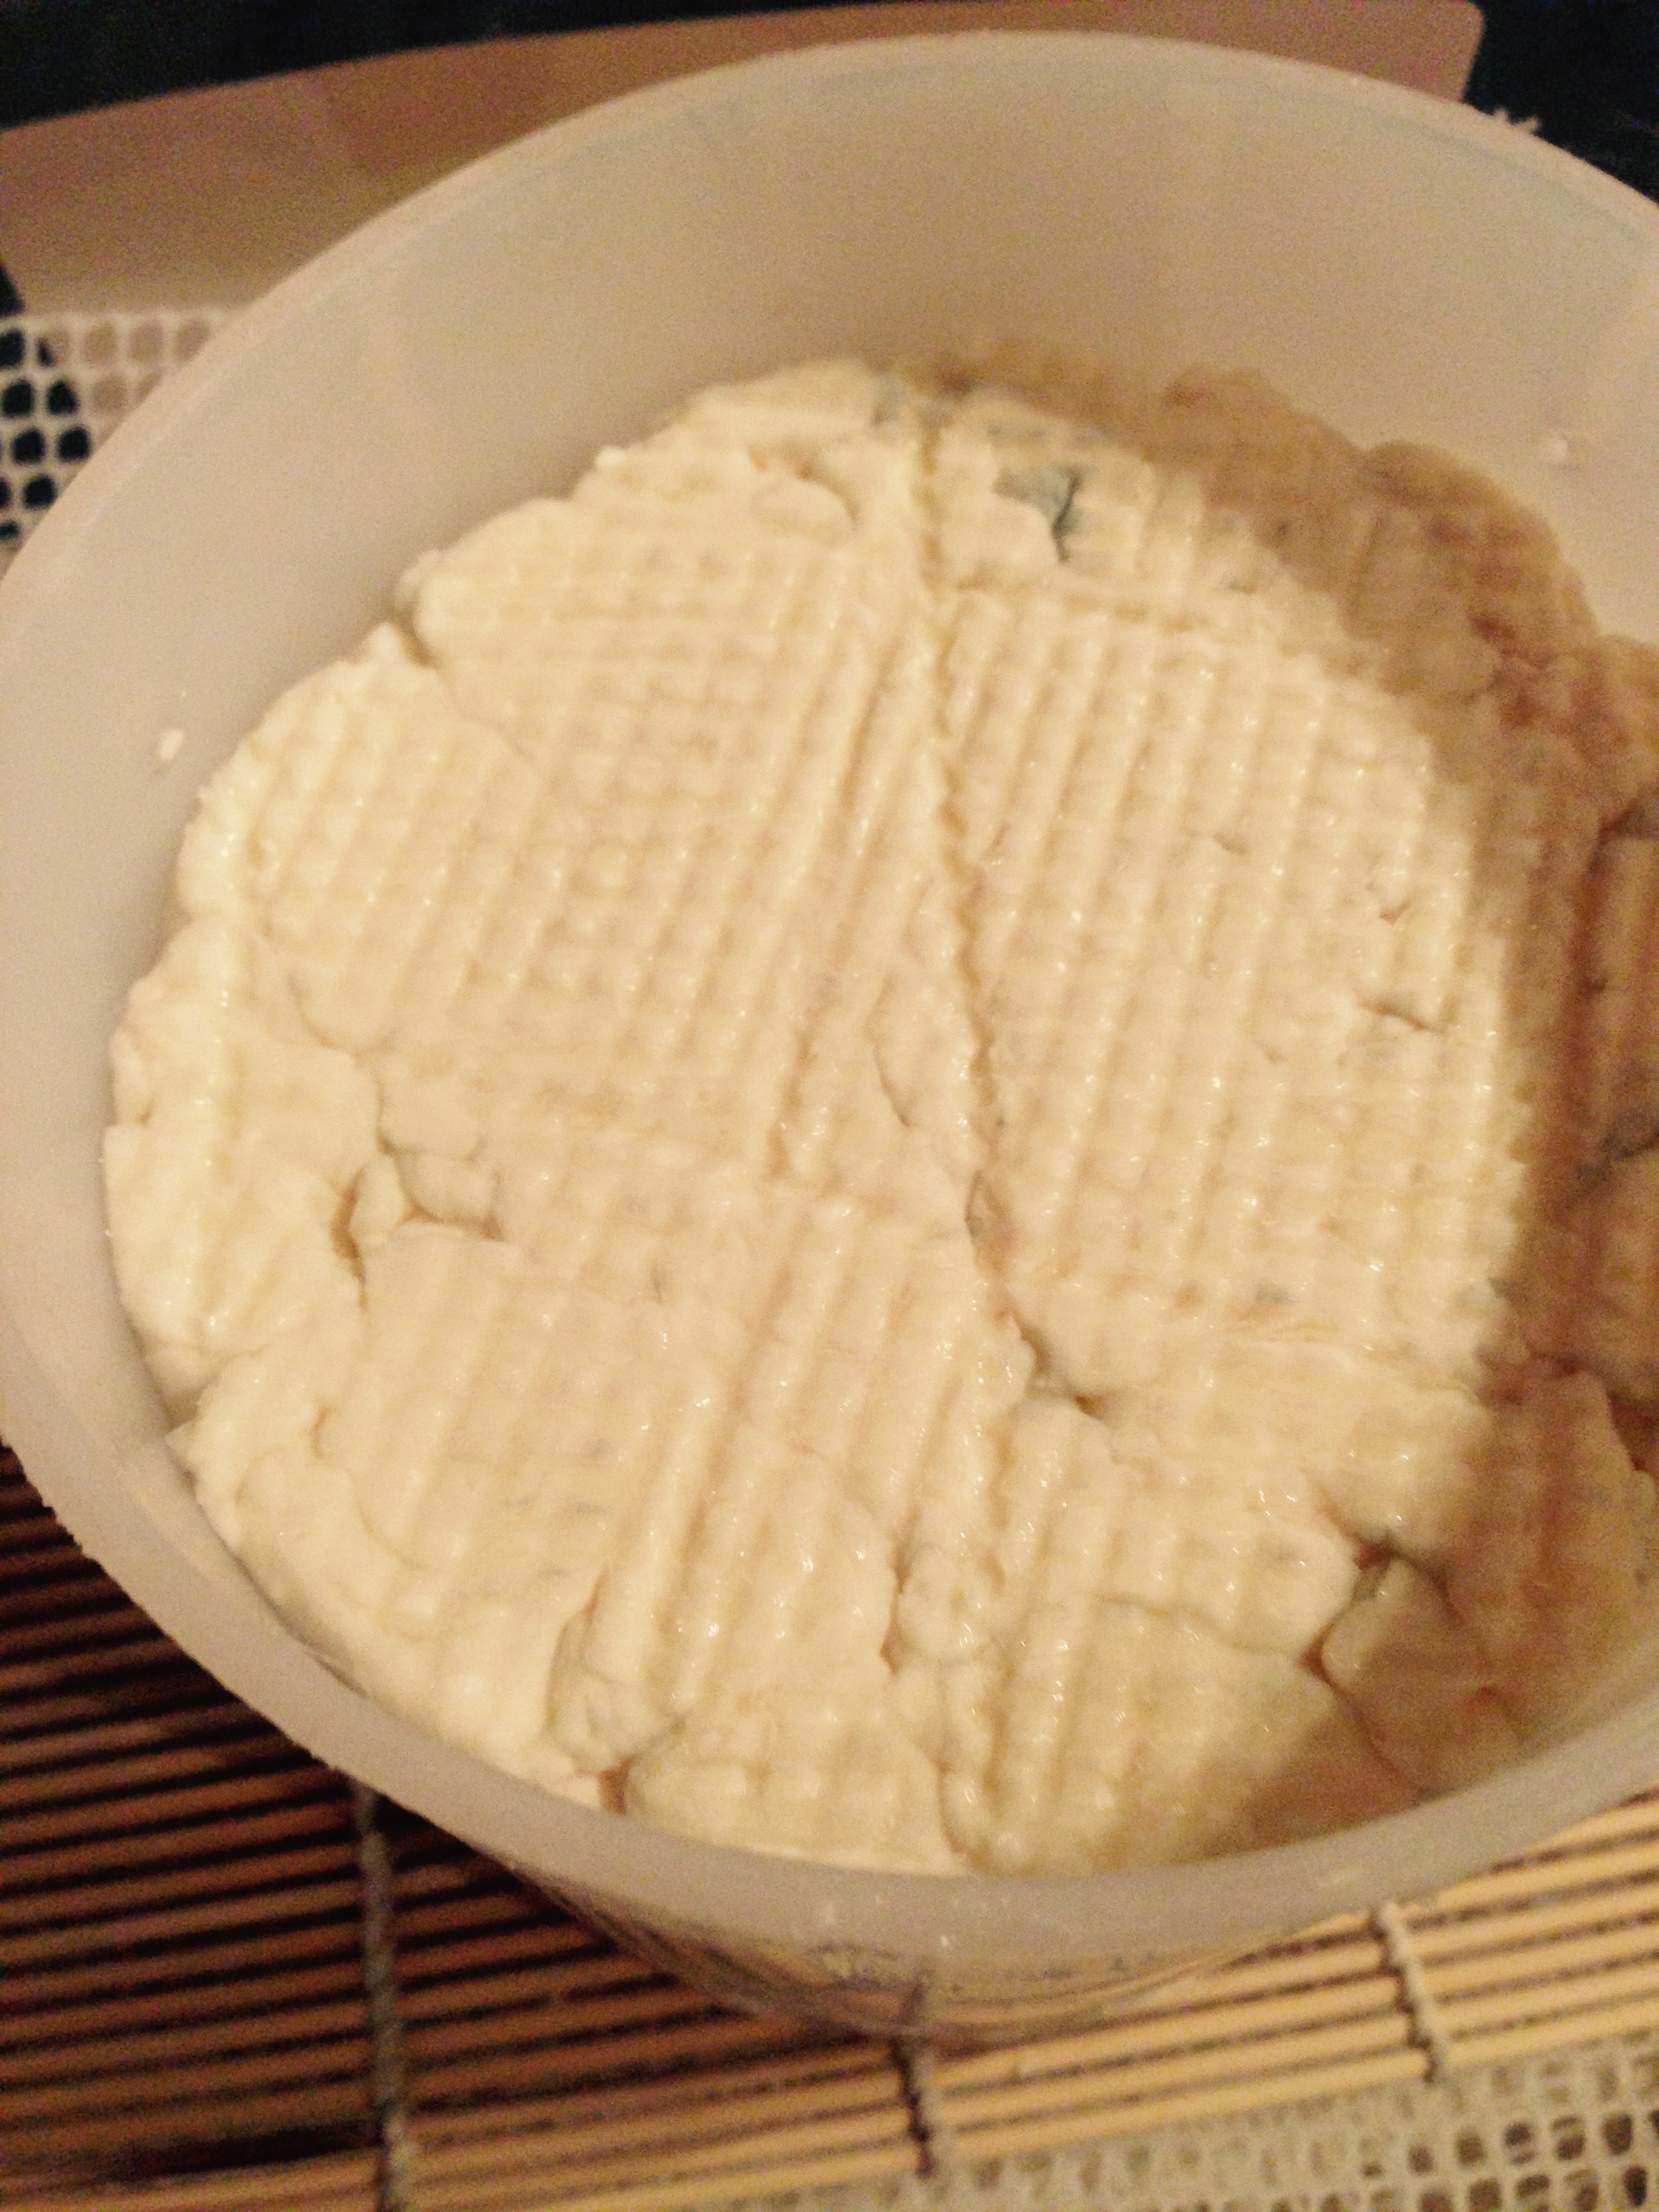
Notice How Soft The Curd Is Still
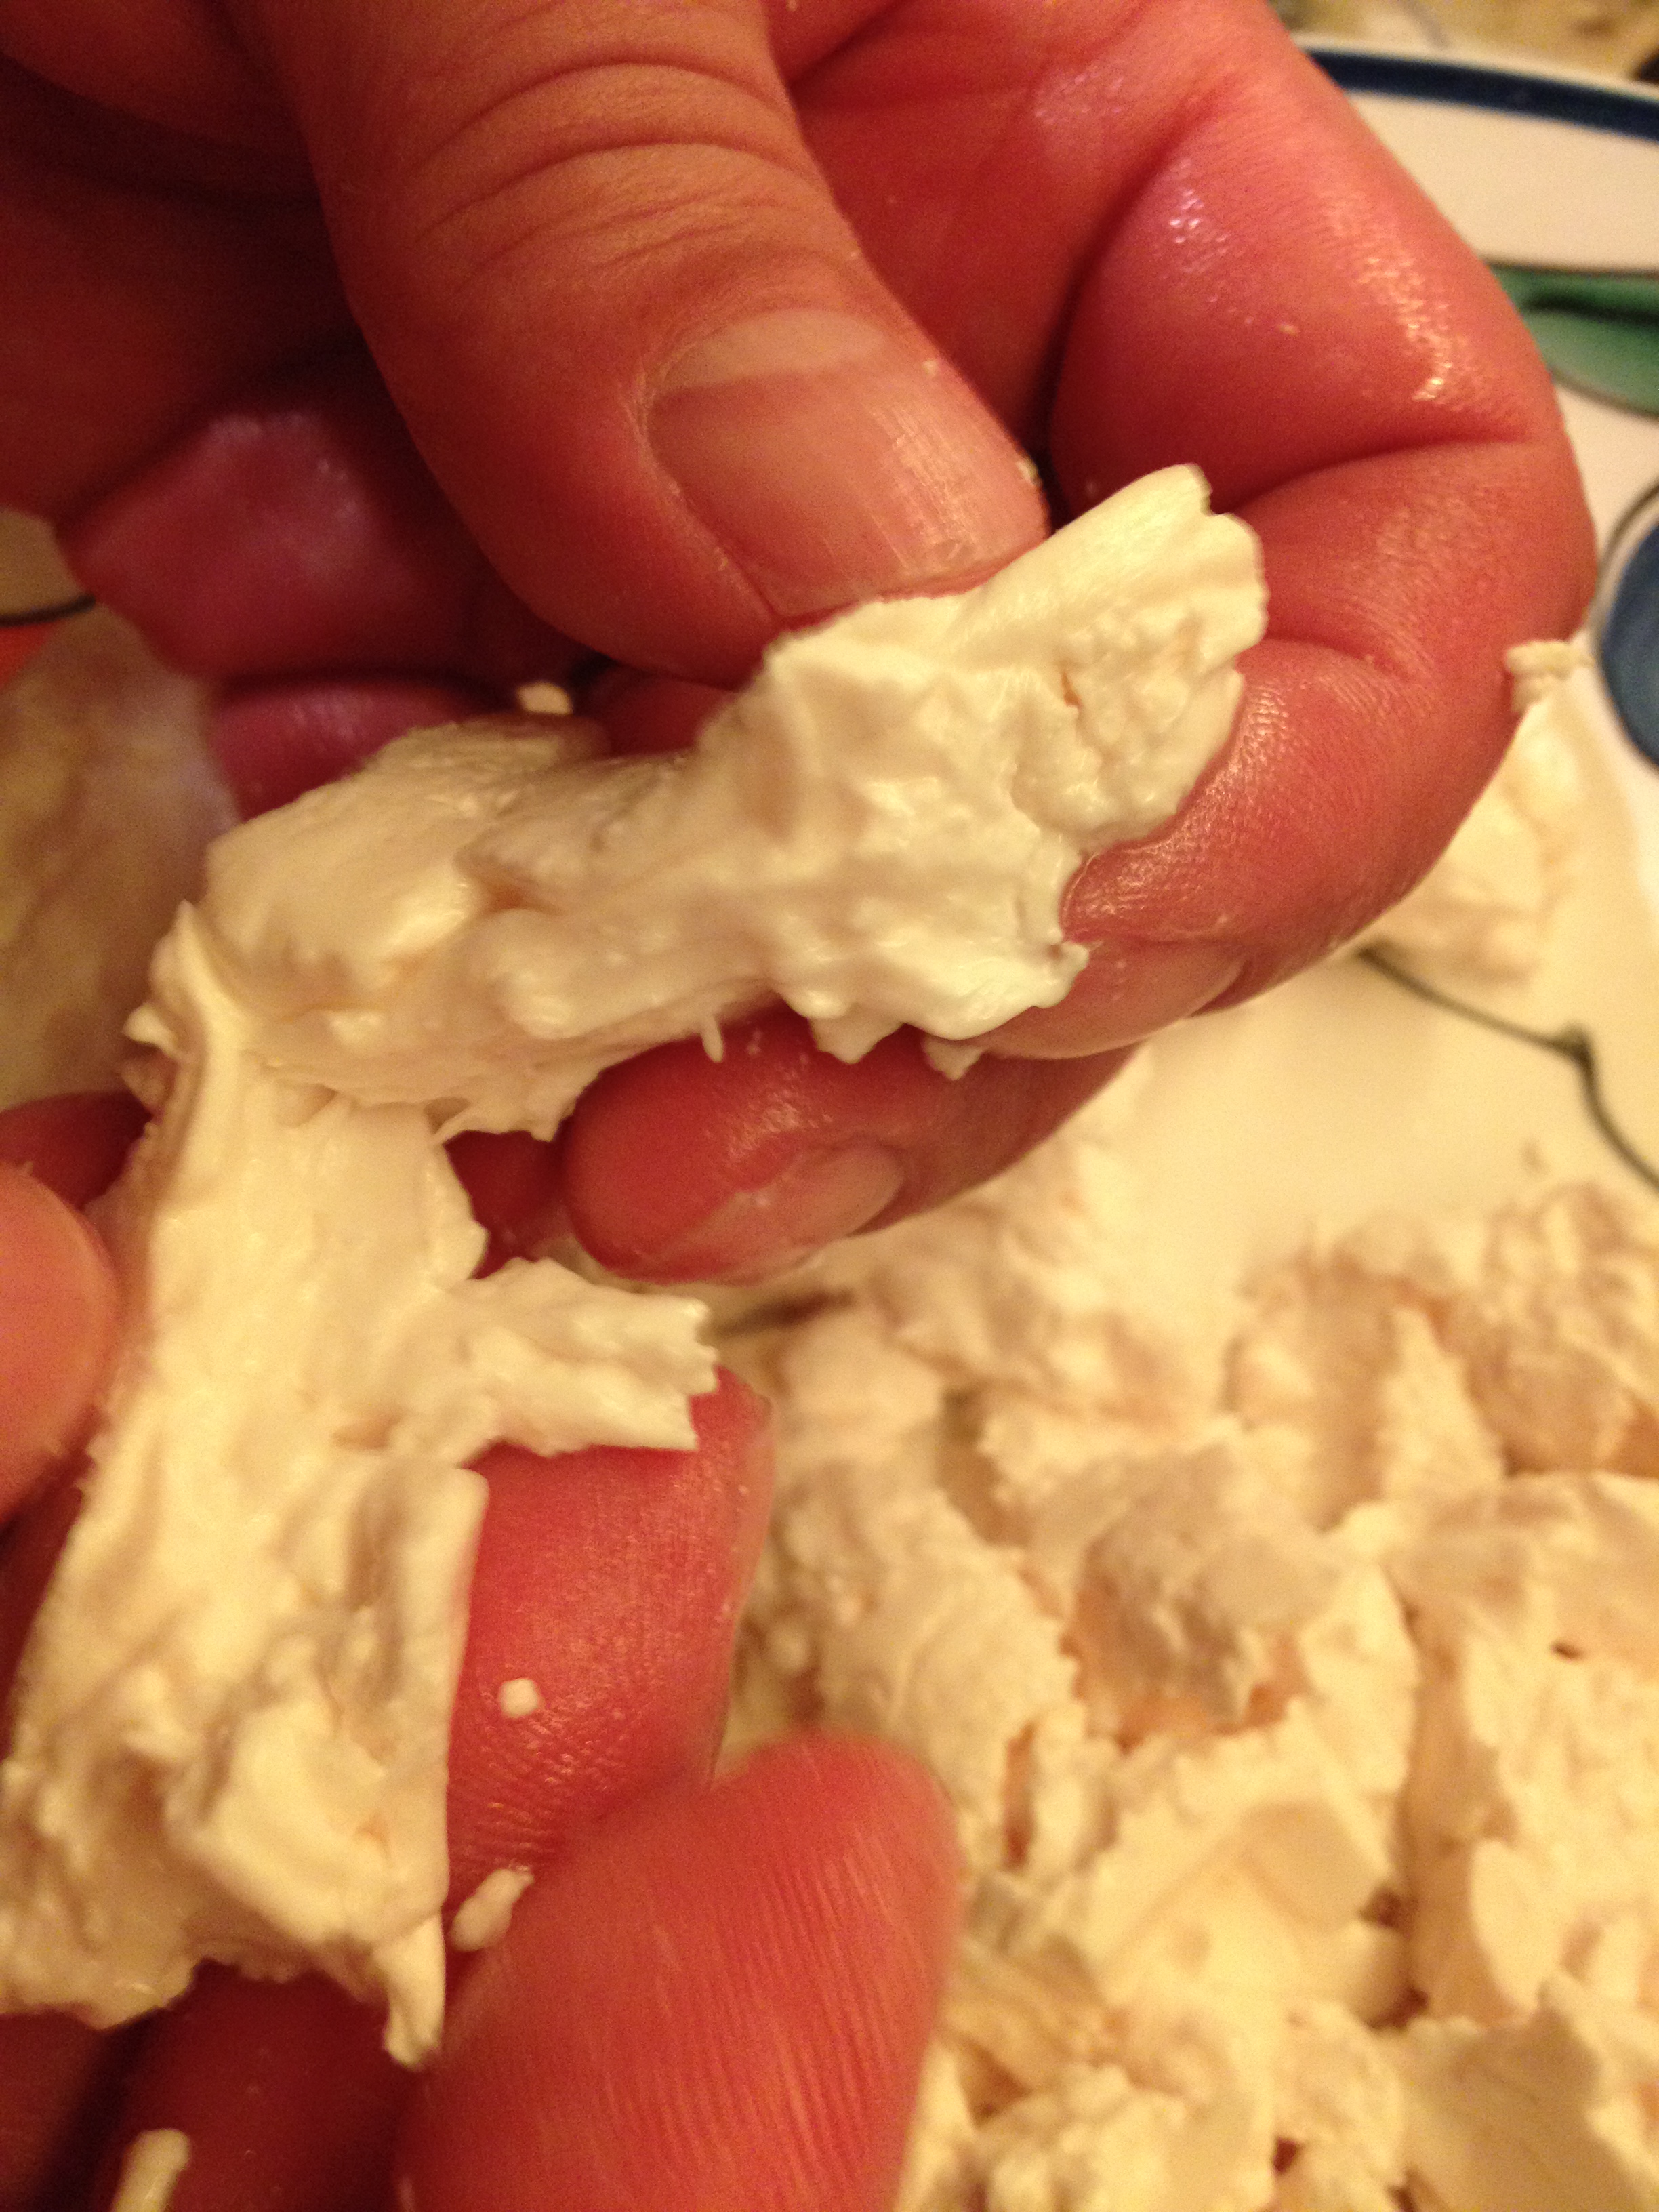
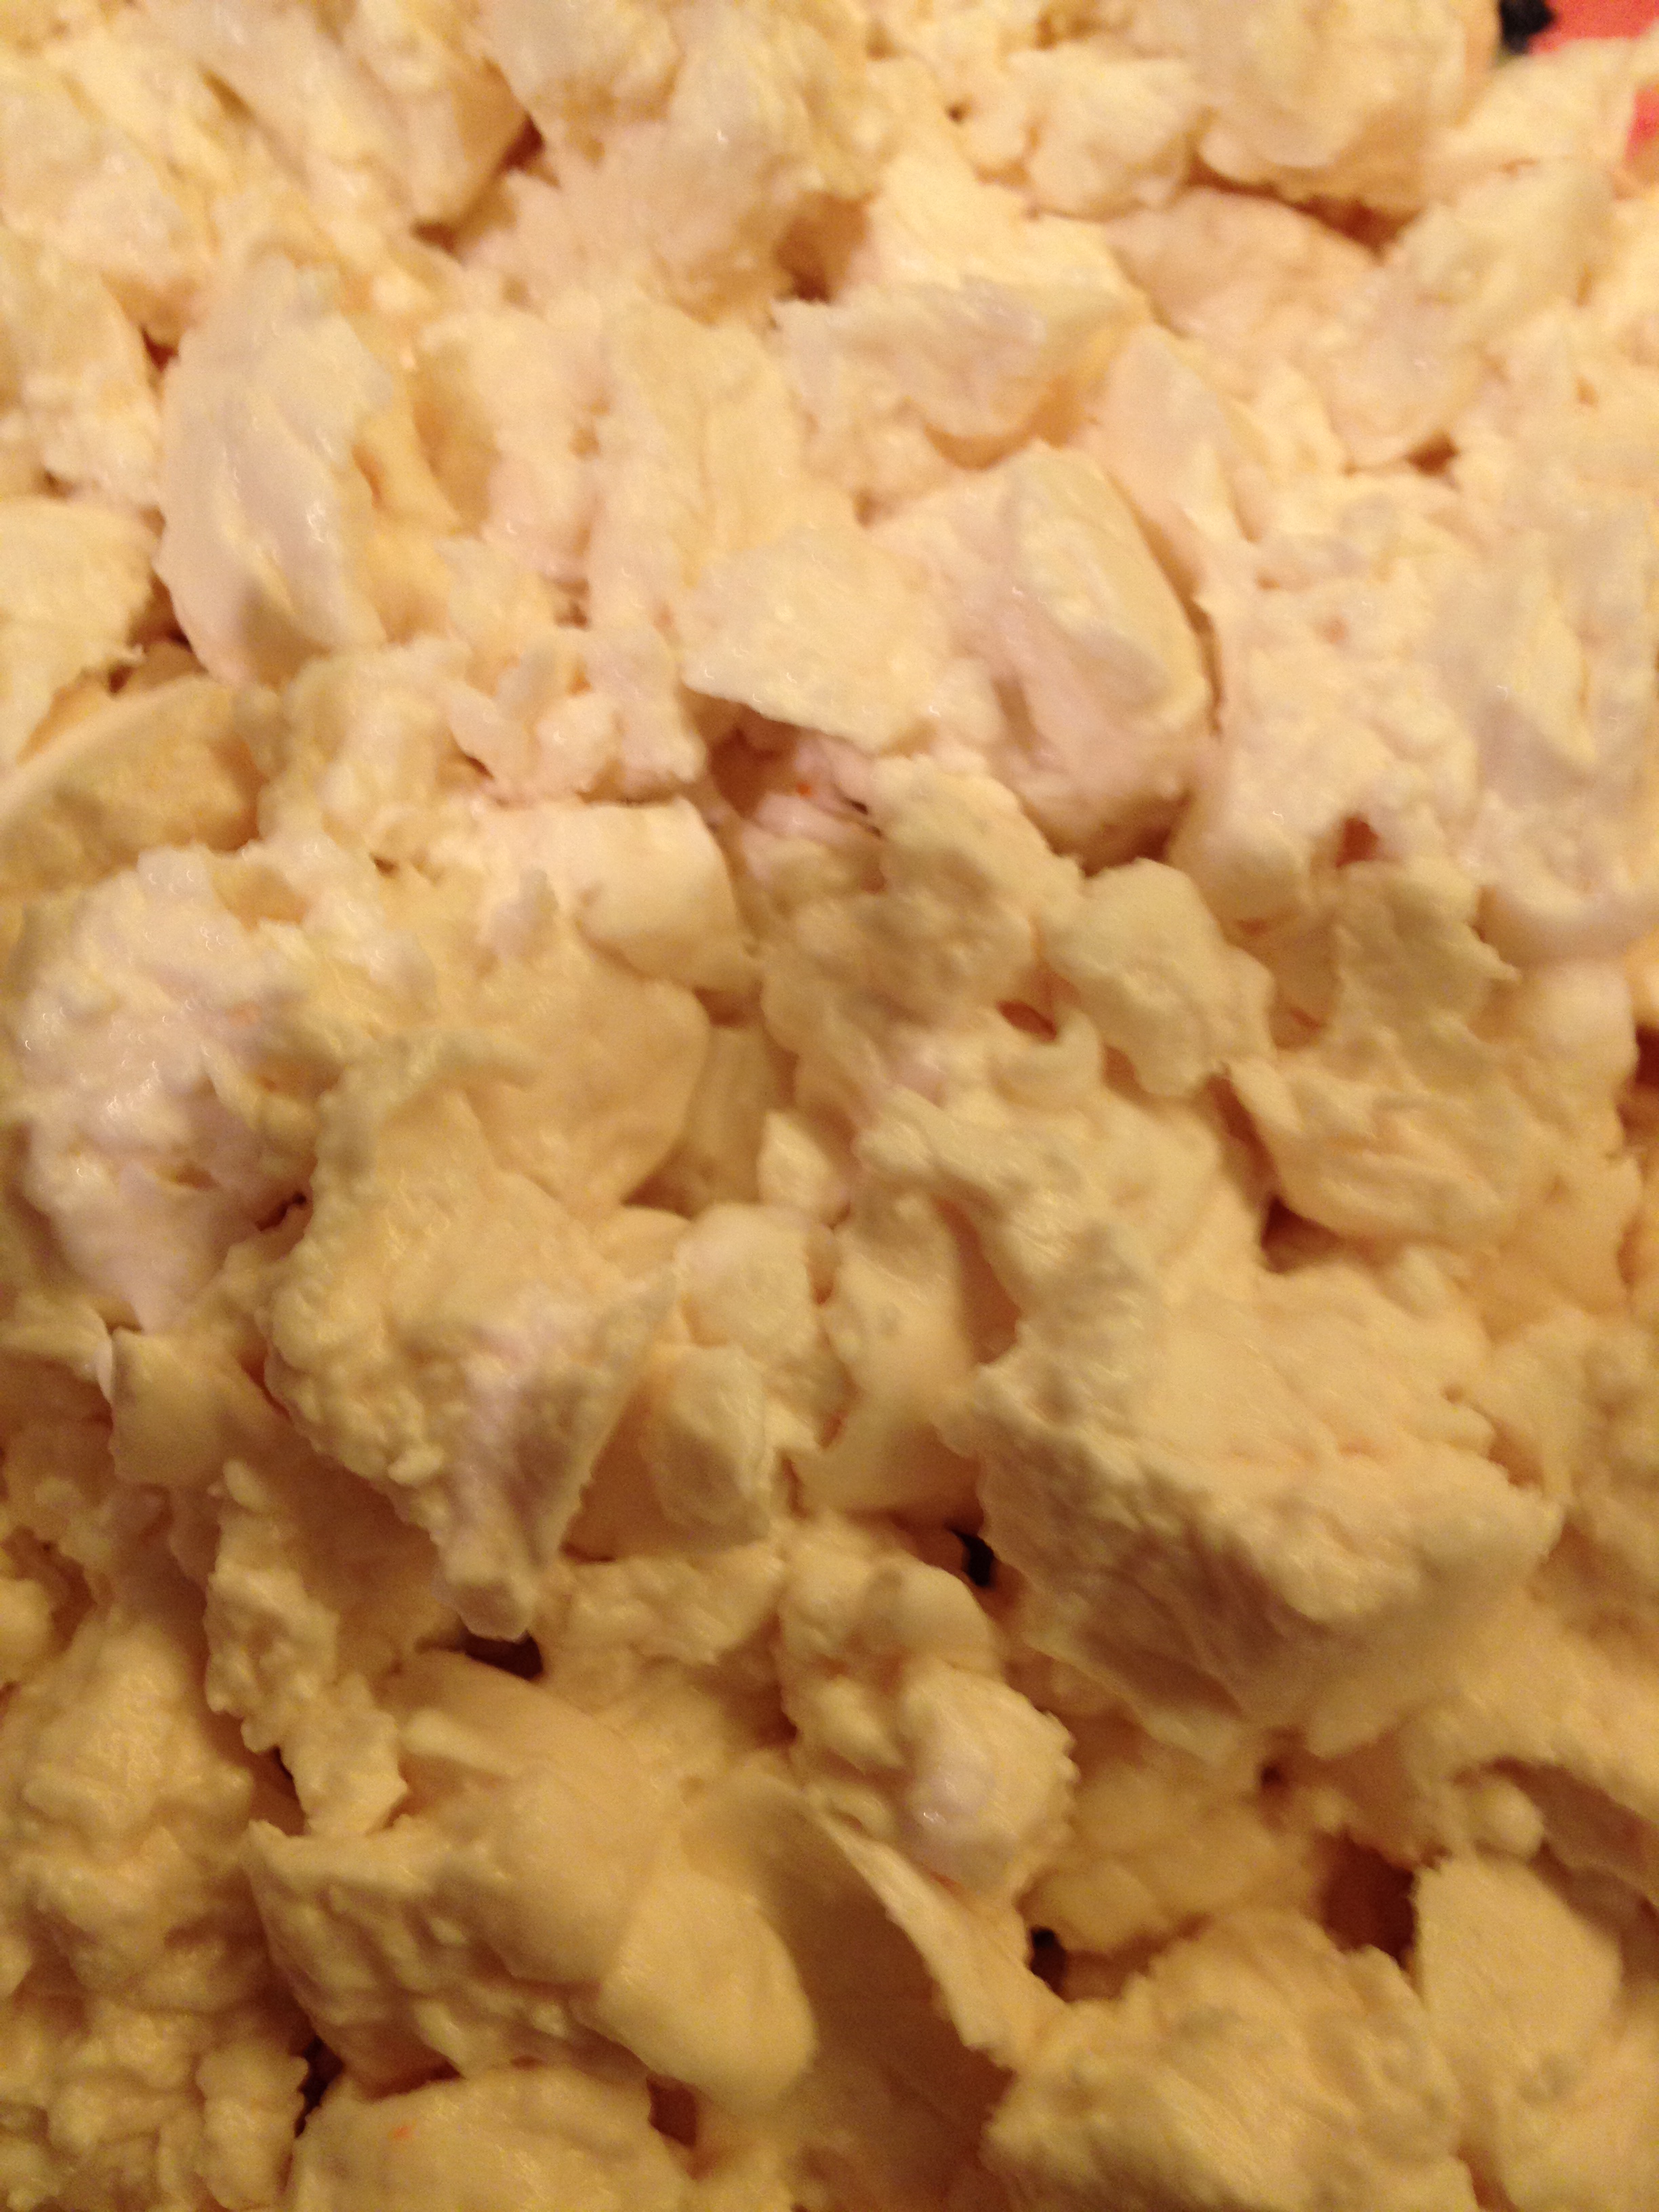
The curd should now be quite firm. Mill the curd by hand breaking it into irregular shapes about the size of a man’s thumb. Sprinkle with salt and then place in the hoop/mold.


At The 12 Hour flip, Nice Pattern From The Draining Mat
Wrap Up
I had planned on using my Brie mold but I didn’t have enough curd to get the shape of cheese I wanted. I ended up using a Camembert Hoop which was the perfect size for amount of curd I had. The recipe calls for using open ended hoops so that was why I was using these.
I am finding that my vat doesn’t hold enough milk to make the size or quantity of cheese I’d like to produce. For things like cheddar or Stilton to name a couple I think the cheese ages better in a larger format. I think I will be looking at a system to double my milk volumes. I will keep you posted.
This was a fun cheese to work on. I appreciate Ian making the long cross-city drive to my place to help with the make. I have to admit I felt a bit rusty through the first few steps but it all came back like riding a bicycle.
This cheese will require aging for at least 5 weeks to 4 months. I will try and post updates as I work on this cheese in the future.
I welcome any questions or comments you may have.
Happy New Year!!!
I’m Back!!
After a very long hiatus from writing about my adventures on Explorations with Sailor Rick I am turning over a bunch of new leaves this year; in fact there is probably an entire tree of new leaves but the ones you are most likely interested in are:
- Writing regularly on this blog.
- Making cheese on a regular basis. I went about 10 months without directly making cheese; although I did assist my friend Ian over at Much To Do About Cheese with one make a couple of months ago.
- Continue developing and perfecting low carb recipes with the end goal being the publication of an e-book of my original recipes that I have been working on for more than a year.
- Smoking a wider variety of food items.
- Start working with charcuterie again. My friend Gunther has recently taken this up and with his German background he has been making some very intriguing things.
I would also like to thank some of my co-workers who continued to talk about my blog and whenever they introduced me to their new staff they would mention my blog and the unusual things I was up to; you guys are part of the reason I am firing this up again! I truly appreciate your support!
So what has Sailor Rick been up to since his last post?
I have been incredibly busy! Some of the highlights included:
- Traveling to China in September 2013 for work as part of a Canadian mission working through SIDA in conjunction with the Chinese government. I completed a presentation on Occupational Health & Safety in Alberta; including an overview of our system and how we implement the system in the field. The Chinese government is rewriting their laws and delivery structure regarding health and safety (among other areas) and in particular in regards to their migrant workers. China has about 265 million migrant workers (workers who travel from their place of birth/residence to work in construction or factories for example). This is the largest movement of humanity in history by far! I plan to write a post in the future about my trip in greater detail, I have some amazing photos. Here are is sample!

Off to Meet Our Chinese Counterparts For The First Time

Presentation Day

Big Pants in Beijing,Yes that is Air Polution


It’s True, There are Lots of People and Construction in China!

Shanghai Skyline
- Traveling to Scotland in August 2014 with my son’s pipe band, Edmonton Youth Pipe Band for the World Pipe Band Championships. With a side trip to Iceland.

The Wilds of Iceland!

And The Luxury! Blue Lagoon
- Posting photos of a middle of the night brisket smoke last winter in -28 degC temperatures on Twitter resulted in an opportunity for me to become a Kansas City Barbeque Society certified judge and then to judge a bbq competition in Edmonton that attracted the top competitors from Western Canada. This certification will allow me to judge KCBS sanctioned events around the world. I am already lining up to judge at a competition in Leduc, AB in May and may become part of the organizing committee to start a bbq society for the greater Edmonton area.
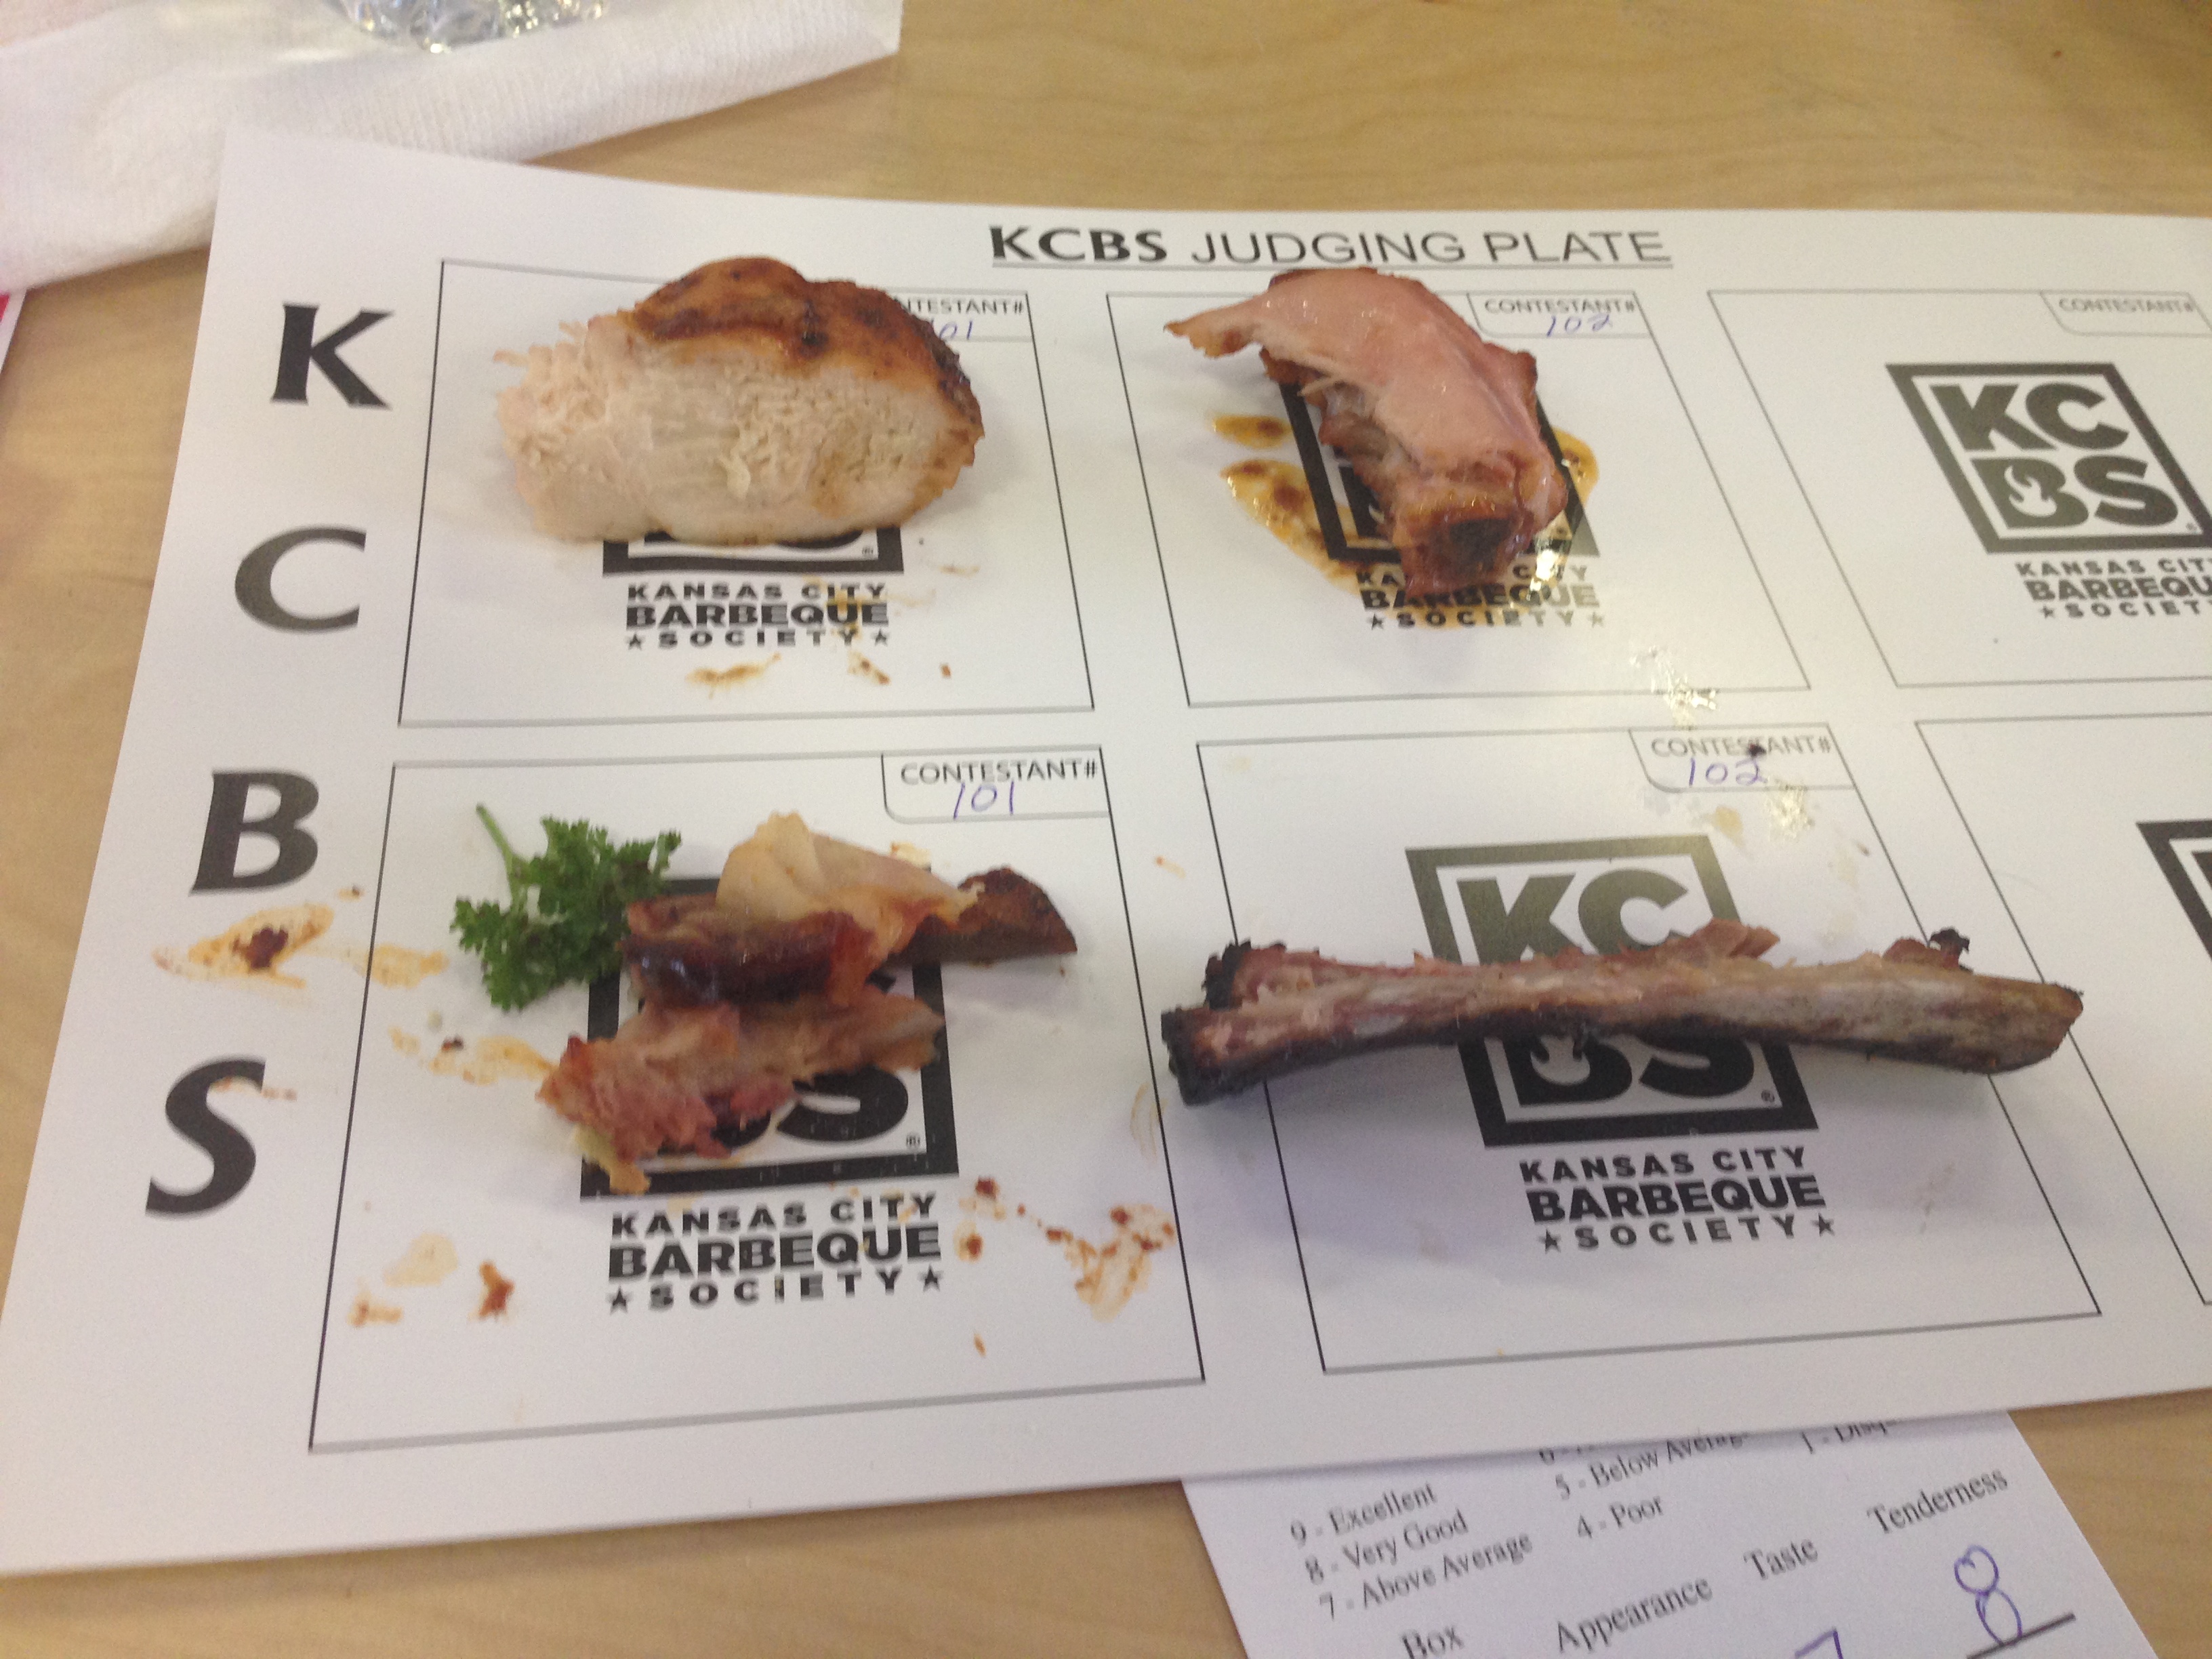
A Practice Plate
- We were also fortunate to be able to do a bunch of other traveling that I won’t bore you with the details of unless they are more food-gastronomy related which was the original intent of this blog.
oh and I baked a ton of Low Carb Bread

and grew a beard twice!

So that’s an update for now. There will be a post very shortly on a Stilton style cheese make that I am in the middle of right now.
